

Managing Customer Documents & Photos
Set a customer's profile photo and upload, find, view, download and delete their documents on the Documents tab
Once a customer exists, their page in SpectroNova Express holds two things this guide covers:
- their profile photo, the round picture beside their name;
- their documents on the Documents tab, sorted by category: ID scans, licences, proof of address and any other files.
Customer documents are stored and sorted by category. They have no expiry date or verification status.
Before you start:
- The customer must already exist. To create one, see Adding Individual & Company Customers.
- What you can do depends on your role. With the standard roles:
- Viewing and downloading documents: anyone who can open the customer.
- Changing the photo: Workspace Admin, Sales Agent and Office Manager.
- Uploading documents: Workspace Admin, Fleet Manager, Sales Agent and Office Manager.
- Deleting documents: Workspace Admin and Fleet Manager, for files they uploaded themselves. An organization owner or admin can delete any file.
- If your workspace uses custom roles, ask an administrator what yours allows.
- Set the photo from a computer or tablet. The photo shows in the header on a computer or tablet.
Set the customer photo
Open the customer
In the sidebar, under CRM, click Customers. In the Customer Directory, click the customer's row.
The customer's page opens on the Overview tab, with their photo to the left of their name. A customer without a photo shows a person icon.

The customer's photo sits at the top left of their page
Click the photo and choose an image
Hover over the photo: a pencil icon appears. Click it and pick an image. JPEG, PNG and WebP files up to 5 MB are accepted.
The Crop Profile Photo window opens with your image in a round frame.

Hover over the photo to show the edit icon
Crop and save
In Crop Profile Photo:
- Drag the frame to the part of the image you want.
- Use the Zoom slider to resize it. The Preview circle shows the result.
- Click Save Photo. Cancel closes the window without changes.
"Uploading customer photo..." shows, then "Customer photo uploaded successfully!", and the new photo appears in the header.
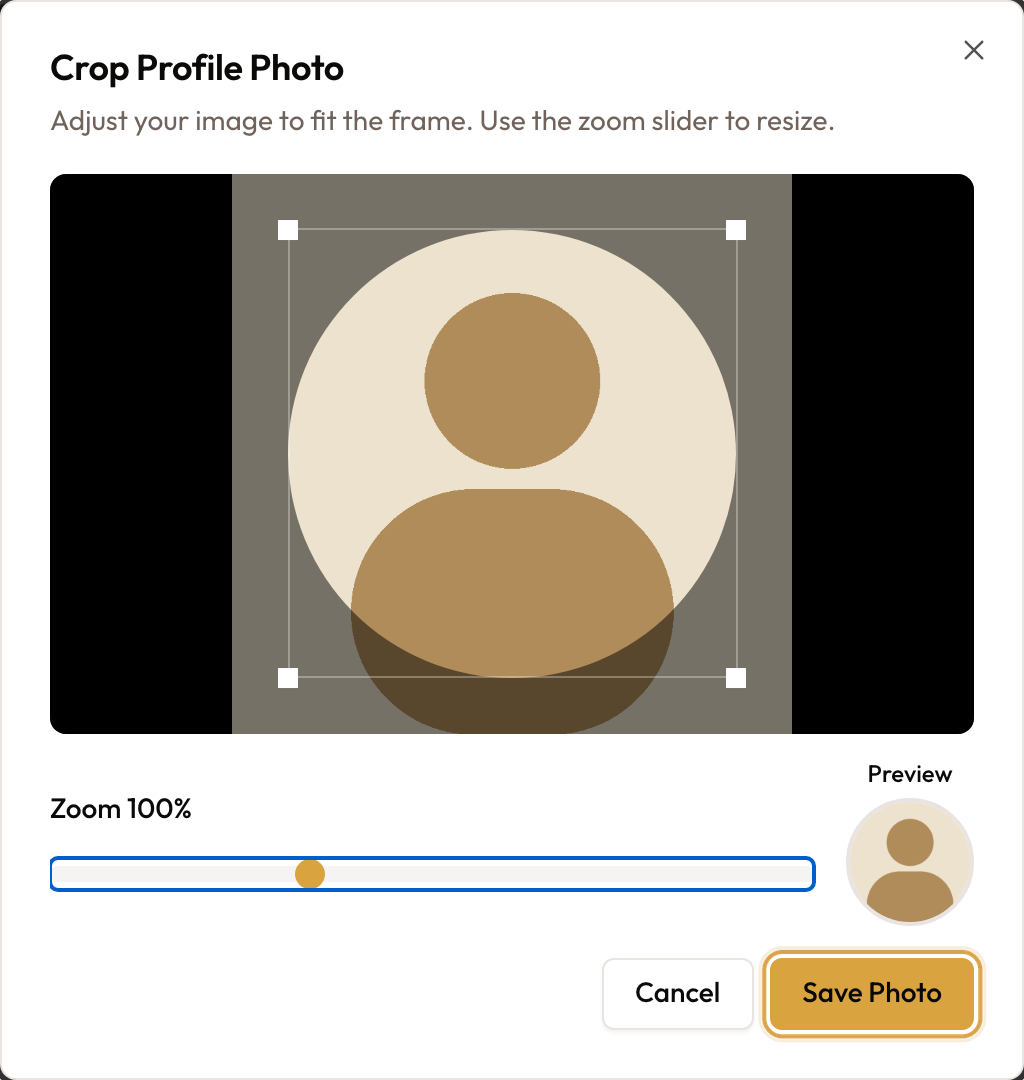
Crop Profile Photo: frame the image, check the Preview, then Save Photo
A file that isn't JPEG, PNG or WebP is refused with "Please select a valid image file (JPEG, PNG, or WebP)". A file over 5 MB is refused with "Image size must be less than 5MB".
Manage documents
Open the Documents tab
On the customer's page, click the Documents tab. An upload bar reading Drop files or browse sits at the top, with a category selector on its right. When the customer already has files, filter tabs follow: All plus one tab per category that holds files, each with a count.
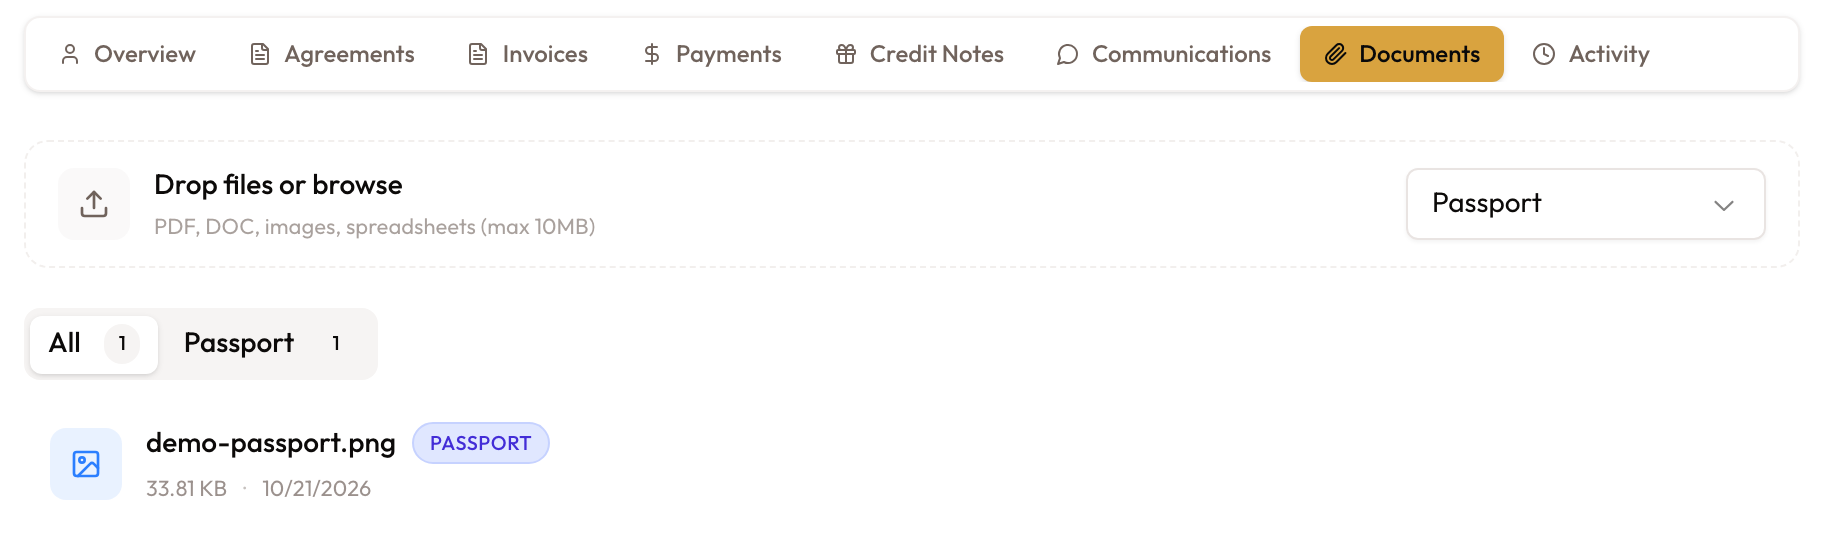
The Documents tab: the upload bar, the category tabs and the file list
Pick the category
Before uploading, open the category selector in the upload bar and choose where the files belong:
- Driver's License
- Passport
- ID Documents
- Proof of Address
- Proof of Income
- Agreements
- Financial
- Insurance
- Other
It starts on Driver's License. Clicking a category filter tab also switches the upload category to match.
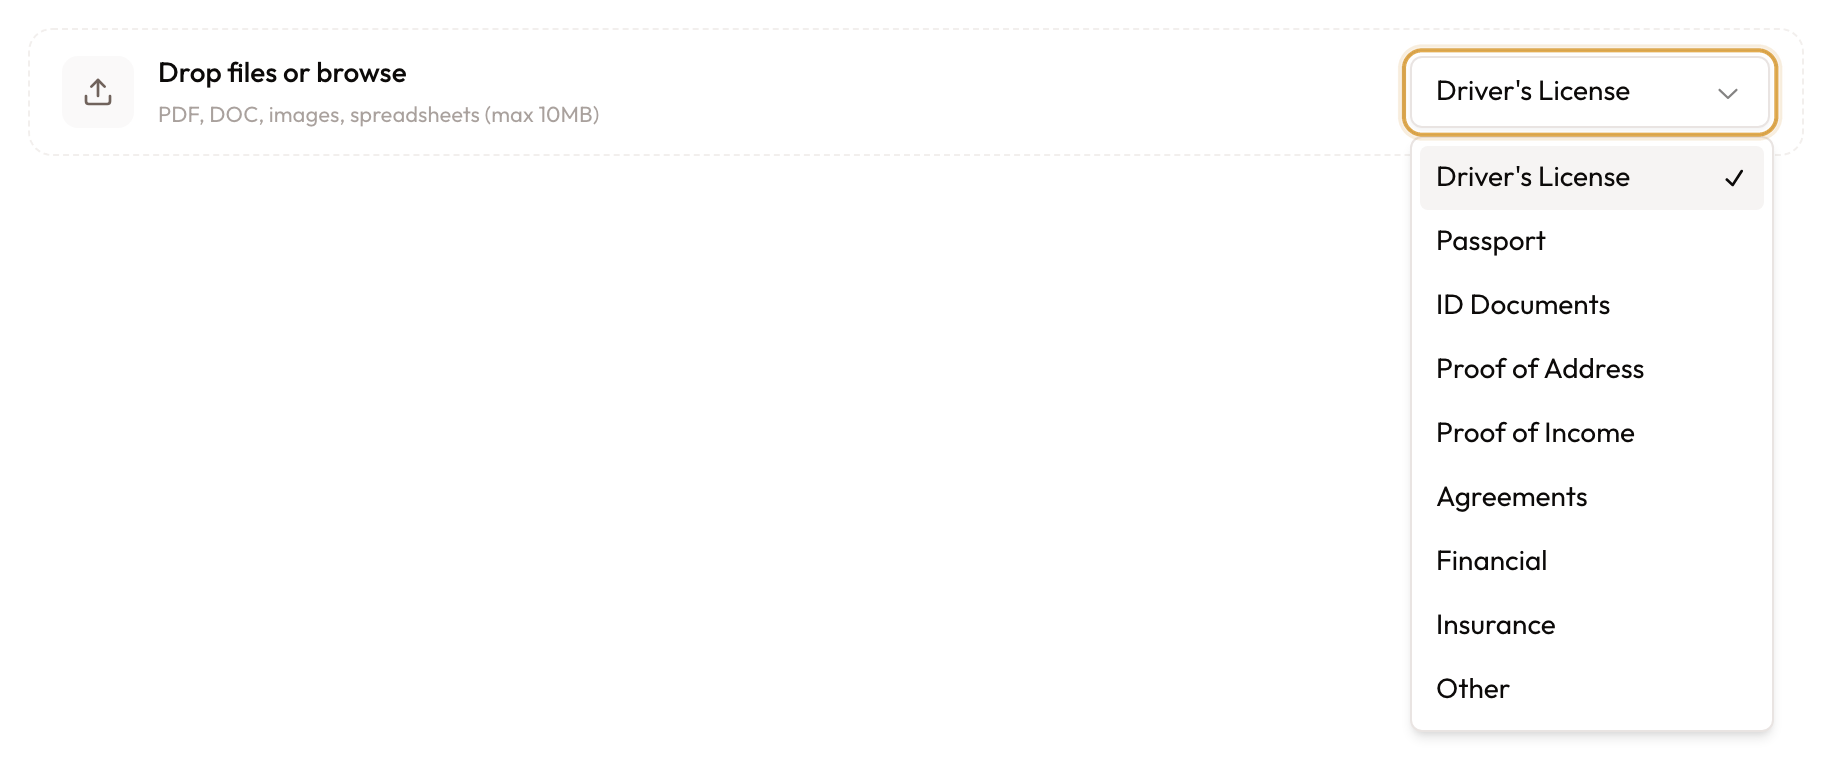
Pick the category before you upload
Upload the files
Drag files onto the upload bar, or click Drop files or browse and pick them. You can select several at once. PDF, Word, Excel, CSV and image files are accepted.
A progress bar shows each file uploading, then "Uploaded successfully". The file appears at the top of the list with its category, size and date.
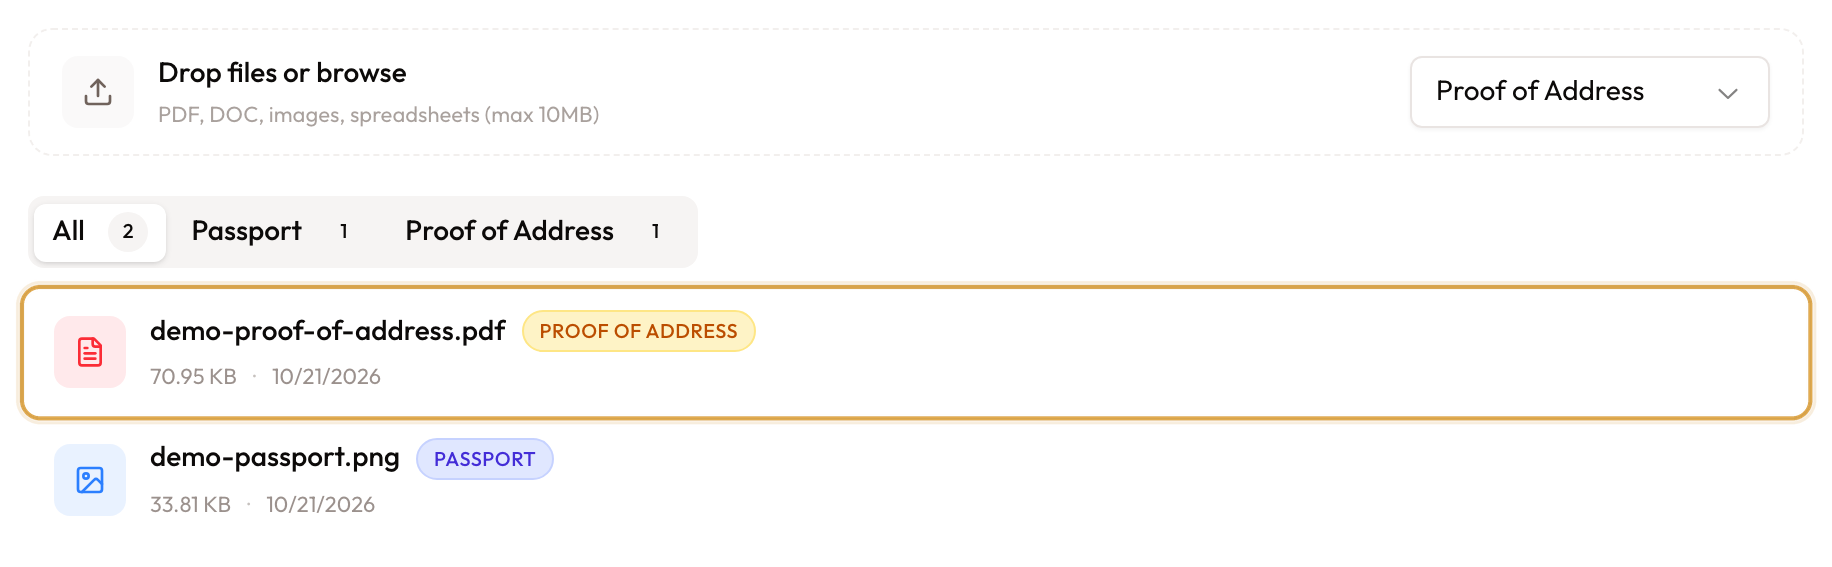
A new file appears at the top of the list with its category badge
Find a document
Use the filter tabs above the list. All shows every file; a category tab, such as Passport, shows only that category.

A category tab narrows the list to that category
View a document
Click a document's name, or hover over the row and click the eye icon. On a phone, tap ⋮ on the row and choose View.
The viewer shows the file with its name, size, date and category. When the customer has more than one file, the arrows step through them. A file that can't be shown says "Preview unavailable" and offers Download File.
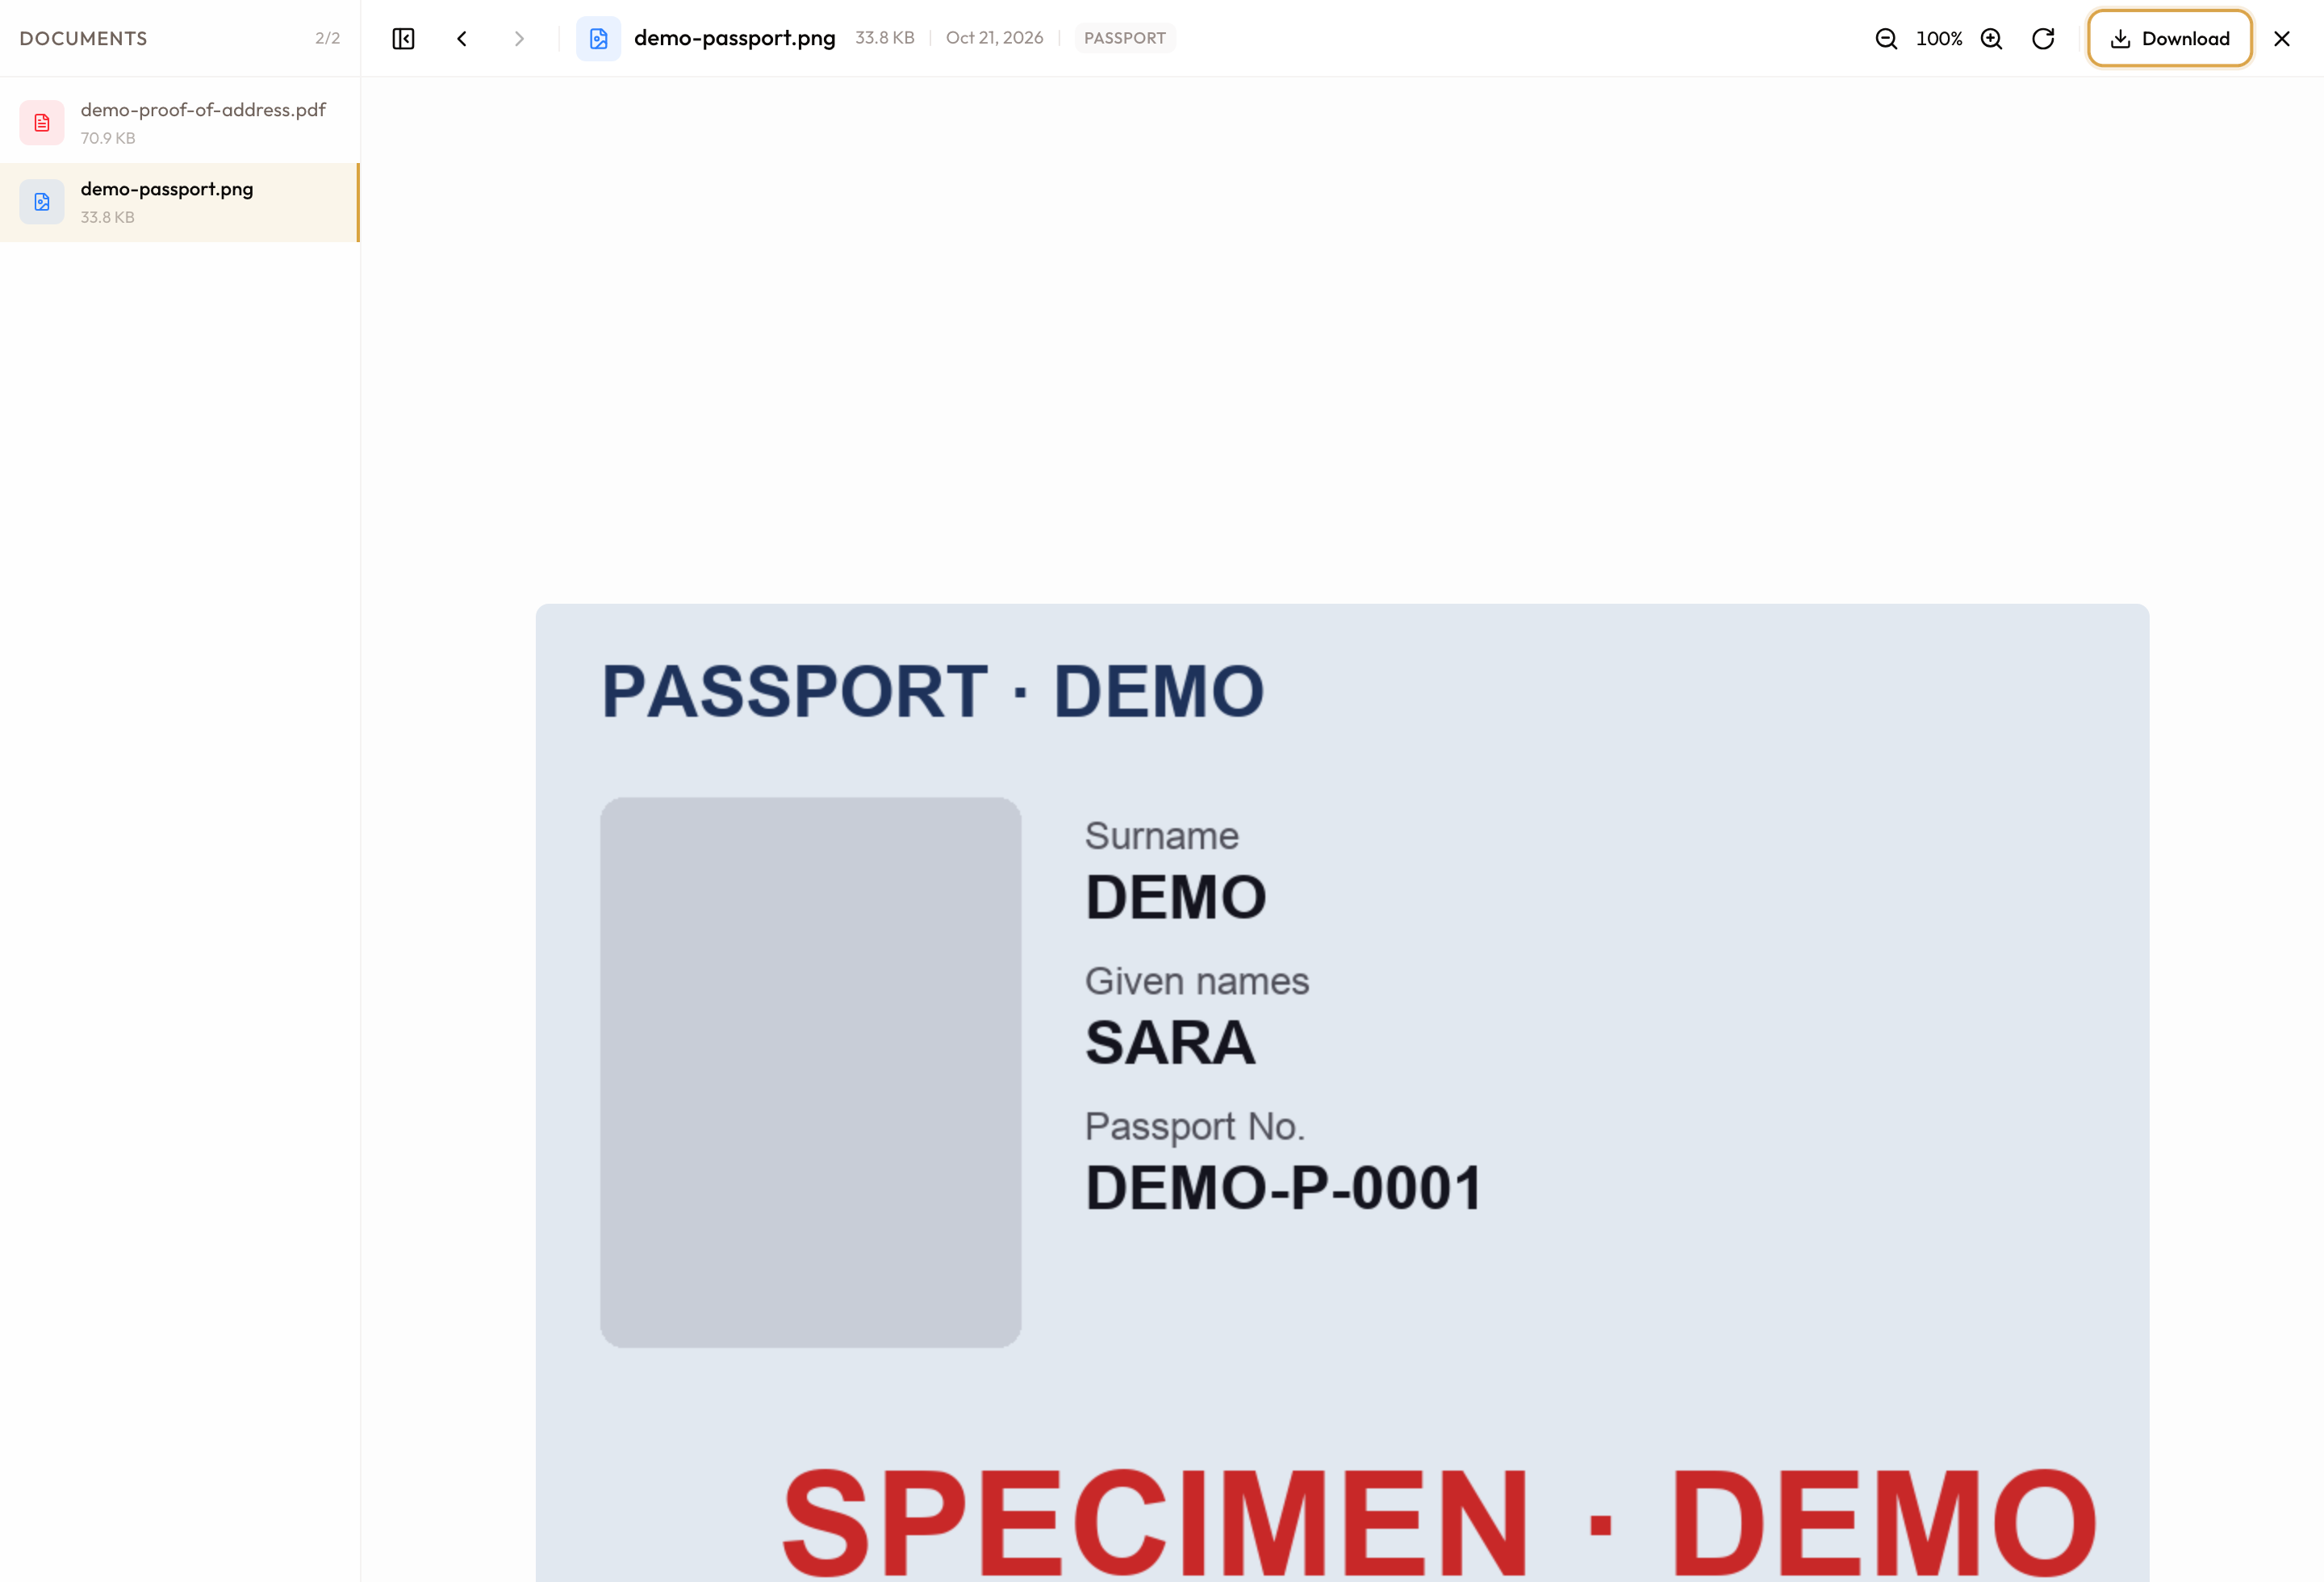
The document viewer, with Download at the top right
Download a document
Hover over the row and click the download icon, or click Download in the viewer. On a phone, use ⋮ → Download. The file is saved to your device.

Hover over a row to show the view, download and delete icons
Delete a document
Hover over the row and click the red bin icon. On a phone, use ⋮ → Delete. A confirmation asks "Delete [file name]?" and warns "This action cannot be undone."
Click Delete to remove the file, or Cancel to keep it. "Deleted successfully" confirms the removal.
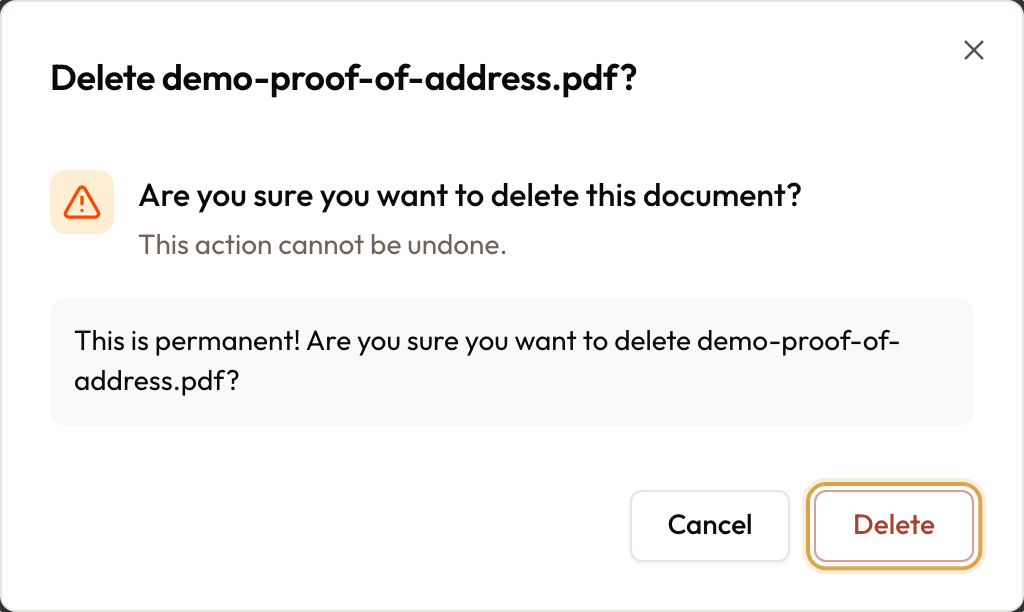
The delete confirmation. Deleting a document can't be undone
A deleted document can't be recovered.
Common mistakes and edge cases
- Photo and documents are separate. The header photo is one image per customer, up to 5 MB; a new one replaces it. Documents live on the Documents tab. A photo never appears there, and a document never becomes the photo.
- Pick the category first. A file's category is set when it is uploaded and can't be changed later. To move a file, delete it and upload it again into the right category.
- File size. PDF, Word, Excel and CSV files must be 10 MB or smaller. Images can be larger: SpectroNova Express shrinks them before upload, so a phone photo of an ID goes through. A file that is too large shows "File is too large".
- Ten documents per customer. A customer holds up to 10 documents. Past that, the upload is refused with "Maximum size exceeded". Delete a file you no longer need first.
- Upload or delete refused. If your role can't upload, the upload bar is still shown, but the upload fails with "Failed to upload file". A delete you aren't allowed to make fails with "Failed to delete". Ask an administrator.
- Session expired. An upload after your session has expired shows "Authentication required". Sign in again and retry.
- ID photos from Express Rental arrive here. When you register a new renter in Express Rental and add an ID photo (front), it is attached automatically under ID Documents as ID Document. If that fails, Express Rental tells you to add it from the customer's Documents tab.
- The Documents Status card. To see a customer's files, use the Documents tab.
Related guides
Adding Individual & Company Customers
Create the customer these files belong to.
Customer Search, Filtering & Bulk Import
Find the customer in the Customer Directory.
Express Rental (Walk-Up)
Register a renter at the counter; their ID photo lands on this tab.
Customer KYC Process
Check a renter's ID, then complete their ID number and documents.