

Customer KYC Process
Capture a renter's ID at the counter, confirm their age, and complete their identity details and documents on the customer record
KYC in SpectroNova Express means checking a customer's ID and keeping a record of it. For a walk-up renter, that happens at the counter in Express rental:
- scan or photograph their Emirates ID or passport;
- confirm you checked their age;
- create the renter, with the ID photo attached.
Afterwards you complete their ID number on their customer page and file any other documents.
A customer registered on the full New Customer form gives their nationality, date of birth and ID number there, as covered in Adding Individual & Company Customers.
Before you start:
- Opening Express rental needs the agreements update permission. Creating the renter and scanning the ID also need the customers: create permission.
- Completing the record later needs the customers: update permission. It gives you the Edit button on the customer's page.
- Have the renter's Emirates ID or passport in hand. A phone or tablet camera reads best; on a computer you choose a photo file instead.
At the counter
Open the renter stage
On the Create Agreement page, turn on the Express rental switch. The Express rental page opens on its first stage, Who's renting?
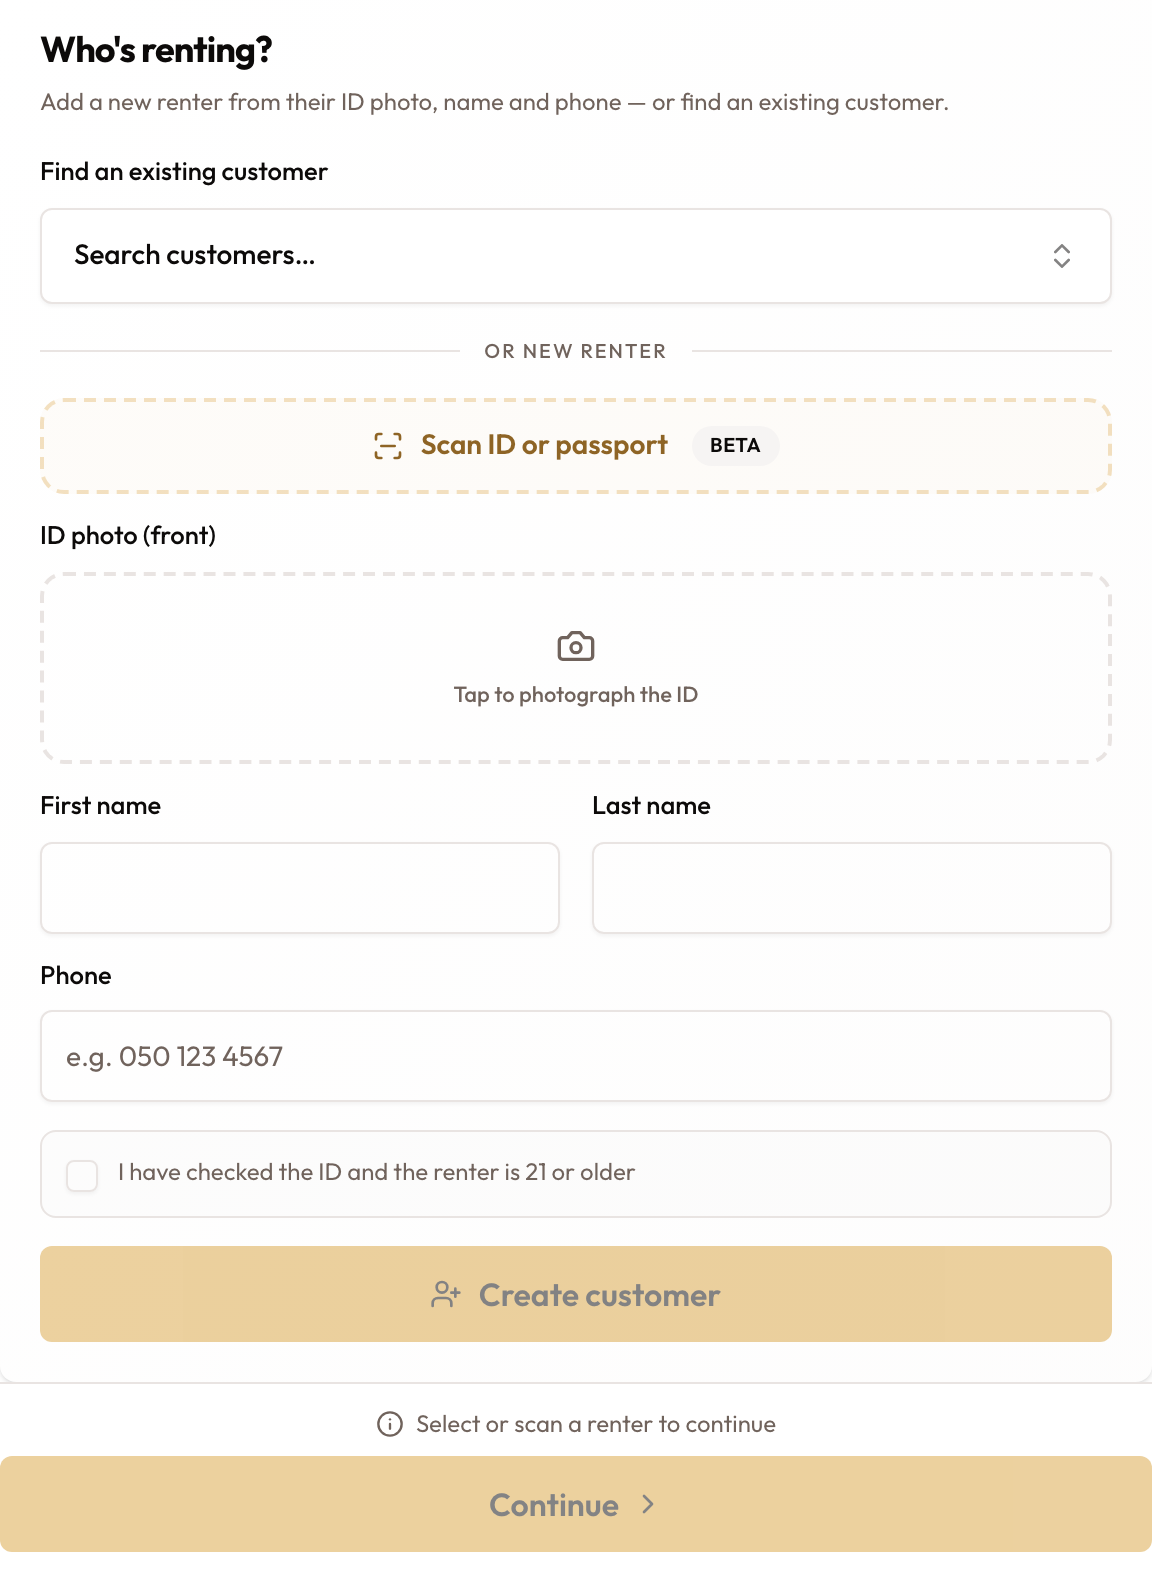
The Who's renting? stage of Express rental
Search before you scan
Type the renter's name or phone in Find an existing customer. If they are already on file, pick them: their ID is already on their record. Change swaps to someone else.
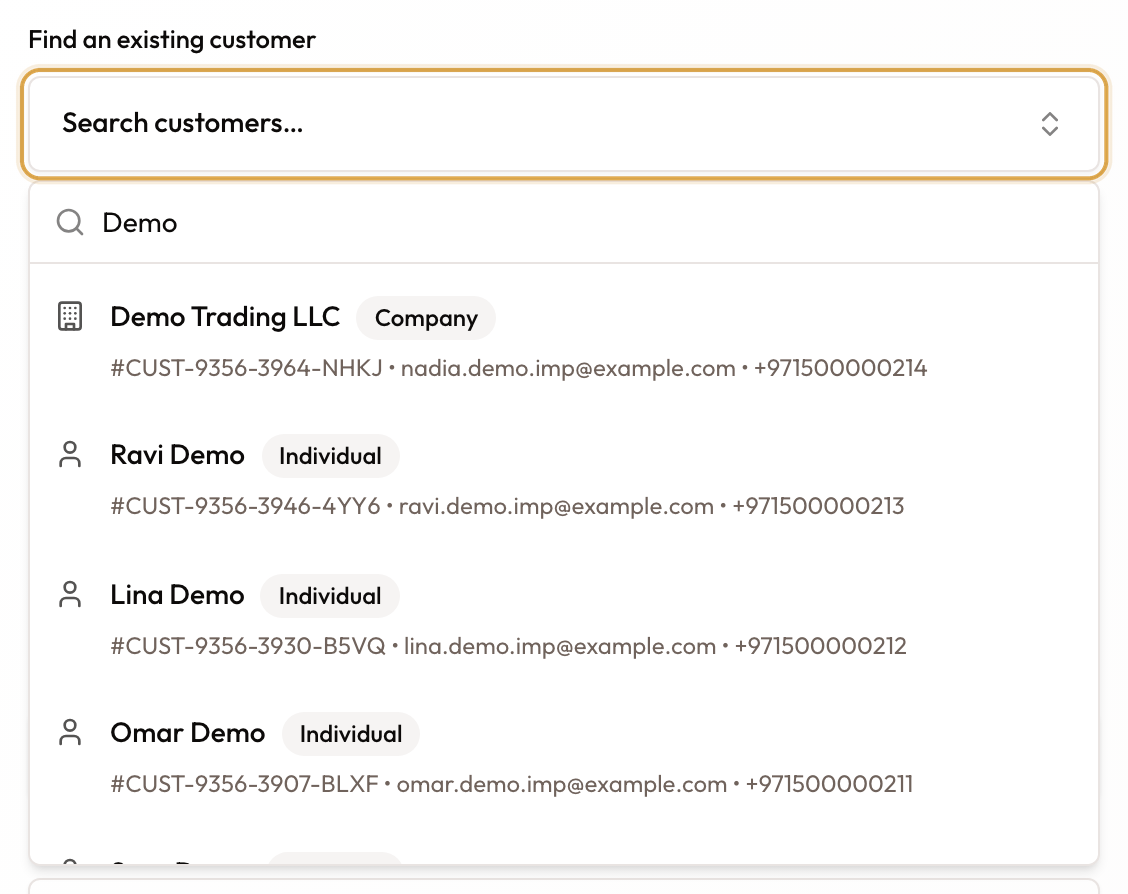
Find an existing customer lists matches as you type
Scan the ID
Click Scan ID or passport. The Scan a document dialog asks What are you scanning?
- Pick Emirates ID or Passport.
- Click Take photo. The dialog tells you which side you are on: Front of the Emirates ID, then Back of the Emirates ID (the side with the code), or Passport photo page.
- If the shot is poor, click Retake. To tighten the framing, click Crop / adjust, then Use cropped image.
- For an Emirates ID, click Continue after the front, then capture the back.
The dialog shows Reading document… for a few seconds, then closes.
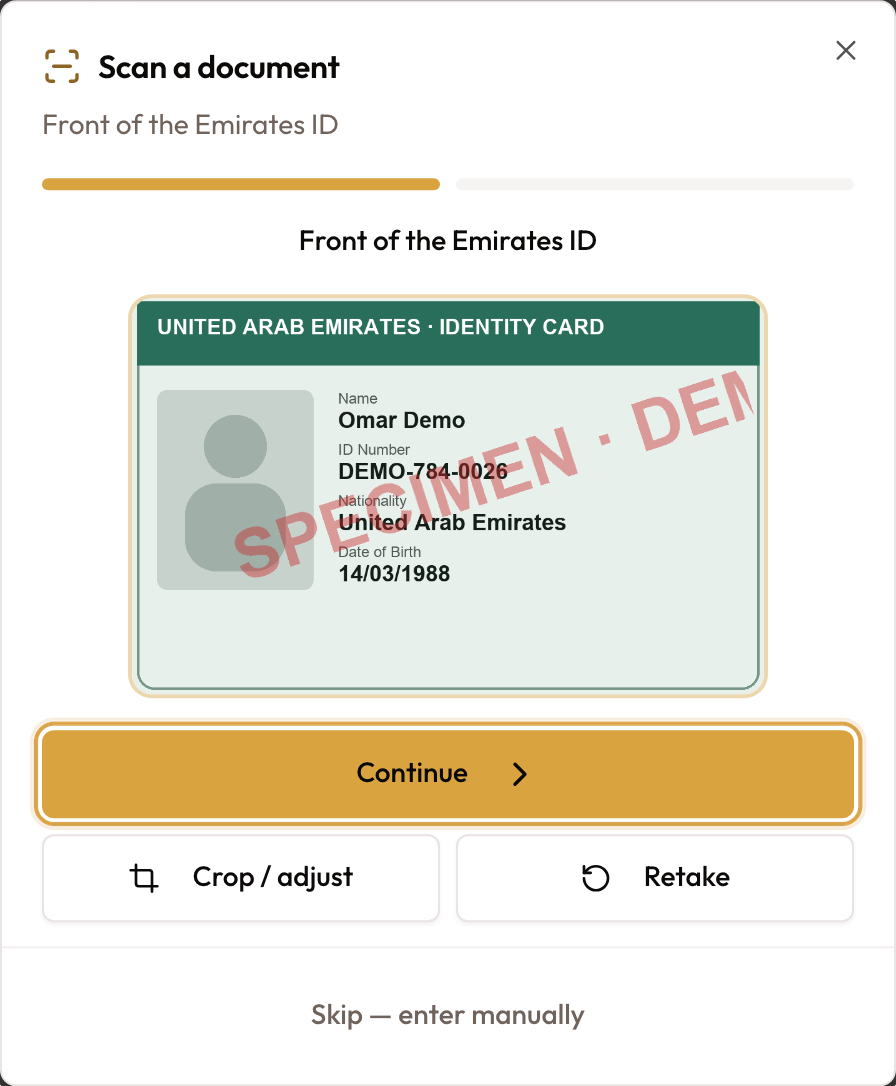
The front of an Emirates ID captured in Scan a document
Check what the scan filled
The scan fills First name and Last name, and the front of the document appears in ID photo (front). Compare the name with the card and correct it if needed.
Not scanning? Tap Tap to photograph the ID to take the photo yourself, then type the name.
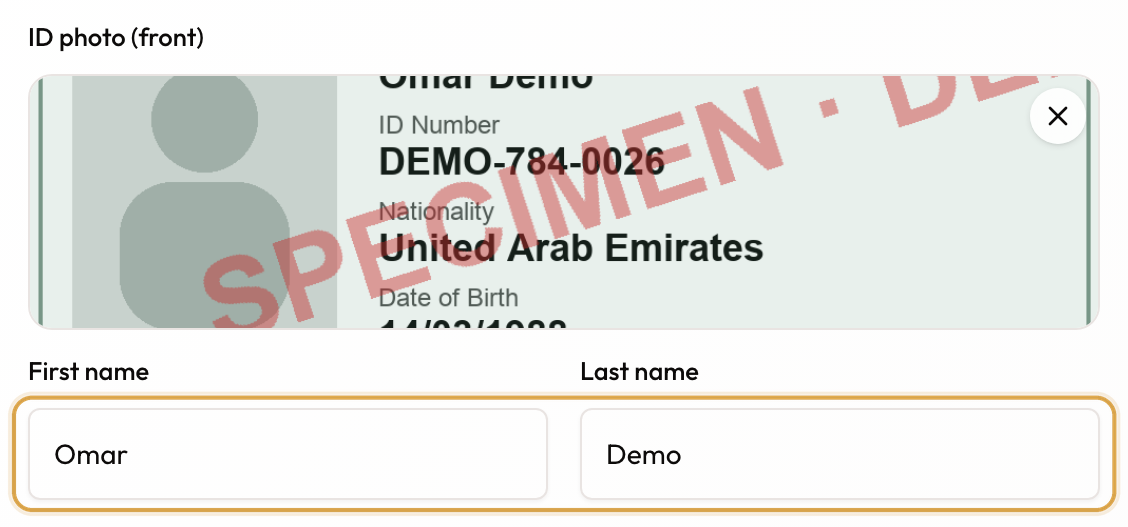
After the scan: the ID photo (front), First name and Last name are filled in
Add the phone and confirm the age check
- Type the renter's Phone.
- Check the date of birth on the ID, then tick I have checked the ID and the renter is 21 or older.
Create customer switches on once the name, phone and tick are all in place.
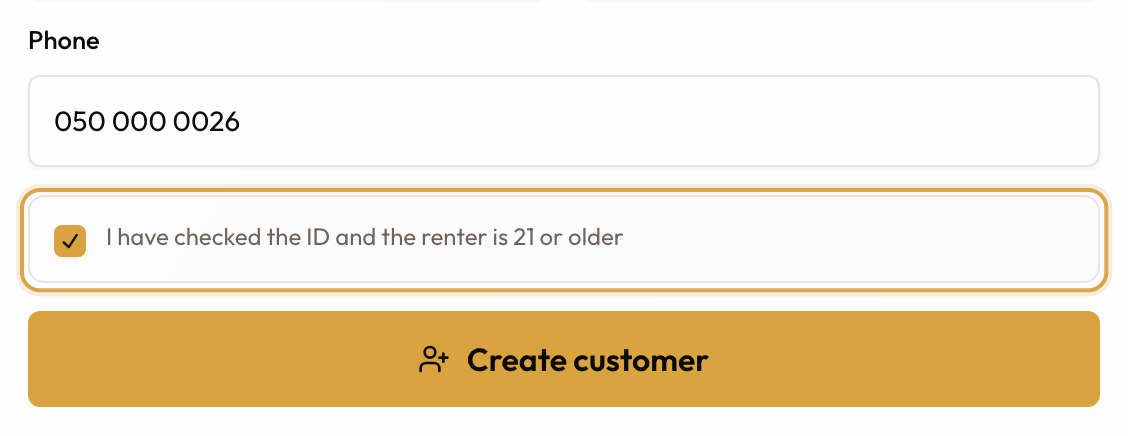
Phone added and the age check ticked, so Create customer is ready
Create the customer
Click Create customer. A toast reads "Customer created from ID", and the renter appears in the confirmation card with their customer number. The ID photo is filed on their Documents tab.
Click Continue to go on with the rental.
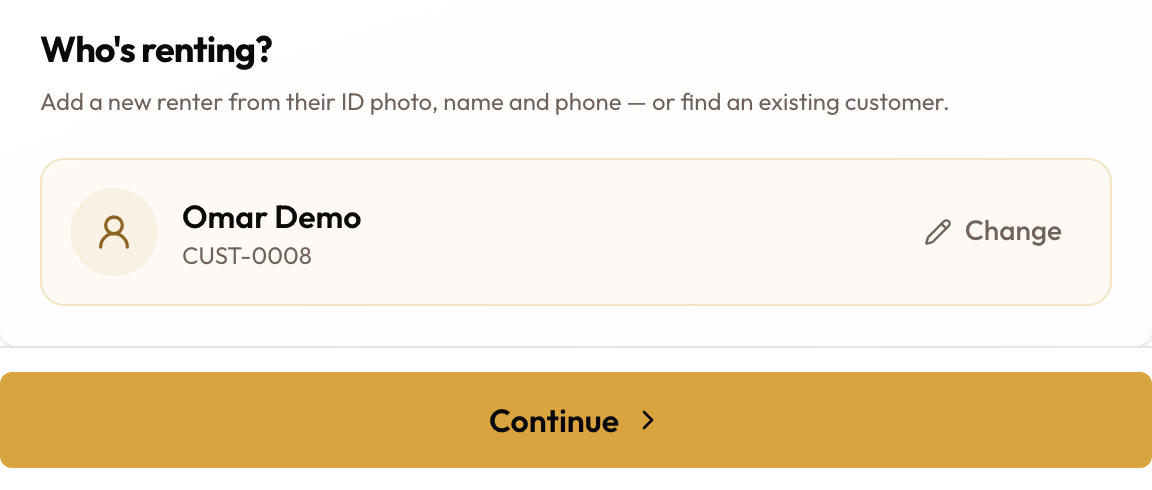
The new renter, with their customer number and Change
The scan fills the name only. You add the ID number, nationality and date of birth yourself in the next section. For an Emirates ID, the front photo is kept.
Complete the record
Add the ID number and address
A renter created in Express rental holds only their name, phone and ID photo. To complete it:
- In the sidebar, under CRM, click Customers, and open the renter from the Customer Directory.
- Click Edit.
- Under Customer Information, fill National ID with the number on the ID, and fill Address. Both are required.
- Click Save changes.
A toast reads "Customer updated successfully".
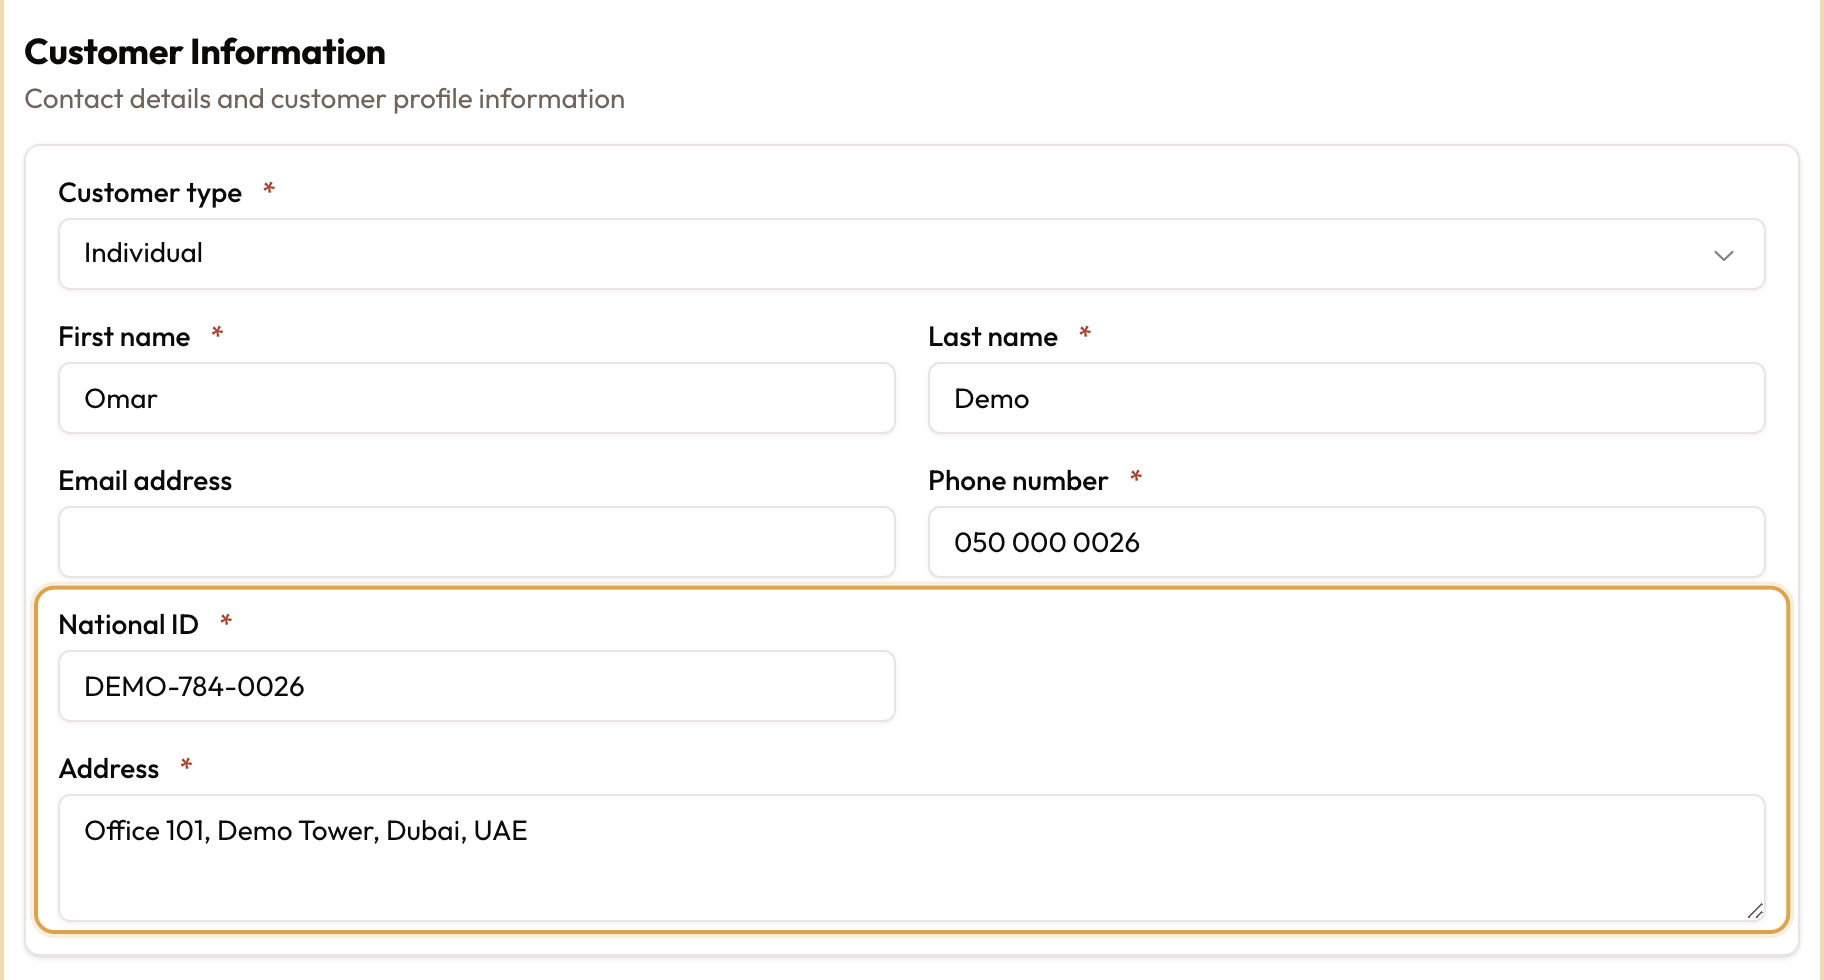
National ID and Address filled in on the customer page in edit mode
File any other documents
Open the Documents tab. The ID photo from the counter is listed under ID Documents. To add more, pick a category such as Passport or Driver's License in the upload bar, then Drop files or browse. See Managing Customer Documents & Photos for viewing, downloading and deleting files.
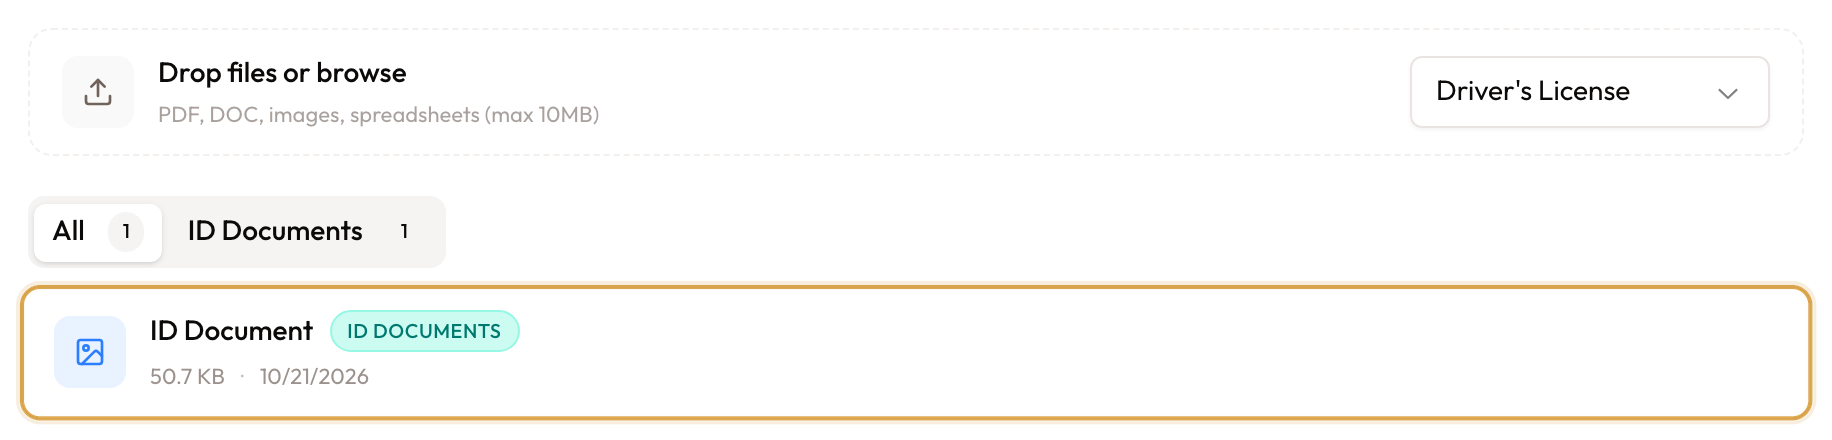
The ID photo filed on the Documents tab under ID Documents
Common mistakes and edge cases
- Wrong document for the type you chose. Picking Emirates ID and photographing a passport, or the other way round, stops with "This doesn't look like the document you selected. Please retake."
- Unclear photo. A blurred or cut-off image gives "We couldn't read this clearly. Retake for a better result, or enter the details manually." Improve the light and framing, or use Crop / adjust.
- Slow or failed read. A slow read shows "This is taking too long. Please try again, or enter the details manually." Retry once, then enter the details yourself.
- Many scans in a short time. After heavy use you see "Too many scans recently. Please try again shortly, or enter details manually."
- You can always skip. Skip — enter manually closes the scanner at any point. Photograph the ID and type the name instead.
- Create customer stays greyed out. It needs a first name, a last name, a phone and the age tick. A scan never creates the customer by itself.
- The phone is already on file. You see "A customer with this phone already exists:" with their name. Click Use them rather than creating a second record.
- The ID photo didn't attach. The customer is still created, with a warning to add the ID from their Documents tab. Upload it under ID Documents.
- Express asks for 21, the New Customer form for 18. The Express tick confirms 21 or older; the full form only blocks a date of birth under 18. Follow your company's own age rule.
- An edit won't save. Any edit to an Express-created customer needs National ID and Address first. Until both are filled they show Required.
The checks are yours. Check the ID, its expiry and the renter's age yourself. The tick at the counter is your confirmation.
Related guides
Express Rental (Walk-Up)
The rest of the walk-up flow after the renter: vehicle, condition, signature and hand-over.
Adding Individual & Company Customers
The full New Customer form, with nationality, date of birth and ID number up front.
Managing Customer Documents & Photos
View, download and delete files on the Documents tab.