

Customer Search, Filtering & Bulk Import
Search and filter the Customer Directory, export it, and import customers from a spreadsheet
The Customer Directory is where you search, filter, sort and export the customers you already have in SpectroNova Express. When you need to add many at once, the import wizard loads them from a spreadsheet in four steps: Upload → Map → Validate → Import.
Before you start:
- To open the Customer Directory, your role needs access to customers. If Customers is missing from the sidebar under CRM, ask an administrator.
- To import, your role needs the settings: workspace.update permission. Import Data sits in Settings, and the upload is refused without it.
- Have your customers in an Excel (.xlsx) or CSV (.csv) file of 10 MB or less.
Search, filter and export
Open the Customer Directory
In the sidebar, under CRM, click Customers. The Customer Directory opens: "Search and manage your customer database".
- Six count cards run across the top: Total, Individual, Company, With agreements, New (30d) and Payment methods.
- The table shows Customer #, Customer Details, Type, Contact Info, National ID, Payment and Created, newest first.
Click any row to open that customer's page.
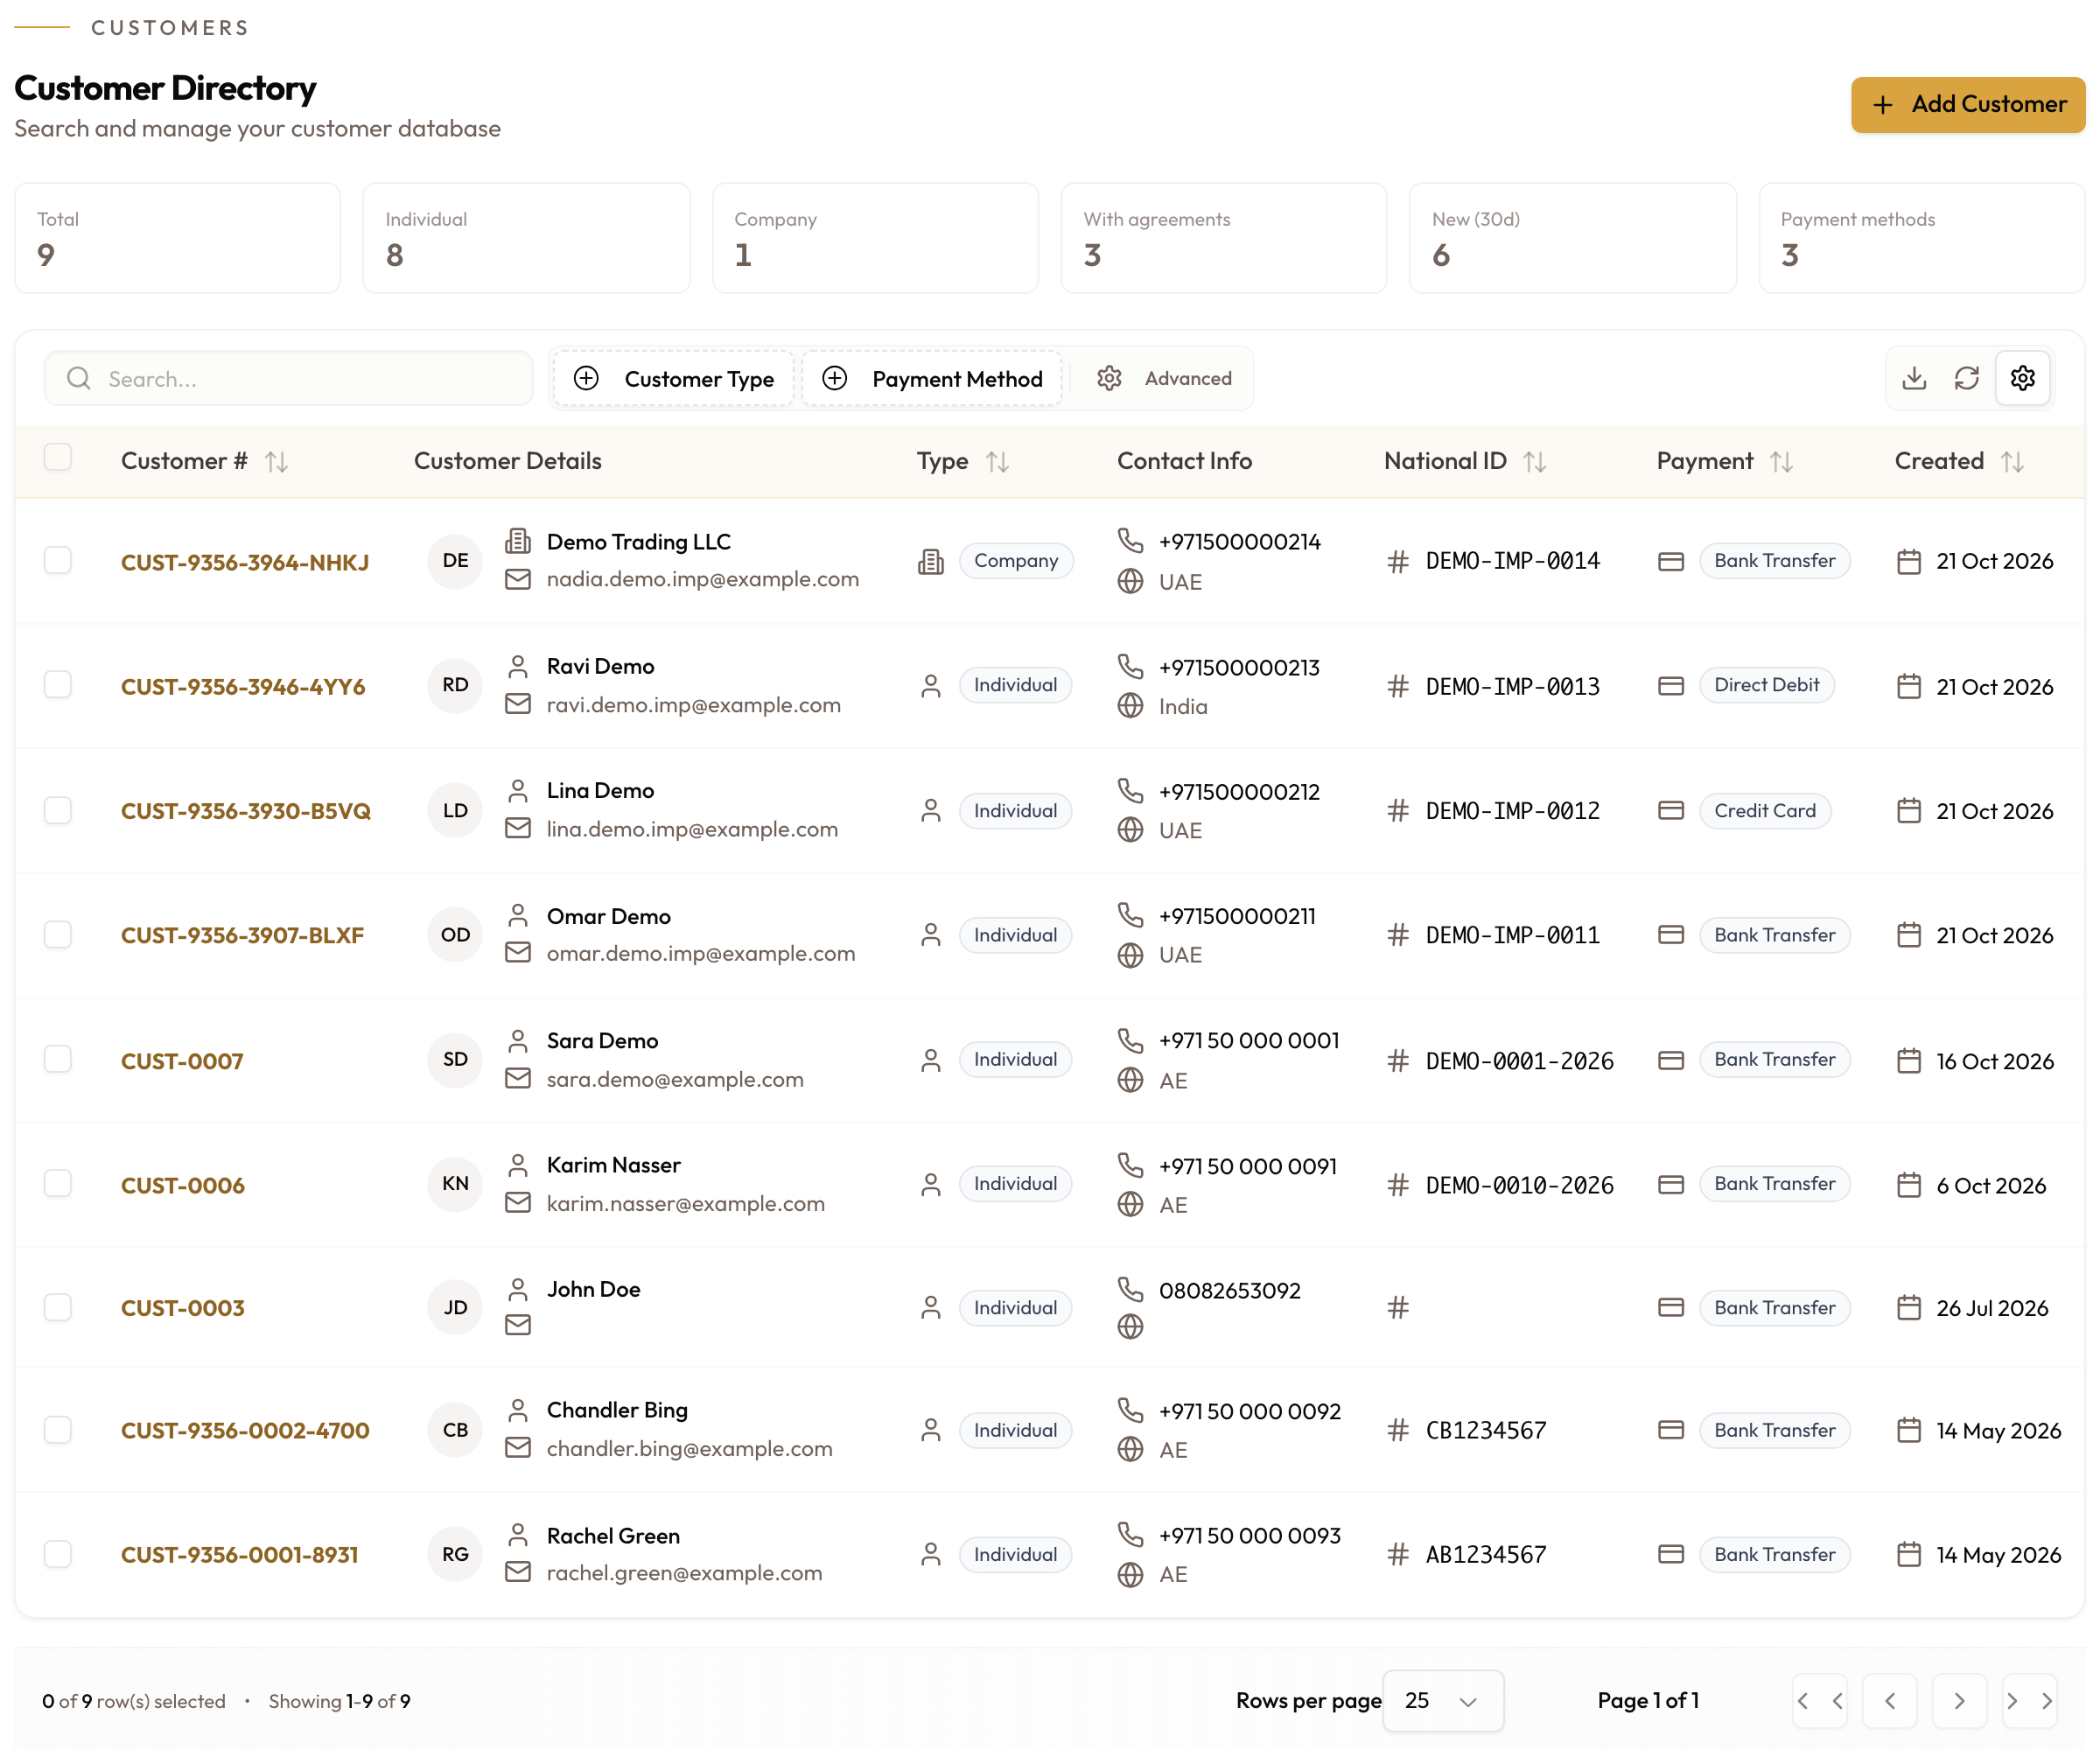
The Customer Directory
Search
Type in the Search... box. It matches the customer number, first and last name, email, phone number, national ID and company name.
The list narrows as you type. A Search chip appears in the Filters: row under the toolbar, and a Filtered tag appears above the count cards: "These figures cover the filtered list, not the whole workspace".
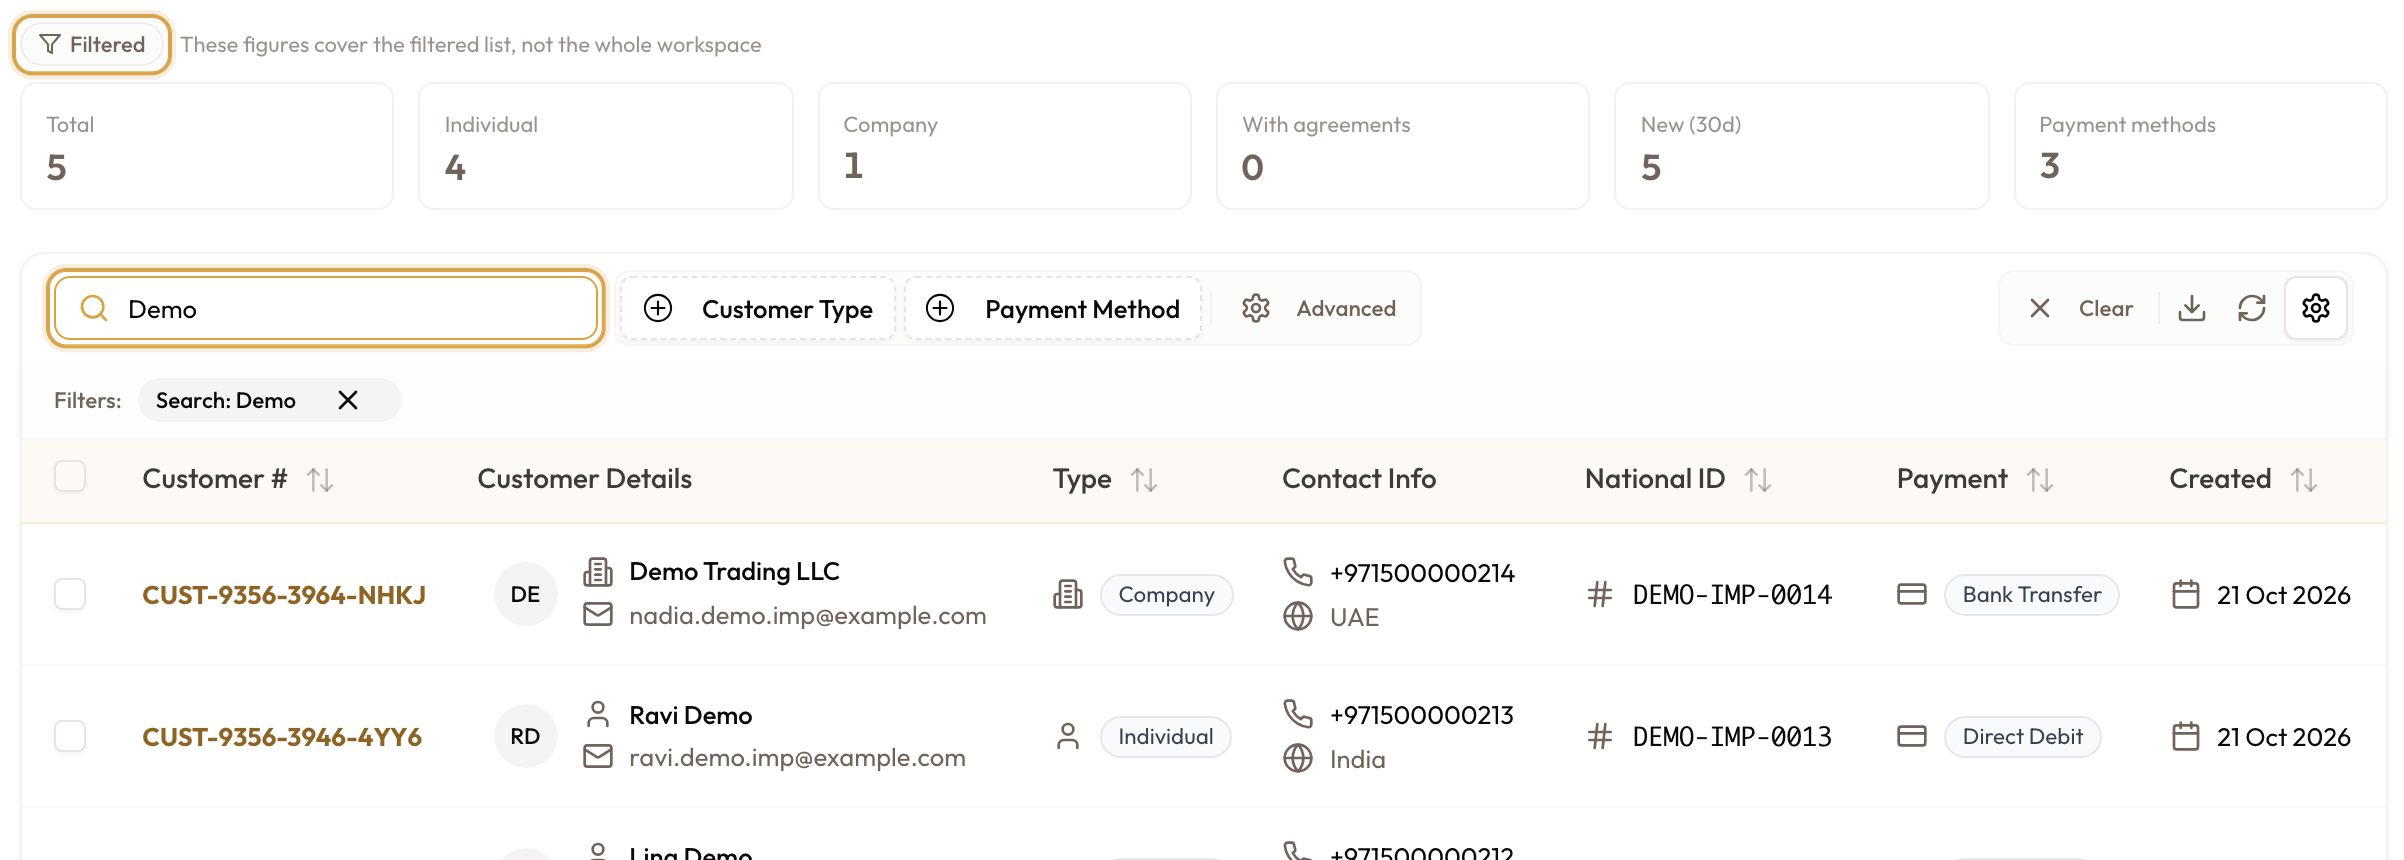
A search narrows the list and the figures above it, marked Filtered
Use the quick filters
Next to the search box are two quick filters:
- Customer Type: Individual or Company.
- Payment Method: Credit Card, Bank Transfer, Cash or Check.
Open one and tick one or more options. Each choice adds a chip to the Filters: row, and the count cards follow the filter. If nothing matches, the table shows No results found with a Clear filters button.
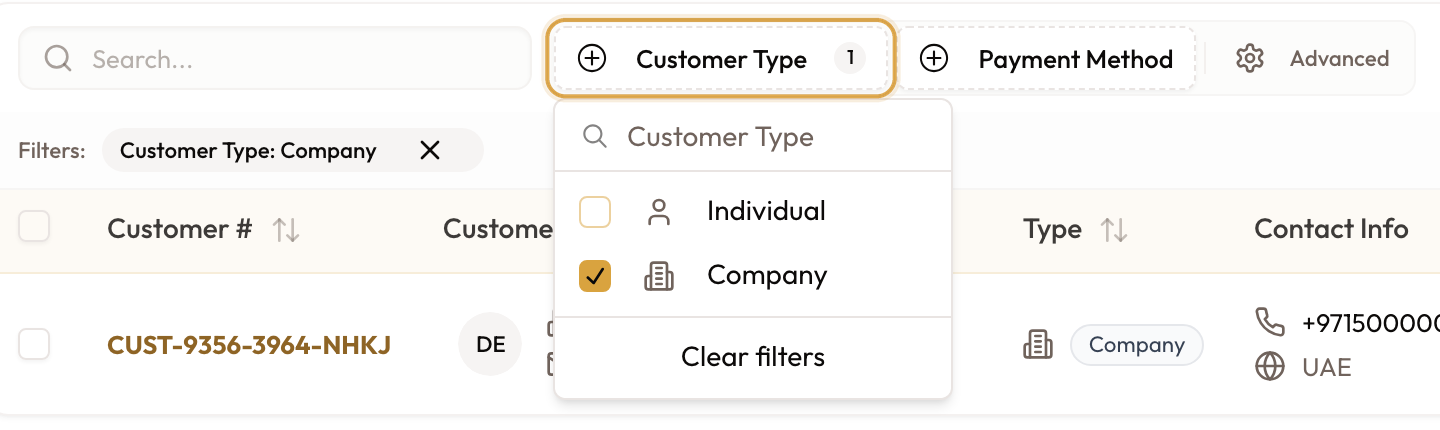
The Customer Type filter with Company ticked
Add an advanced filter
For any other field, click Advanced, then:
- Click Add filter.
- Pick the Field, for example Gender, Nationality, Company Name, Tax ID or Bank Name.
- Pick how to compare it: equals, contains, starts with and so on for text, or is one of for a choice field.
- Type or pick the value.
- To combine filters, add another row and choose AND or OR at its start.
The list updates as soon as a row is complete. To remove a filter, click the × on its chip in the Filters: row, or Clear in the toolbar to remove them all.
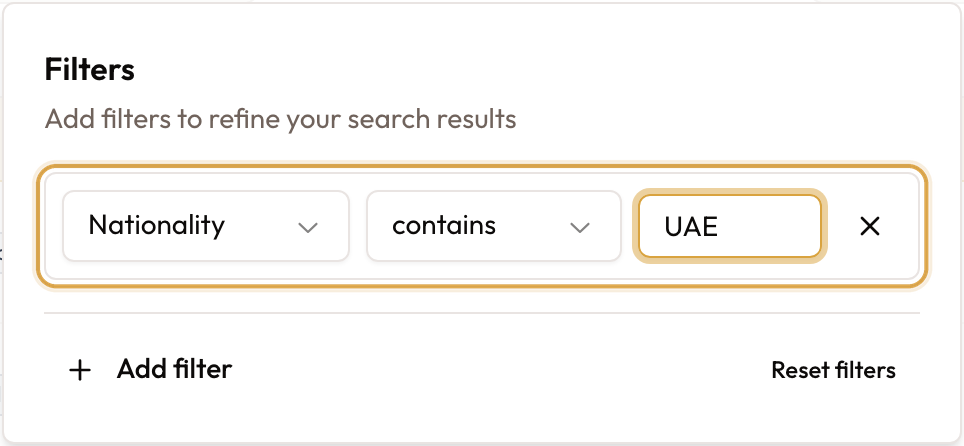
An Advanced filter: Nationality contains UAE
Sort, page and choose columns
- Sort: click the header of Customer #, Type, National ID, Payment or Created. Click again to reverse the order.
- Page: set Rows per page to 10, 20, 25, 50 or 100, and use the arrows beside Page X of Y.
- Columns: the gear button, Column Settings, shows or hides columns.
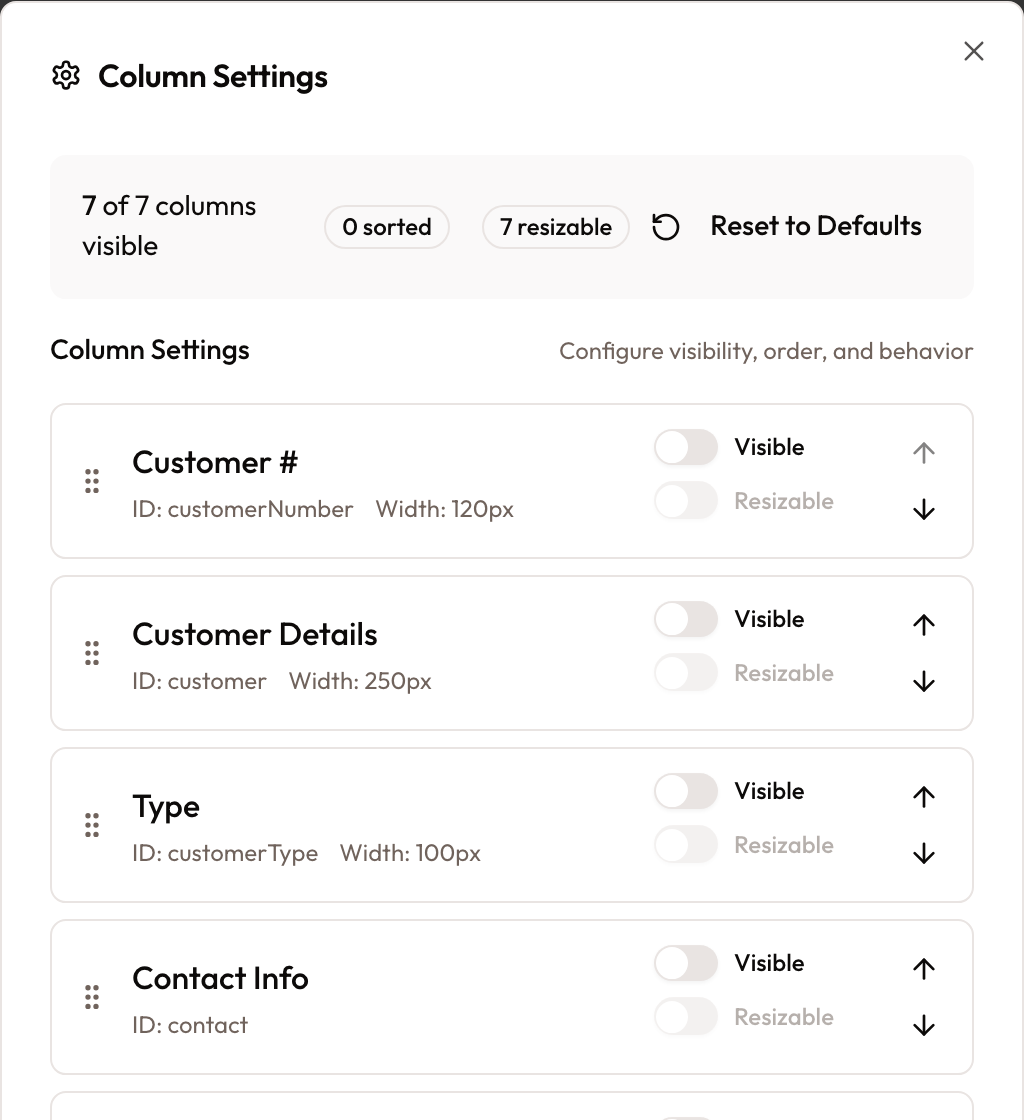
Column Settings: show, hide and reorder columns
Export the list
Click the download button at the right of the toolbar, "Export visible columns
as CSV". The file holds every customer that matches your current search and
filters, not just the page on screen, with the columns you can see. It downloads
as customers-<date>.csv, and a toast confirms "Exported N rows".
To export only some customers, tick their rows. In the bar that appears at the bottom of the screen, click Export, then Export as CSV.

The export button at the right of the toolbar
Import customers from a spreadsheet
Open the Import Hub
Go to Settings. Under Business, click Import Data. Click the Customers card, "Contact info, billing, company data".
The wizard opens with the breadcrumb Import Hub › Customers and a step bar reading Upload, Map, Validate and Import.
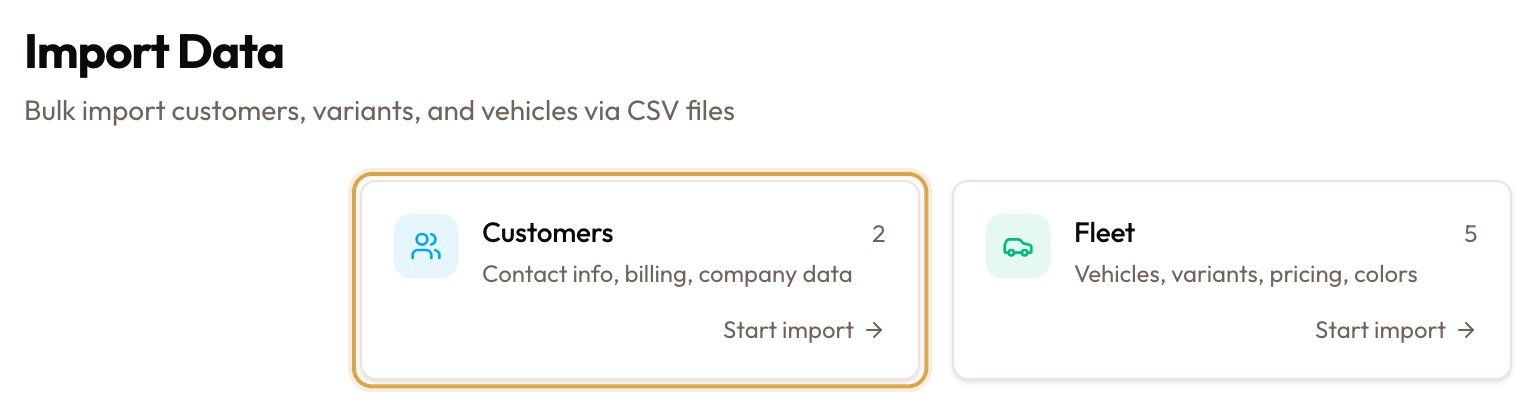
The Customers card on the Import Data page
Download the template, then upload
The first screen is Step 1 of 4, Import Customers.
- Click Template to download
customer-import-template.xlsx. Its Import Template sheet has a column per field, with required columns marked*. Its Field Reference sheet describes every field with an example. - Fill in your customers and delete the two example rows.
- Drag your file onto Drag & drop your Excel or CSV file, or click browse files.
- Click Continue.
A toast confirms "File uploaded: N rows detected".
Excel (.xlsx) is recommended. A CSV opened and saved in a spreadsheet program
can lose a leading + on phone numbers or change a date.
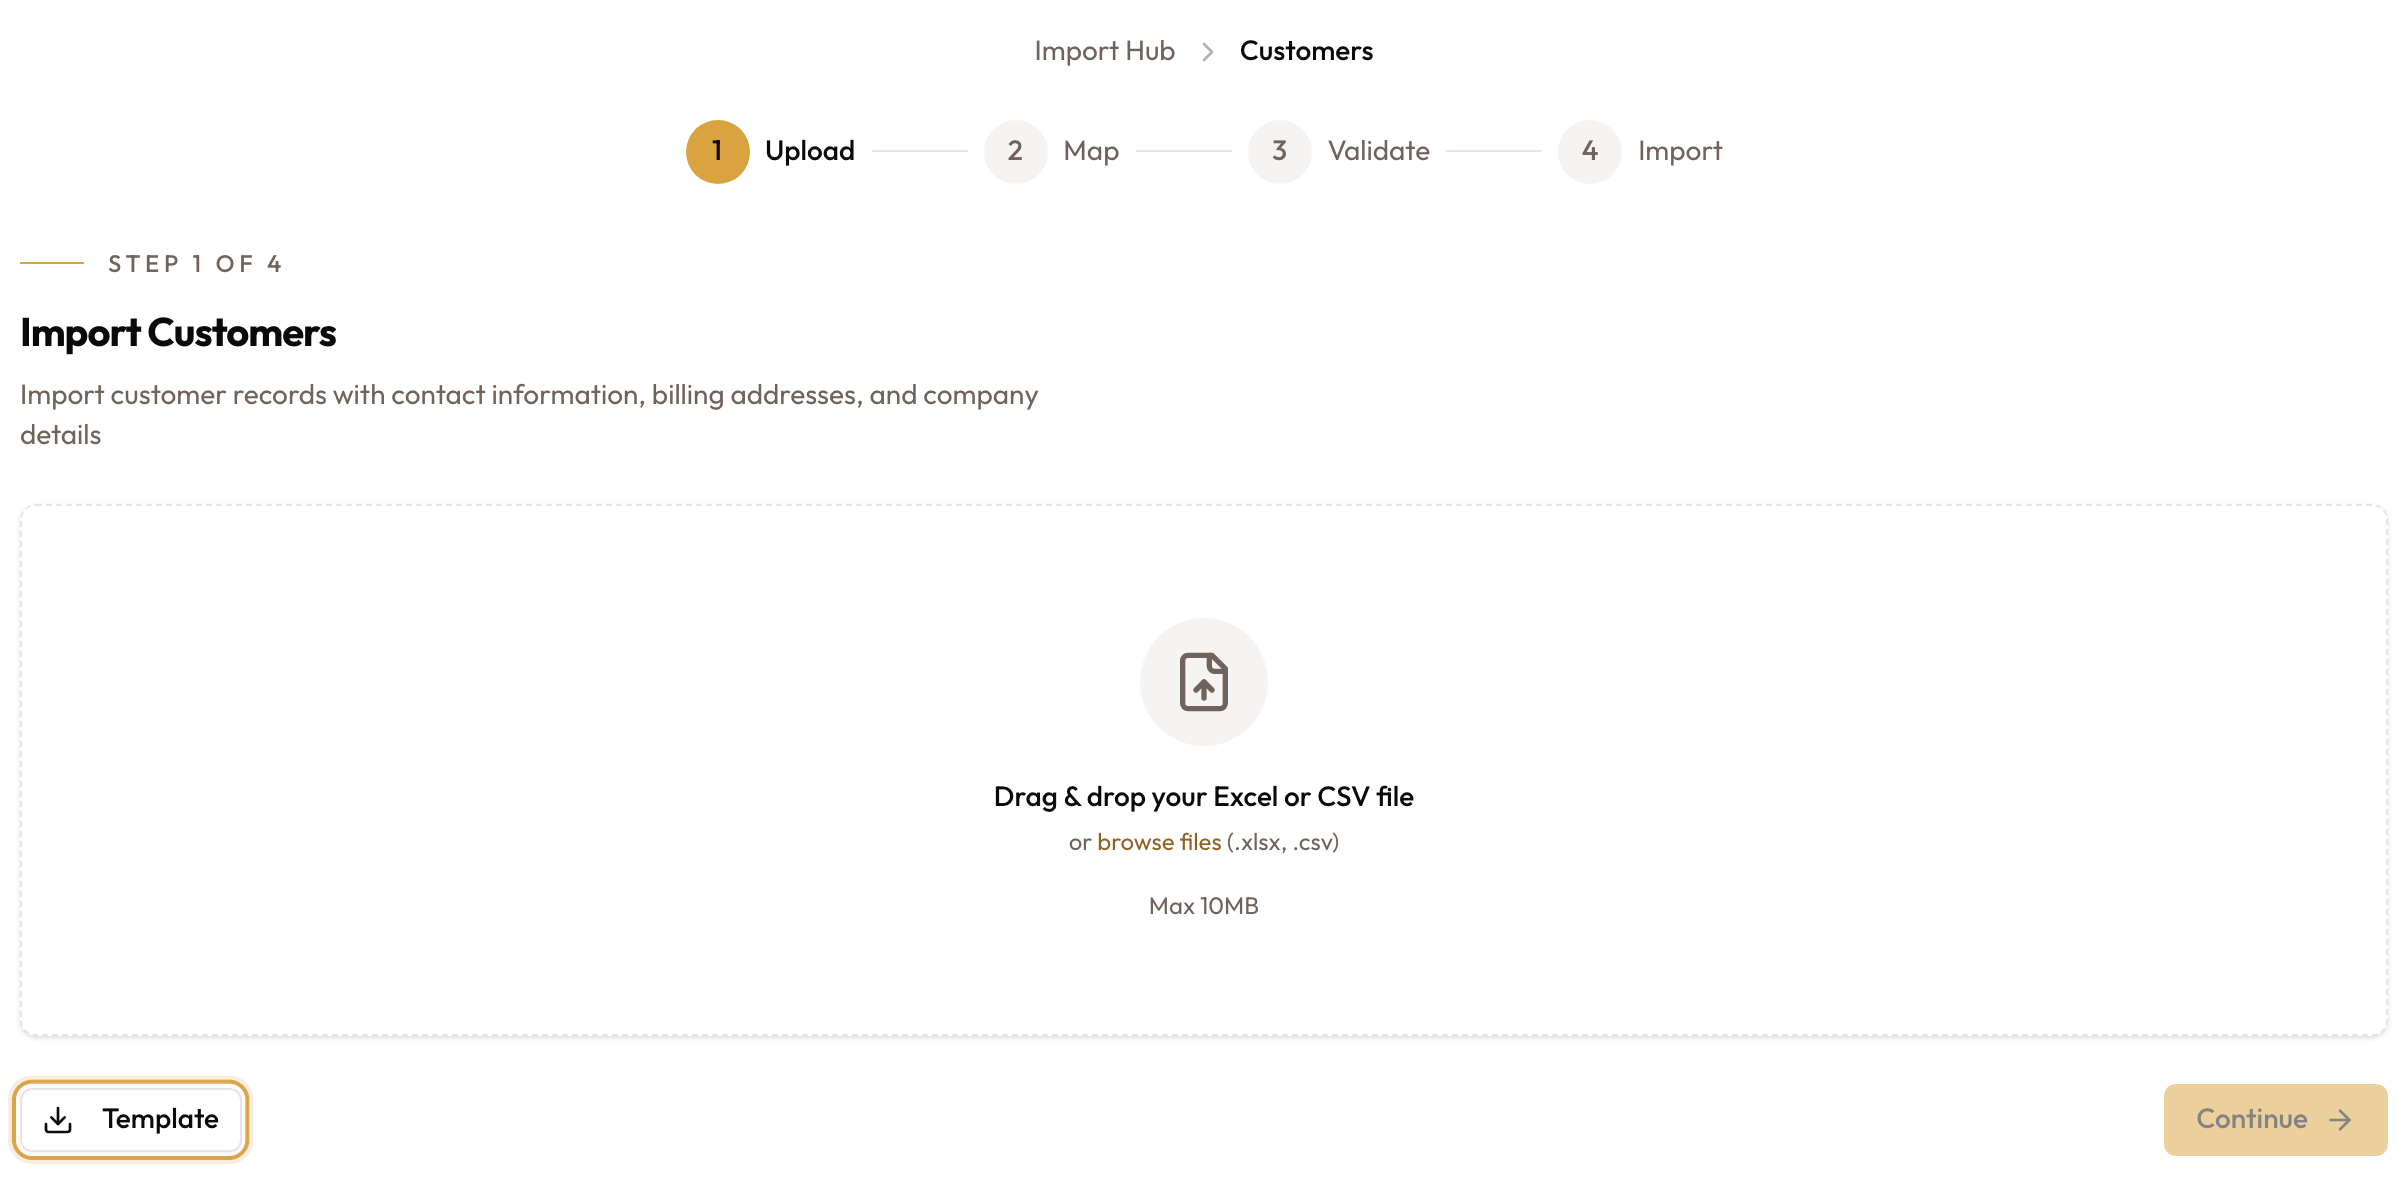
Step 1 of the import: download the Template, then upload your file
Map your columns
Step 2 of 4, Map Columns, lists each column from your file with a sample value and a field picker.
- Check each pairing. Columns the system recognised are filled in already and carry an Auto-detected badge.
- Set columns you don't want to import to Skip.
- Fix anything named in the red Missing required: … banner.
- Click Validate.
| Field | Required | Allowed values |
|---|---|---|
| First Name, Last Name | Yes | Up to 100 characters |
| Phone Number | Yes | At least 10 digits; +, spaces and dashes are fine |
| National ID | Yes | Up to 50 characters |
| Date of Birth | Yes | YYYY-MM-DD or DD/MM/YYYY; 21 or older |
| Gender | Yes | male, female or other |
| Nationality, Address, Billing Address | Yes | Free text |
| Customer Type | Yes | individual or company |
| Payment Method | Yes | bank_transfer, credit_card or direct_debit |
| Company Name, Company Address, Company Phone, Company Email | For company rows | |
| Email, Tax ID, Bank Account Number, Bank Name | No |
Capital letters don't matter in the allowed values.
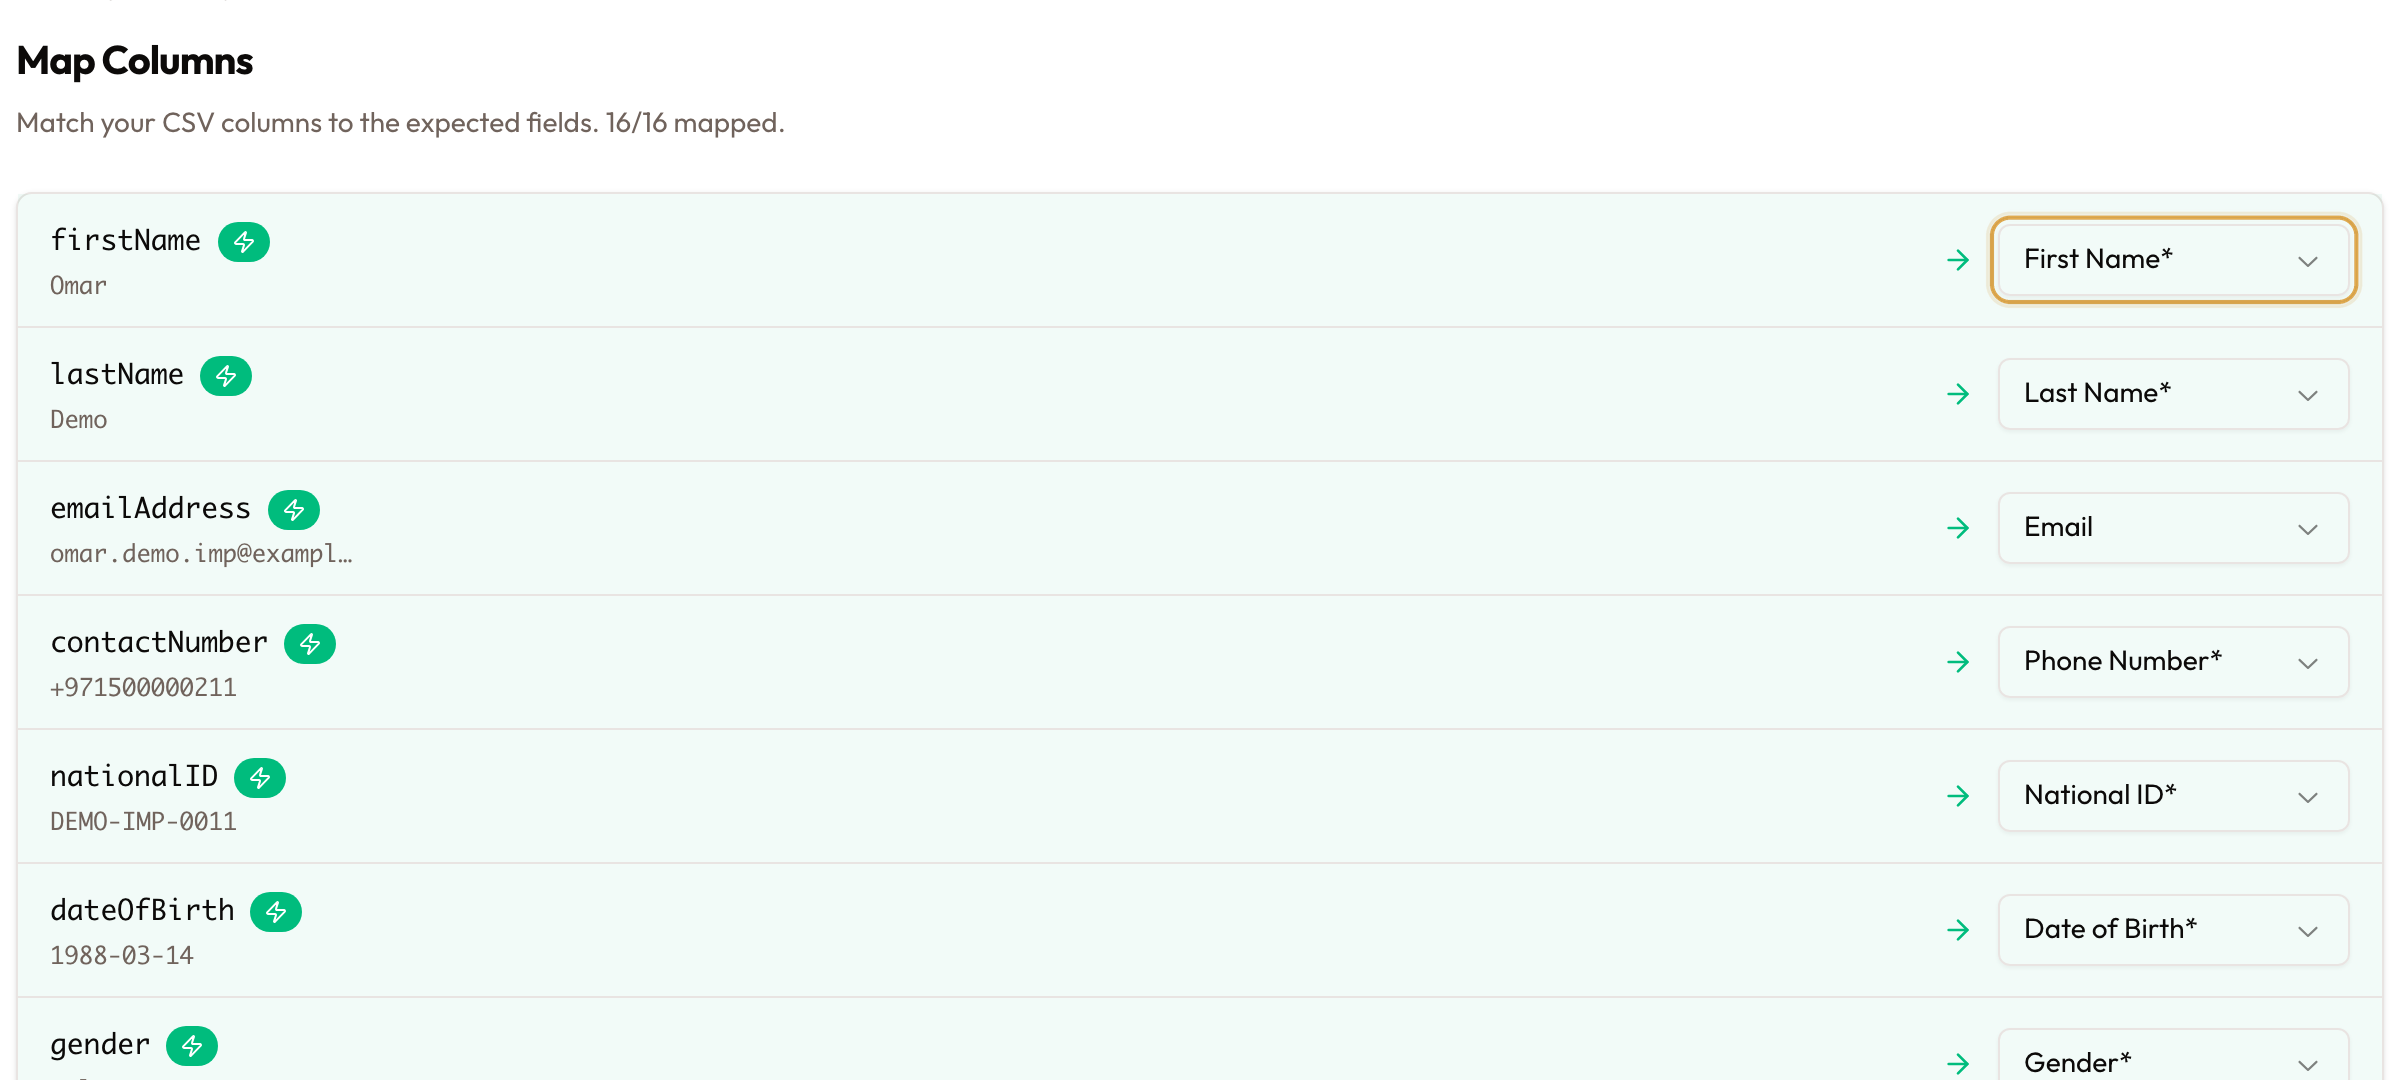
Step 2: each column in your file matched to a customer field
Review the validation results
Step 3 of 4, Validation Results, shows the pass rate, how many rows are ready to import, and four tiles: Total, Valid, Errors and Duplicates.
The Errors card lists each failed row by row number, field and message.
Click Show all for the full list, or the card's download button to save it
as validation-errors.csv.
Then choose:
- Import valid only (N): shown when some rows have errors. Imports the clean rows and leaves the others out.
- Import (N): use this when every row is valid.
To fix the file and start again, click Back twice to return to the upload.
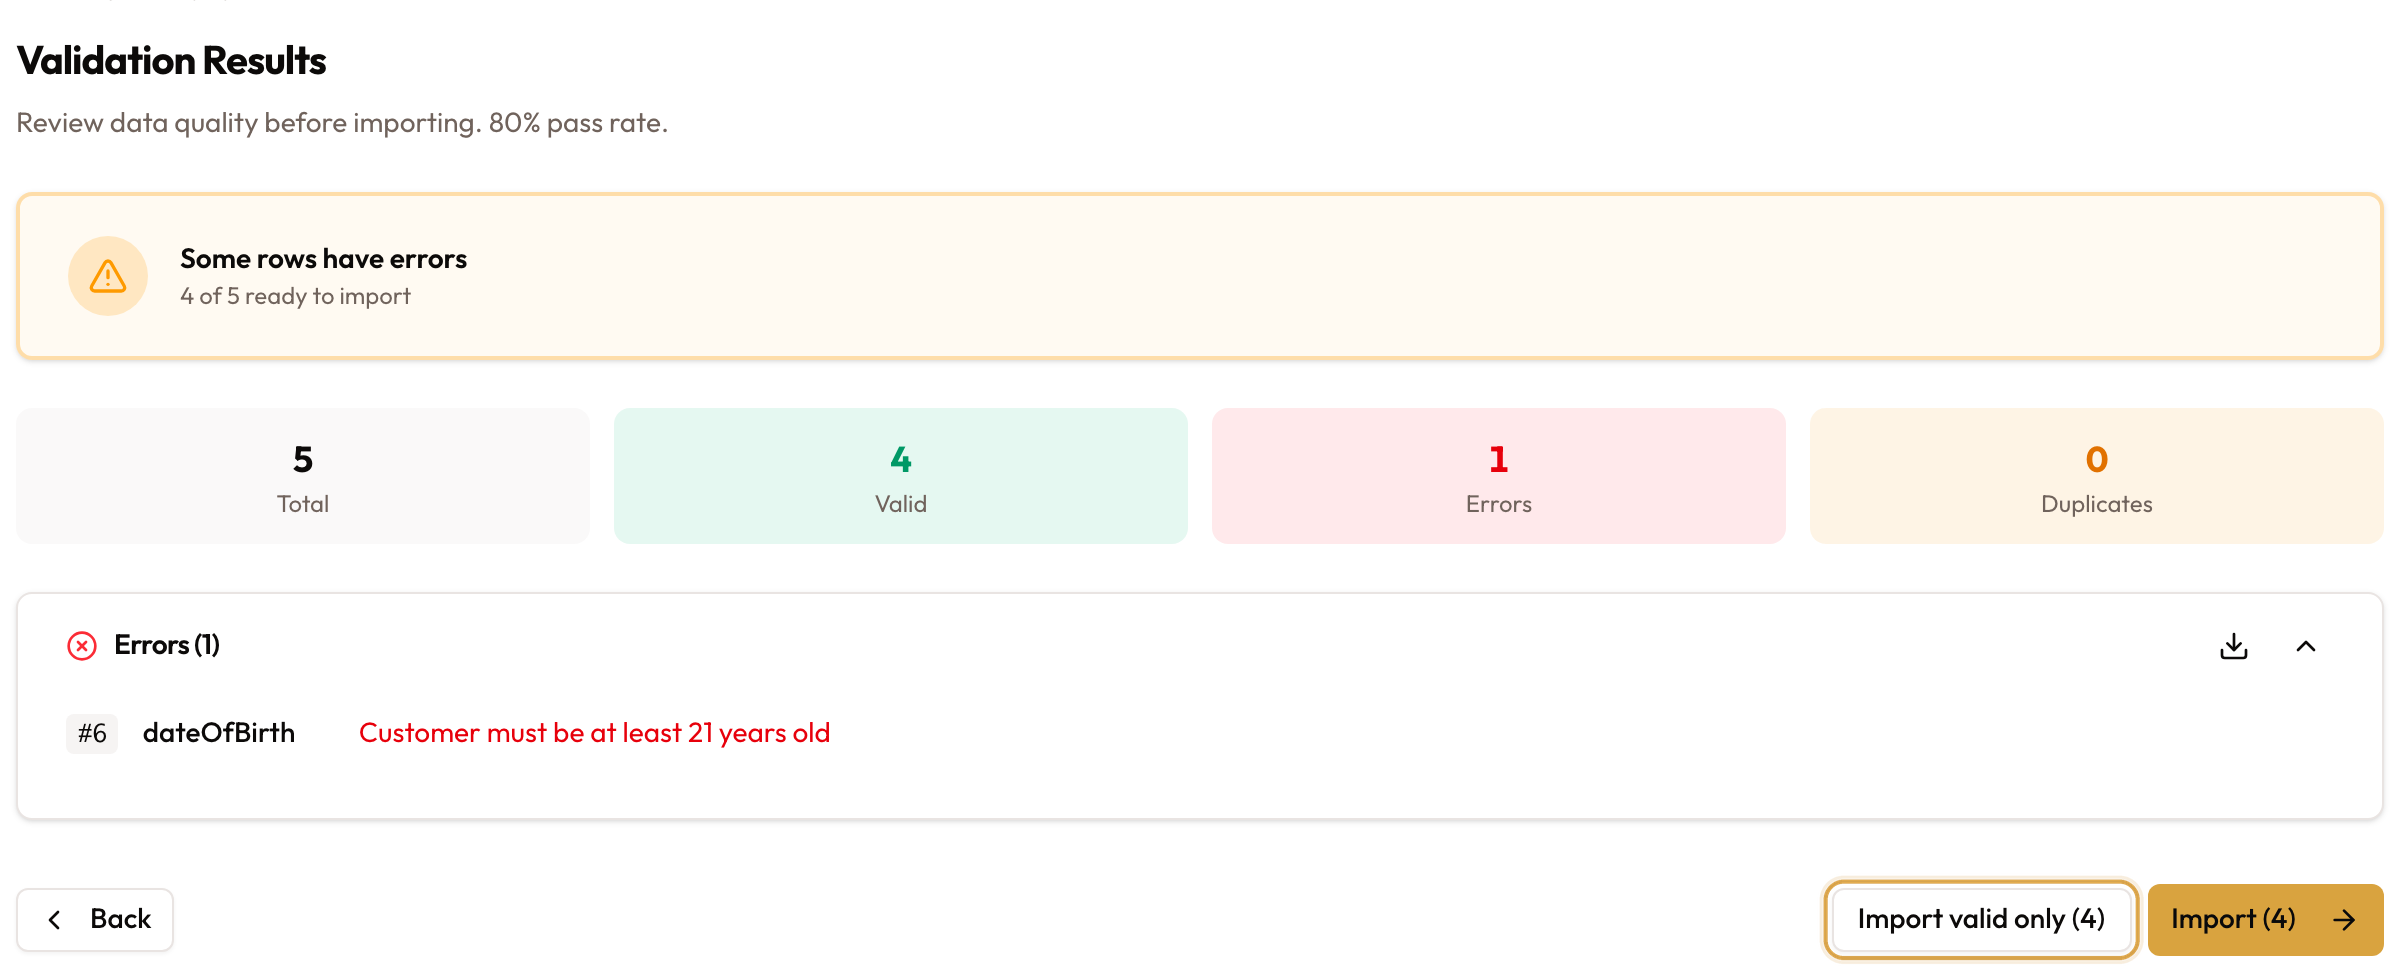
Step 3: the validation results, with the rows that failed and why
Run the import
Step 4 of 4 shows a progress bar, then Import Complete with Imported, Failed and Skipped counts. Any failed rows are listed by row number.
Click View customers to open the Customer Directory, New Import to import another file, or Hub to return to the Import Hub.
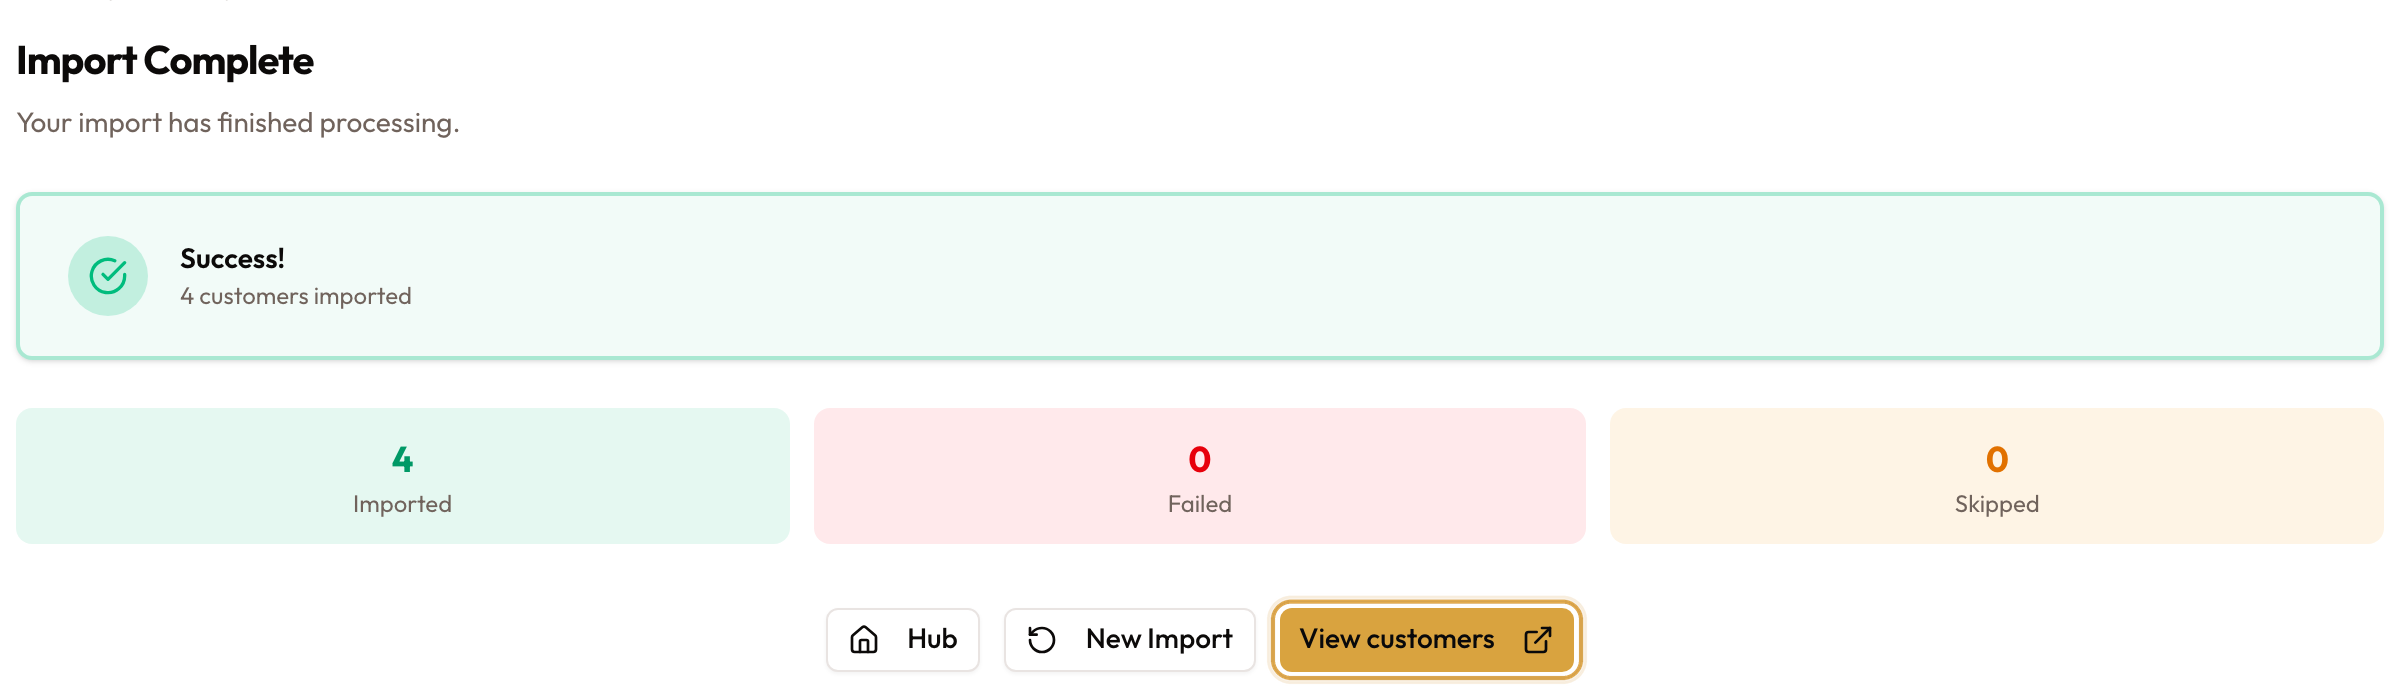
Step 4: the import summary
Common mistakes and edge cases
- The import needs age 21; the form needs 18. A date of birth under 21 gives "Customer must be at least 21 years old", although the New Customer form accepts 18 and over.
- Dates. Use
YYYY-MM-DD;DD/MM/YYYYalso works. A date that can't be read shows "Invalid date format (use YYYY-MM-DD)". Don't use the US month-first order:05/12/1990is read as 5 December 1990. - Duplicates. An email, phone number or national ID that already belongs to a customer is an error, for example "Phone number already exists in workspace". The same value twice in your own file is flagged "Duplicate … found in file (already in row above)" and counted under Duplicates.
- Tax ID isn't checked at validation. A Tax ID already used by another customer passes validation, and that row then fails during the import.
- Fill in Billing Address on every row; the import requires it.
- Company rows need all four company fields, or the row is rejected, for example "Company name is required for company customers".
- Leftover example rows. The template's two example customers import like any other row. Delete them before uploading.
- Import (N) with errors on screen doesn't leave out the rows with errors. Use Import valid only, or fix the file first.
- Customer numbers. Imported customers get a system-generated number, such
as
CUST-20DE-8337-C8NP, not the next number from your Document Numbering sequence. - Payment Method filter and Cheque or Direct debit. The quick filter offers Credit Card, Bank Transfer, Cash and Check. Customers set to Direct debit or Cheque on their page don't match any of these.
- Large exports. If an export stops short, the toast reads "Exported N of M rows". Narrow your filters and export again.
Related guides
Adding Individual & Company Customers
Register one customer at a time on the New Customer form.
Managing Customer Documents & Photos
Attach ID images and documents once a customer exists.
Customer KYC Process
Check a renter's ID and complete their identity details.
Bulk Vehicle Import
The same import wizard, for your fleet.