

Vehicle Documents & Compliance
Record registration and insurance details, and upload a vehicle's documents by category
Once a vehicle is in your fleet, its paperwork lives on its detail page in SpectroNova Express. There are two parts: the registration and insurance details (dates and policy numbers) on the Overview, and the documents themselves — the registration card (Mulkiya), insurance certificate, and anything else — in the Documents tab, organized by category. Open any vehicle from the fleet list to reach them.
Before you start:
- Editing the compliance fields needs the vehicles: update permission — the Edit button only appears with it.
- Uploading documents needs vehicles: documents.upload; removing one needs vehicles: documents.delete.
Part 1 — Registration & insurance details
Open the vehicle and edit
Open the vehicle to its Overview tab and click Edit (top right, or the actions menu). The page enters edit mode with a sticky Save/Cancel bar.

Record the details
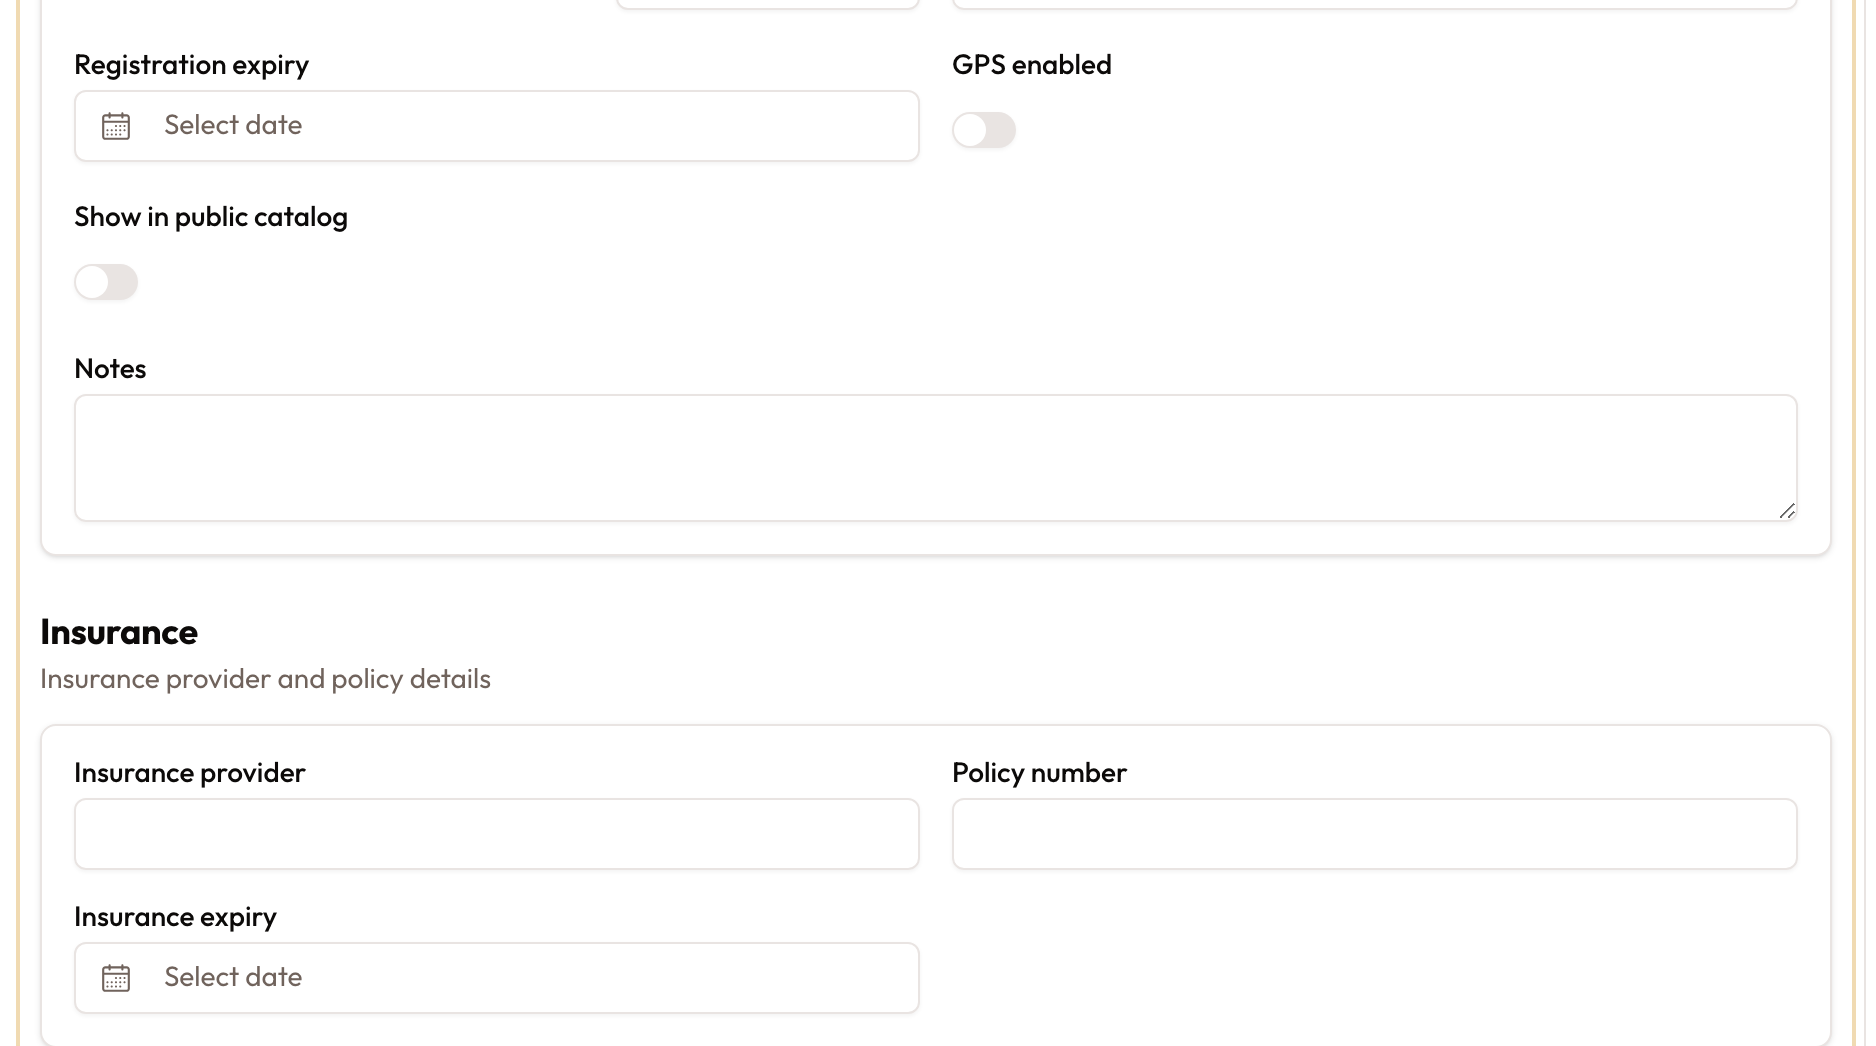
Under Vehicle identity, set Registration expiry — the date the vehicle's registration (Mulkiya) lapses. Under Insurance ("Insurance provider and policy details"), fill in the Insurance provider, Policy number, and Insurance expiry. Click Save.
These are the data fields — the recorded dates and policy details. The scanned documents themselves are uploaded in the Documents tab below.
Part 2 — The Documents tab
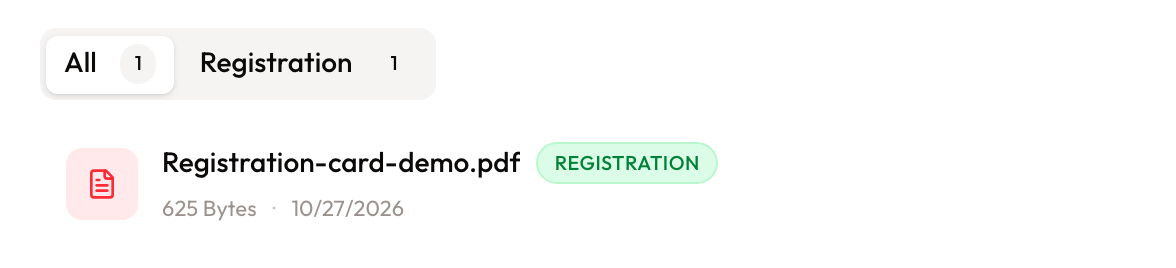
Open the vehicle's Documents tab. Documents are grouped into five categories: Registration, Insurance, Maintenance, Financial, and Other — put the Mulkiya under Registration and the policy or certificate under Insurance.
Upload a document
Pick the category from the selector in the upload bar, then Drop files or browse to choose a file. Accepted types are PDF, DOC, images, and spreadsheets, up to 10MB each. A progress bar shows Uploading… then Upload complete!, and an Uploaded successfully toast confirms it; the file appears in the list under its category.

Find and manage documents
The category filter tabs — All plus one per category, each with a count — narrow the list. Each row shows the file's name, category, size, and upload date, with view, download, and delete actions (on desktop they appear on hover; on mobile, via the row's menu). Deleting is permission-gated and removes the document from the vehicle.
With no documents at all you'll see No documents yet — Upload your first document to get started; filtering to a category with none shows No <category> documents with a shortcut to upload or view all.
Common mistakes and edge cases
- No Edit button. Editing the compliance fields needs the vehicles: update permission — without it the fields are read-only.
- File too large or wrong type. Uploads are capped at 10MB and limited to PDF, DOC, image, and spreadsheet files; anything larger or unsupported is rejected.
- The expiry date and the document are separate. Setting Registration expiry or Insurance expiry doesn't upload the document, and uploading a file doesn't fill in the date — do both so the details and the paperwork stay together.
- Categories are fixed. Use the closest match: registration card → Registration, policy → Insurance, service invoices → Maintenance.
Related
- Adding Vehicles to Your Fleet — the registration and insurance details start here; this guide keeps them current.
- Bulk Vehicle Import — import many vehicles; documents are added per vehicle afterward, here.