

Managing Your Profile & User Settings
Your personal settings in SpectroNova Express: profile and photo, language, theme and colour palette, notification switches, and password. Plus how the workspace-wide UI Settings differ.
Your user settings belong to you, not to your company. They follow you into every organization and workspace you join. Here you set how you appear to others, how SpectroNova Express looks for you, which notifications you get, and your password.
Looking for your company's details instead? See Setting Up Your Organization and Creating & Configuring Workspaces.
Open your user settings
Open the account menu
- At the bottom of the main menu, click your name and email.
- In the menu that opens, click Account.
The same menu also has Language, Help & guides (opens the SpectroNova Express help guides in a new tab) and Sign Out.
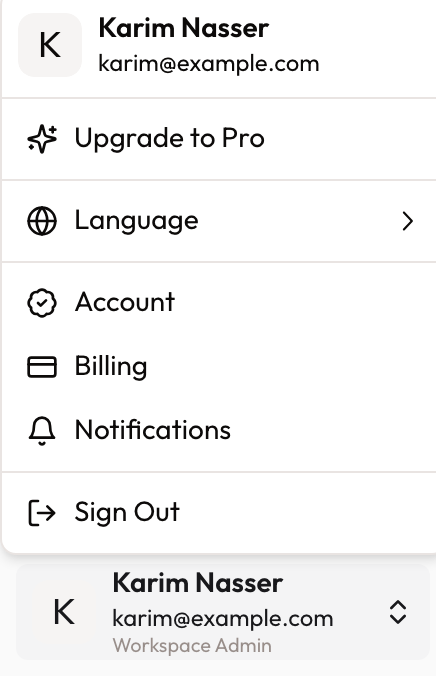
The account menu: Language, Account, Help & guides and Sign Out.
Pick a tab
The Settings page opens on Profile. The tabs down the side are:
- Profile: your name, phone and photo.
- Preferences: colour palette and light or dark mode.
- Notifications: email and in-app notification switches.
- Security: your password.
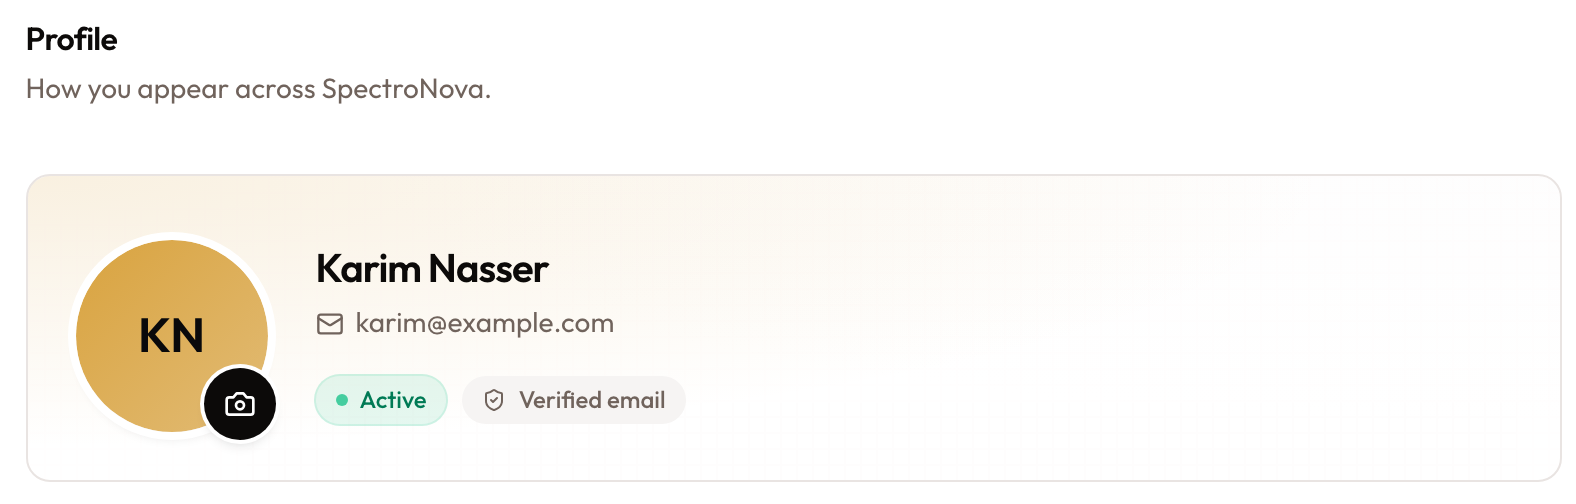
The Profile tab: your photo with the camera button, Account details, and the read-only Email address card.
Edit your profile
Change your photo
- Click the camera button on the corner of your photo.
- Choose a JPEG, PNG or WebP image under 5 MB. Other files are refused.
- In Crop Profile Photo, drag and zoom to frame your face in the circle.
- Click Save Photo.
Your new photo uploads straight away.
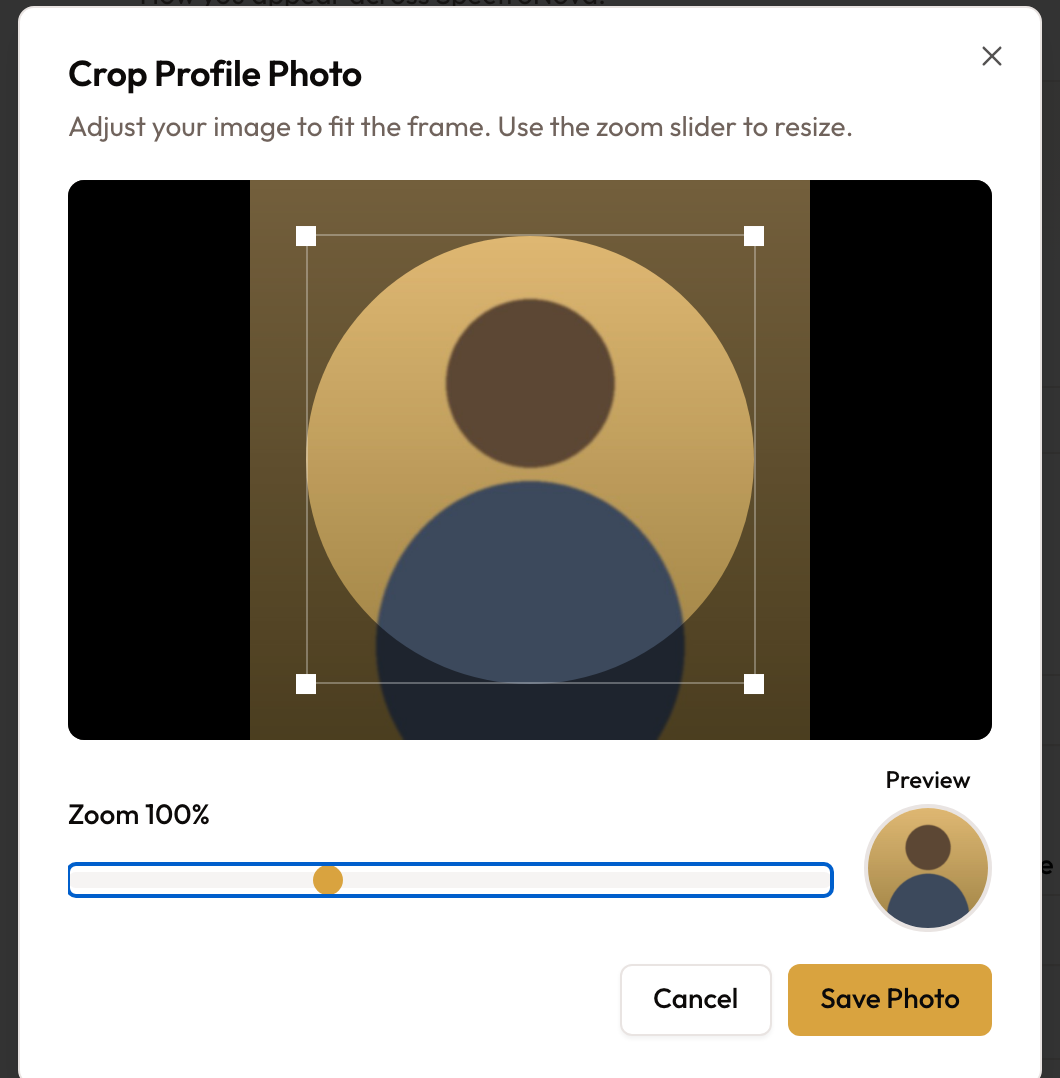
Crop Profile Photo: drag the frame, set the zoom, check the Preview, then Save Photo.
Edit your details and save
In Account details:
- Display name (required): how others see you, 2 to 50 characters. It shows on activity, comments and team views.
- First name and Last name: optional.
- Phone number: optional. Used for security alerts and notifications.
Your Email address is shown as Read only.
Click Save changes. A message confirms the update.
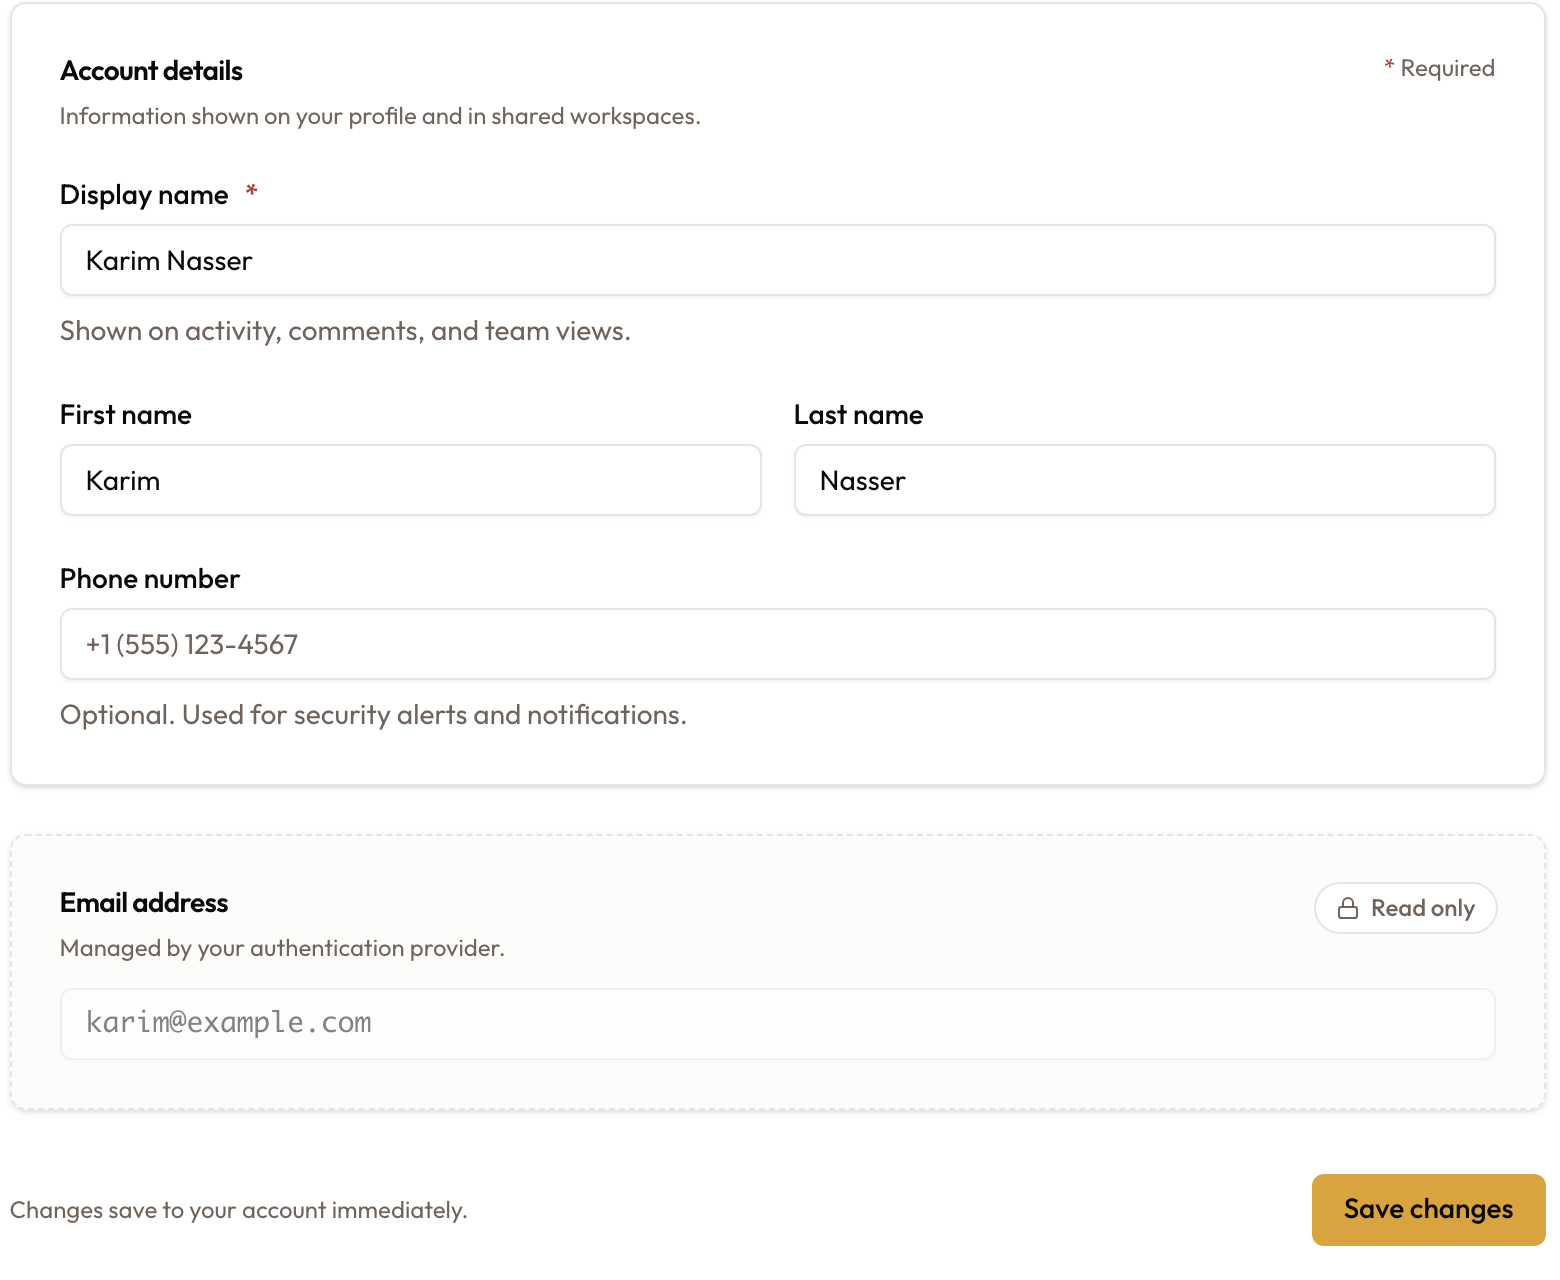
Account details: Display name, First name, Last name and Phone number, then Save changes.
Change the language
- Open the account menu (your name at the bottom of the main menu).
- Point to Language.
- Choose English or العربية (Arabic).
The app switches language at once. Arabic also switches the layout to right-to-left. Your choice is saved to your account.
Choose your theme
On the Preferences tab, under Appearance:
- Under Color palette, pick one: Express Gold, Slate, Emerald or Construction.
- Under Theme mode, pick Light or Dark.
- Click Save preferences.
The theme applies to you only, and it's saved to your account.
Quick switch: the sun or moon button in the top bar switches between Light, Dark and System (follow your device). It also saves to your account.
Getting Started checklist: further down the tab, under Onboarding, click Reset to bring the checklist back to your dashboard.
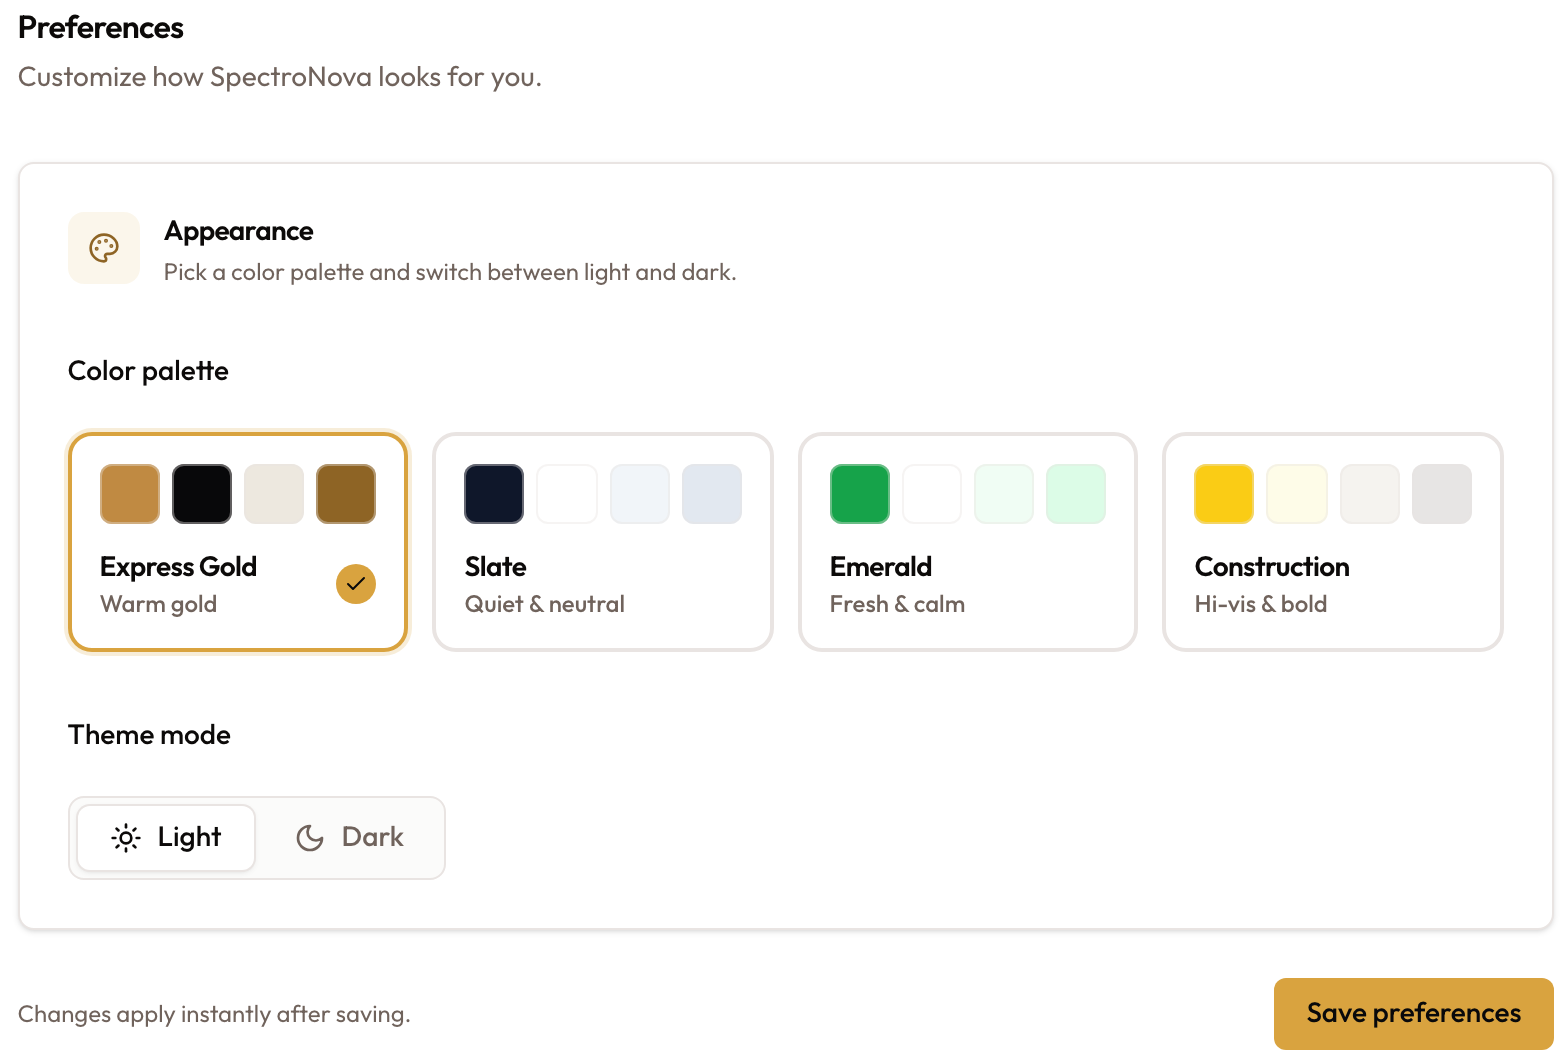
Preferences: the four Color palette choices, Theme mode, and Save preferences.
Set your notifications
On the Notifications tab:
- Turn Email Notifications on or off.
- Turn In-App Notifications on or off. In-app notifications appear under the bell in the top bar.
- Click Save Preferences.
Both are on for new users. These switches are yours only. Your company's automatic messages to customers are set by a Workspace Admin under Settings → Notifications.
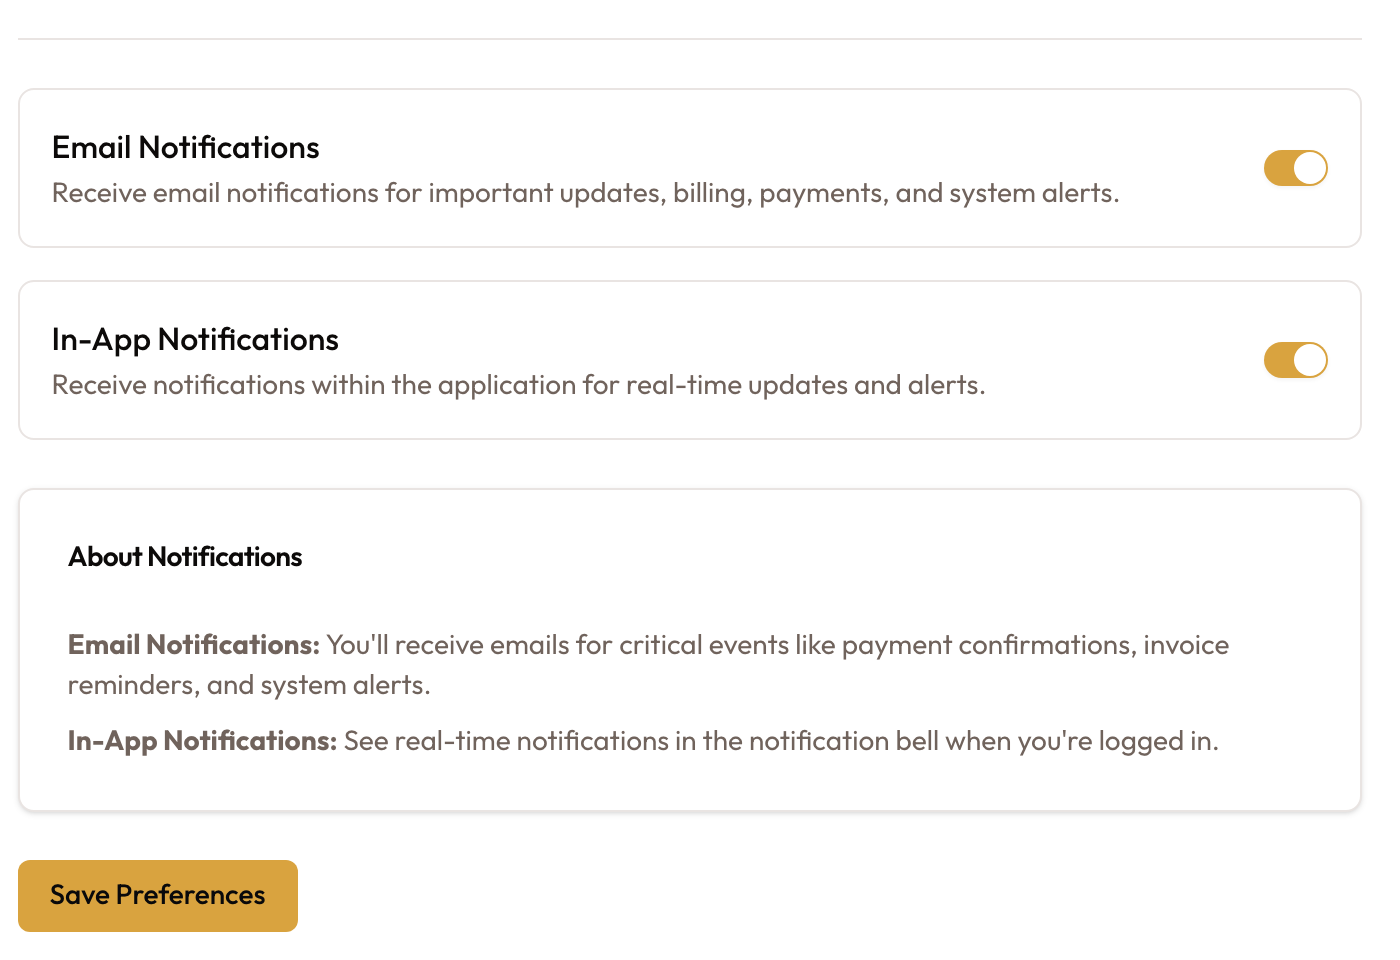
Notifications: the Email Notifications and In-App Notifications switches.
Change your password
On the Security tab, under Change Password:
- Type your Current Password.
- Type a New Password of at least 6 characters.
- Type it again in Confirm New Password.
- Click Change Password.
A message confirms the change, and the form clears.
Two-factor authentication and active sessions are marked Coming Soon.
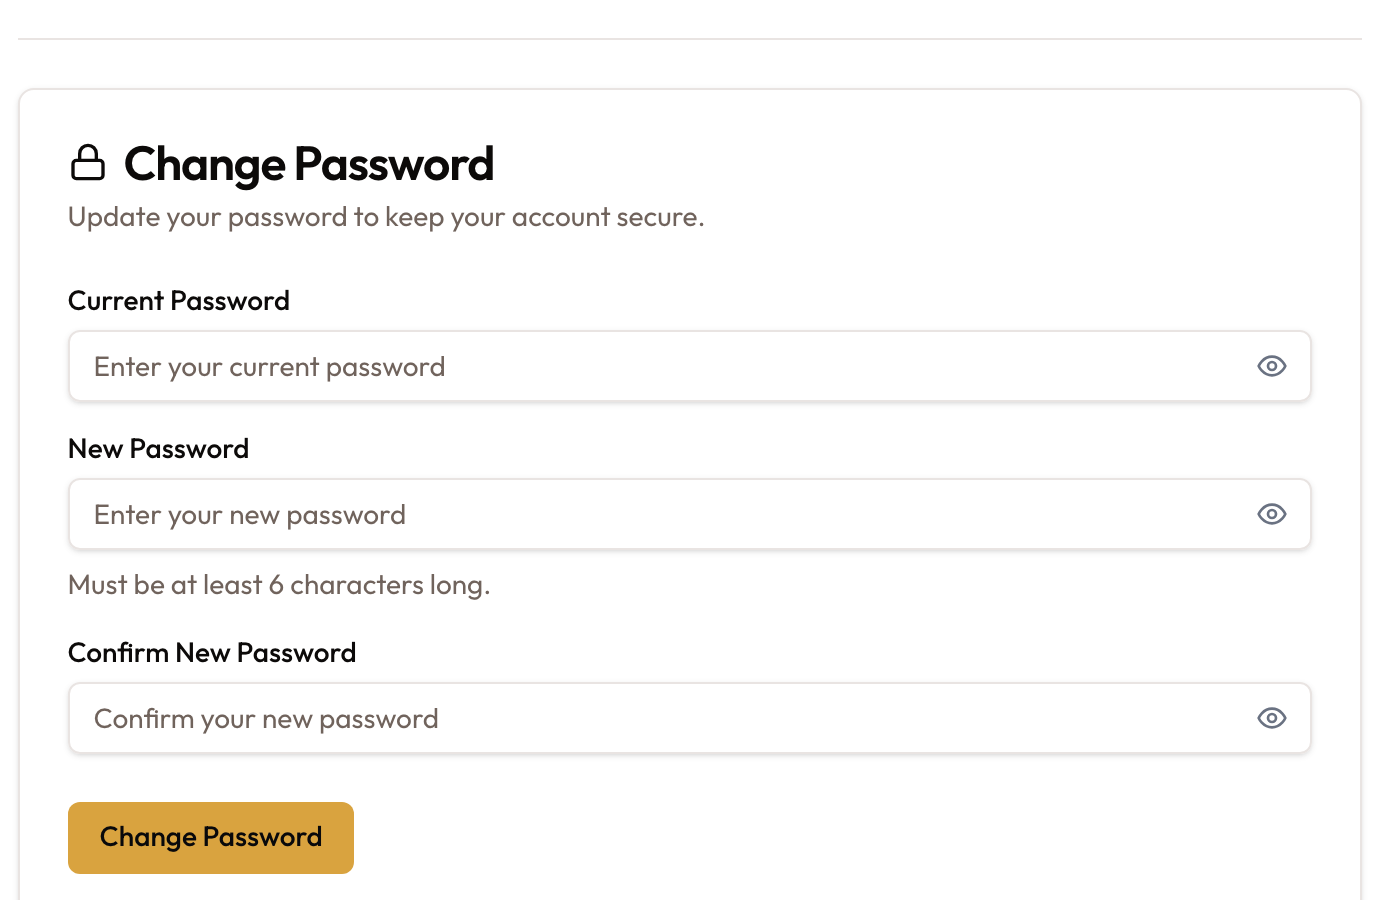
Security: Change Password with the three password fields.
UI Settings are for the whole workspace
Settings → UI Settings (under General) is not a personal setting. It saves display defaults for the whole workspace, and only people allowed to change workspace settings can open it. Your own look comes from Preferences above.
The page has:
- Appearance: Light, Dark or Auto.
- Date Format: for example YYYY-MM-DD or DD/MM/YYYY, with a preview.
- Time Format: 12-hour (with AM/PM) or 24-hour.
- First Day of Week: Sunday or Monday.
Click Save Changes to save, or Reset to Defaults to go back to the defaults.
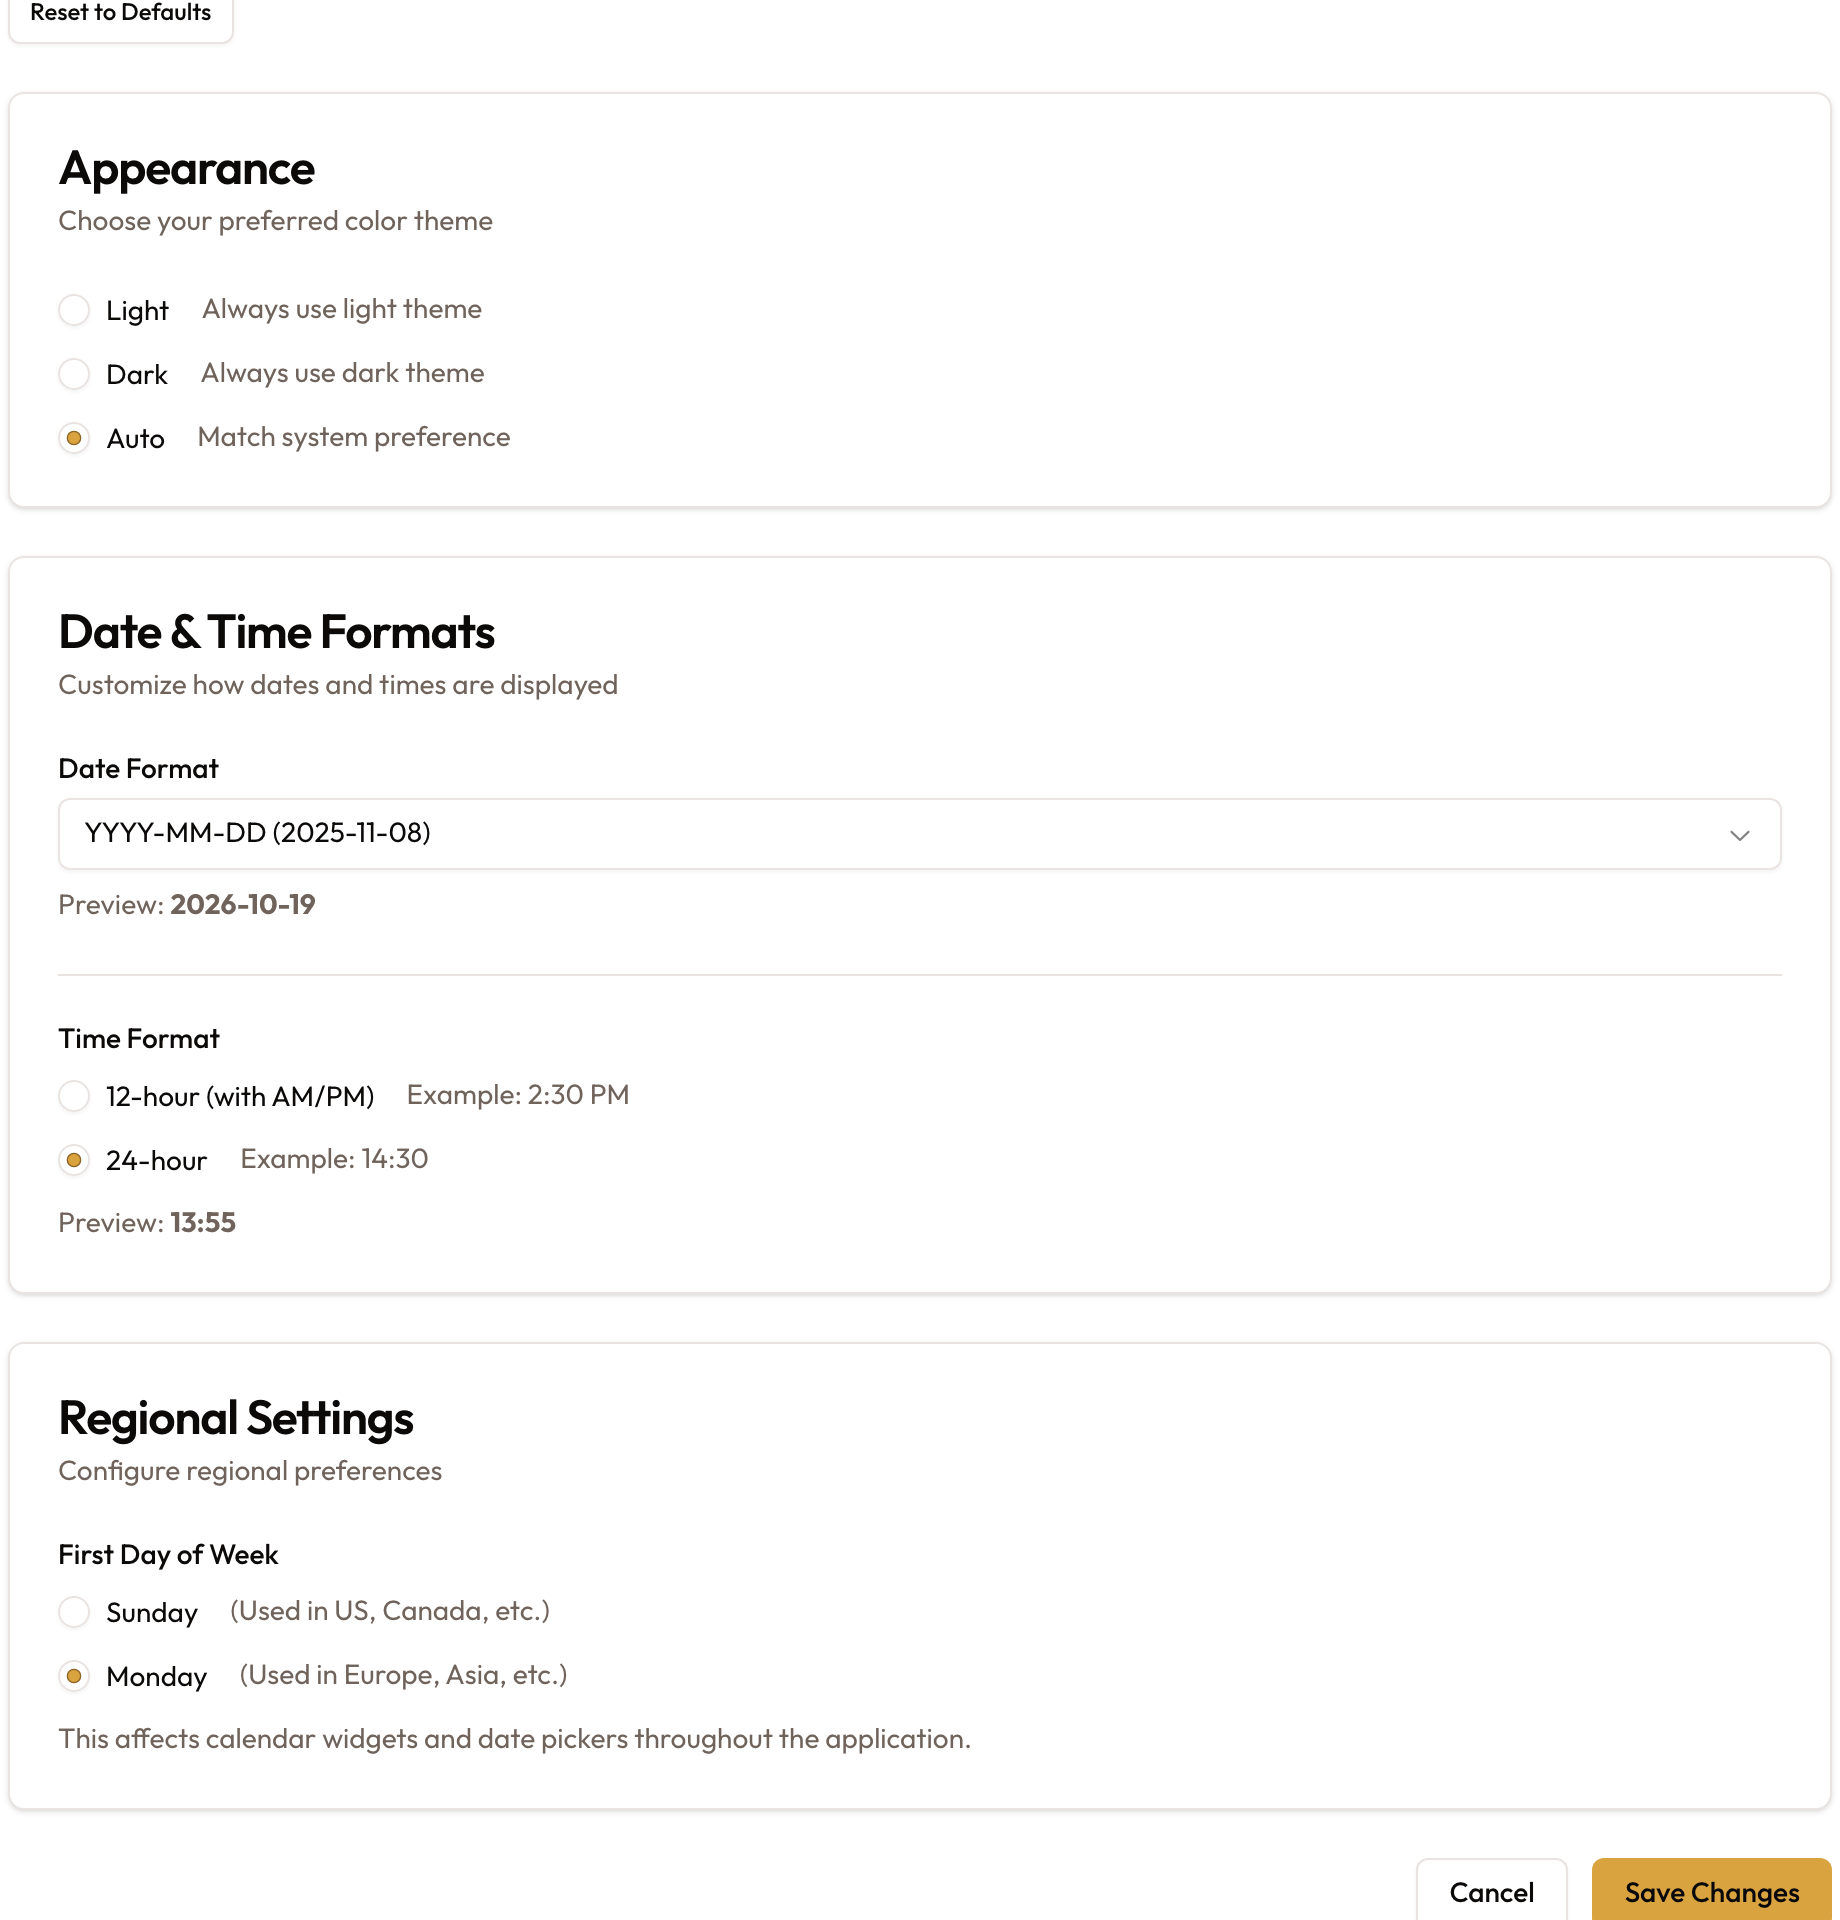
Settings → UI Settings: Appearance, Date & Time Formats and Regional Settings for the workspace.
Good to know
- Display name is required (2 to 50 characters). Everything else on Profile is optional.
- Photos must be JPEG, PNG or WebP, under 5 MB.
- Language, theme and notification choices are saved to your account, so they follow you to other devices.