

Inviting Team Members & Assigning Roles
Invite people to a workspace by email from Settings → Members, choose each person's built-in role, follow up on pending invitations, and change or remove members.
Bring your team into SpectroNova Express by email. Each person joins one workspace with a role, and the role decides what they can see and do. You manage invitations and members from one page: Settings → Members.
Who can invite. Invite Members appears for roles that can invite members, and the ⋯ menu next to each member for roles that can change roles or remove members. A Workspace Admin can do both.
Your plan doesn't cap the number of people you can invite. Set up your workspace first if you haven't: see Creating & Configuring Workspaces.
Invite members
Open Members
- Open Settings in the main menu.
- Under Team, click Members.
- Click Invite Members in the top-right corner.
The page is headed Workspace Members. It shows pending invitations at the top and the people already in the workspace below.
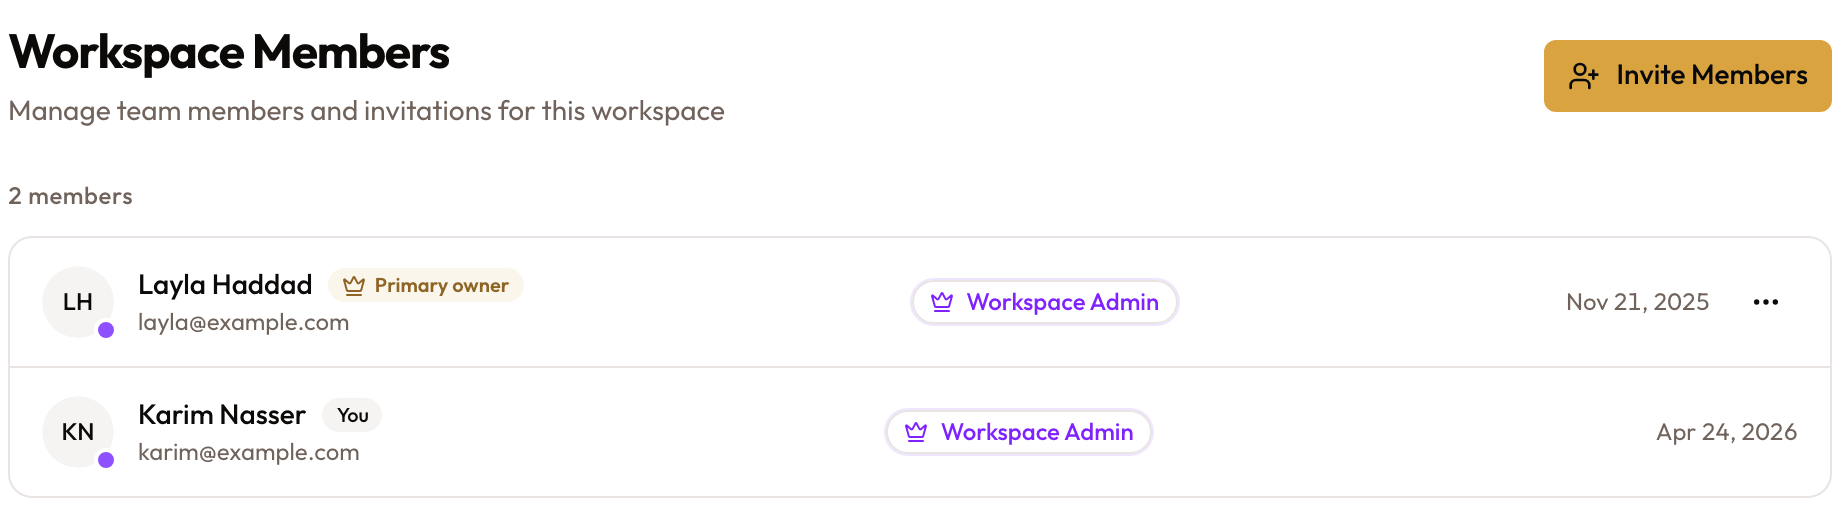
Settings → Members: Workspace Members, the member list with its tags, and Invite Members.
Choose the default role
A panel opens on the right, titled Invite Members.
- Open Default role for new invitees.
- Pick a role. Everyone you add next gets this role.
You must pick a role before you can send. The list shows your company's roles, including any custom ones. See Roles below.
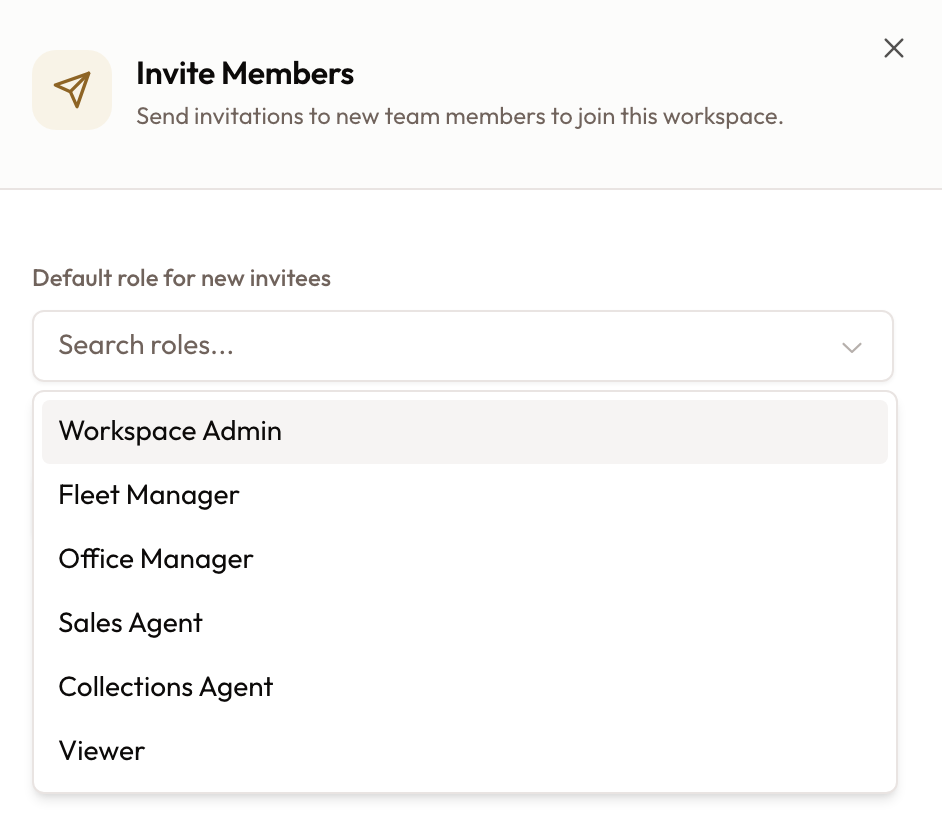
Invite Members: pick the Default role for new invitees first.
Add email addresses
- In Email addresses, type an address.
- Click Add, or press Enter.
- Repeat for each person.
Each person appears as a row with their email and role. To give one person a different role, click the role under their email and pick another. To take someone off the list, hover over the row and click the X at its right.
An address is refused if it isn't a valid email, if it's your own, or if it's already on the list.
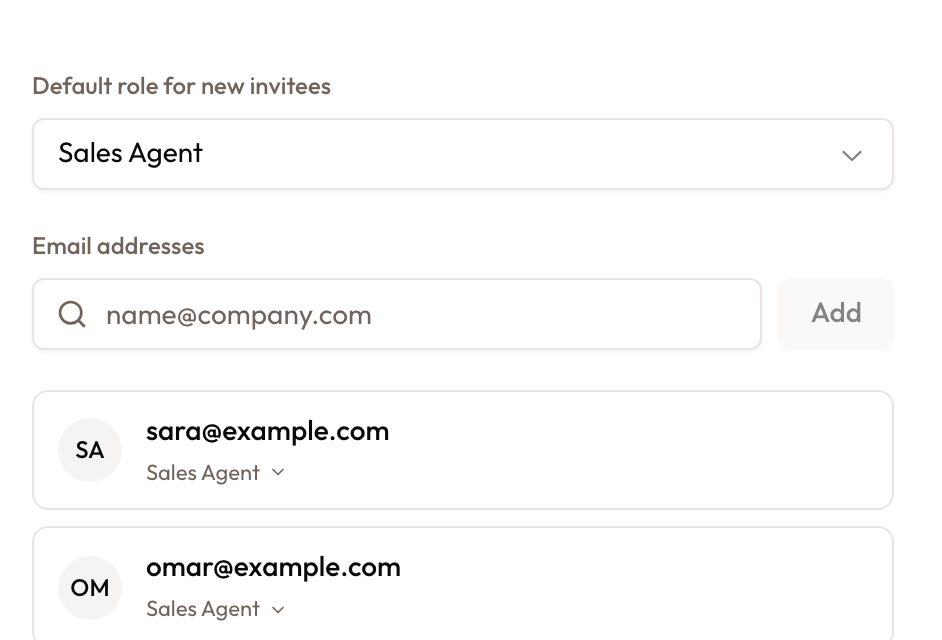
Two email addresses added, each with its own role picker.
Add a message and send
- Optional: type a note in Personal message (optional). It goes into the invitation email.
- Click Send 1 Invitation (or Send 2 Invitations, and so on).
The panel closes and the people appear under pending invitations. If someone already has an active invitation, you see a warning for that person and the rest still go out.
You can only give a role whose permissions you have yourself. A Workspace Admin can give any role.
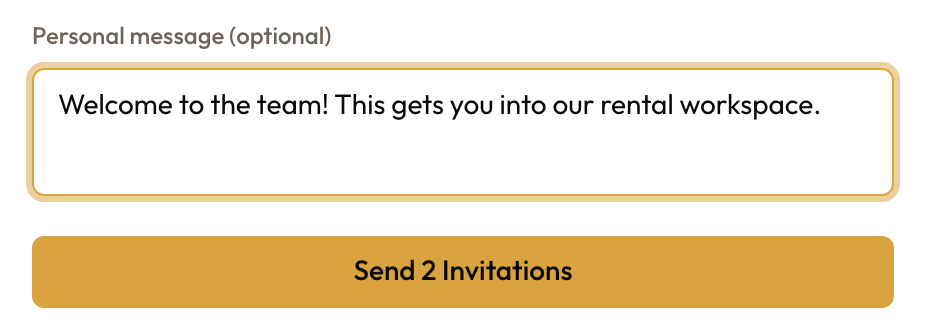
An optional Personal message, then Send 2 Invitations.
Follow up on pending invitations
Invitations that haven't been accepted sit in a panel at the top of the page, headed with the count, for example 2 pending invitations. Each row shows the email, role, date sent and a status:
- Pending: sent and still valid. An invitation is valid for 7 days.
- Expired: the 7 days ran out.
- Cancelled: you cancelled it. It stays in the list, struck through.
Once someone accepts, they move into the member list below.
Open the ⋯ menu on a row:
- Resend (pending): sends the email again with a fresh link, valid for another 7 days.
- Re-invite (expired or cancelled): sends a fresh link and sets the invitation back to Pending.
- Cancel (pending): stops the link from working.
- Delete (expired or cancelled): removes the row.
Click Invite more members at the bottom of the panel to open the invite panel again.
Change a role or remove a member
The member list shows each person's name, email, role and join date. Some rows carry a tag:
- You — your own row. It has no menu.
- Primary owner — the person who created the company.
- Owner — any other owner.
To change someone's role:
- Open the ⋯ menu on their row.
- Click Change Role.
- Pick the new role from the list. The change applies at once.
To remove someone:
- Open the ⋯ menu on their row.
- Click Remove Member.
- Confirm with Remove Member. They lose access to the workspace immediately.
Some changes are blocked, and the menu item shows why:
- You can't change your own role or remove yourself.
- The primary owner can't be changed or removed.
- Only an owner can change or remove another owner.
- You can't give a role with permissions you don't have.
- The last Workspace Admin can't be moved to another role. Make someone else admin first.
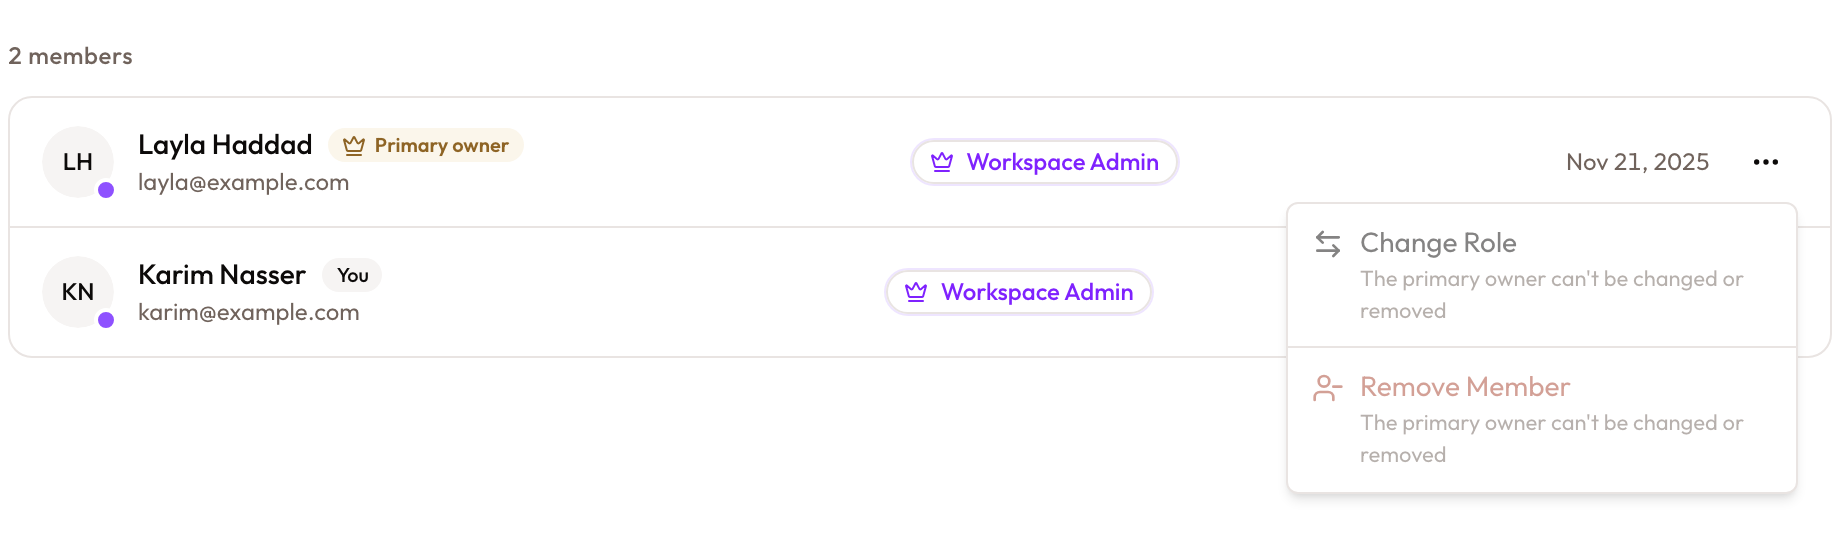
The ⋯ menu on a member's row. On the primary owner, Change Role and Remove Member are greyed out with the reason.
Roles
Roles belong to your company and apply in every workspace. To see them, open Settings → Roles (the page is headed Role Management). SpectroNova Express comes with six built-in roles:
| Role | What it's for |
|---|---|
| Workspace Admin | Everything in the workspace, including members and roles. |
| Fleet Manager | The fleet: vehicles and maintenance. |
| Sales Agent | Customers and rental agreements. |
| Office Manager | The front desk and the money side: agreements, payments and invoices. |
| Collections Agent | Collecting payments, plus basic customer service. |
| Viewer | Read-only access. |
Your company may have given a built-in role its own name. The Roles page then shows the built-in name under it.
To adjust what a built-in role can do, or to create your own roles, see Roles & Permissions.
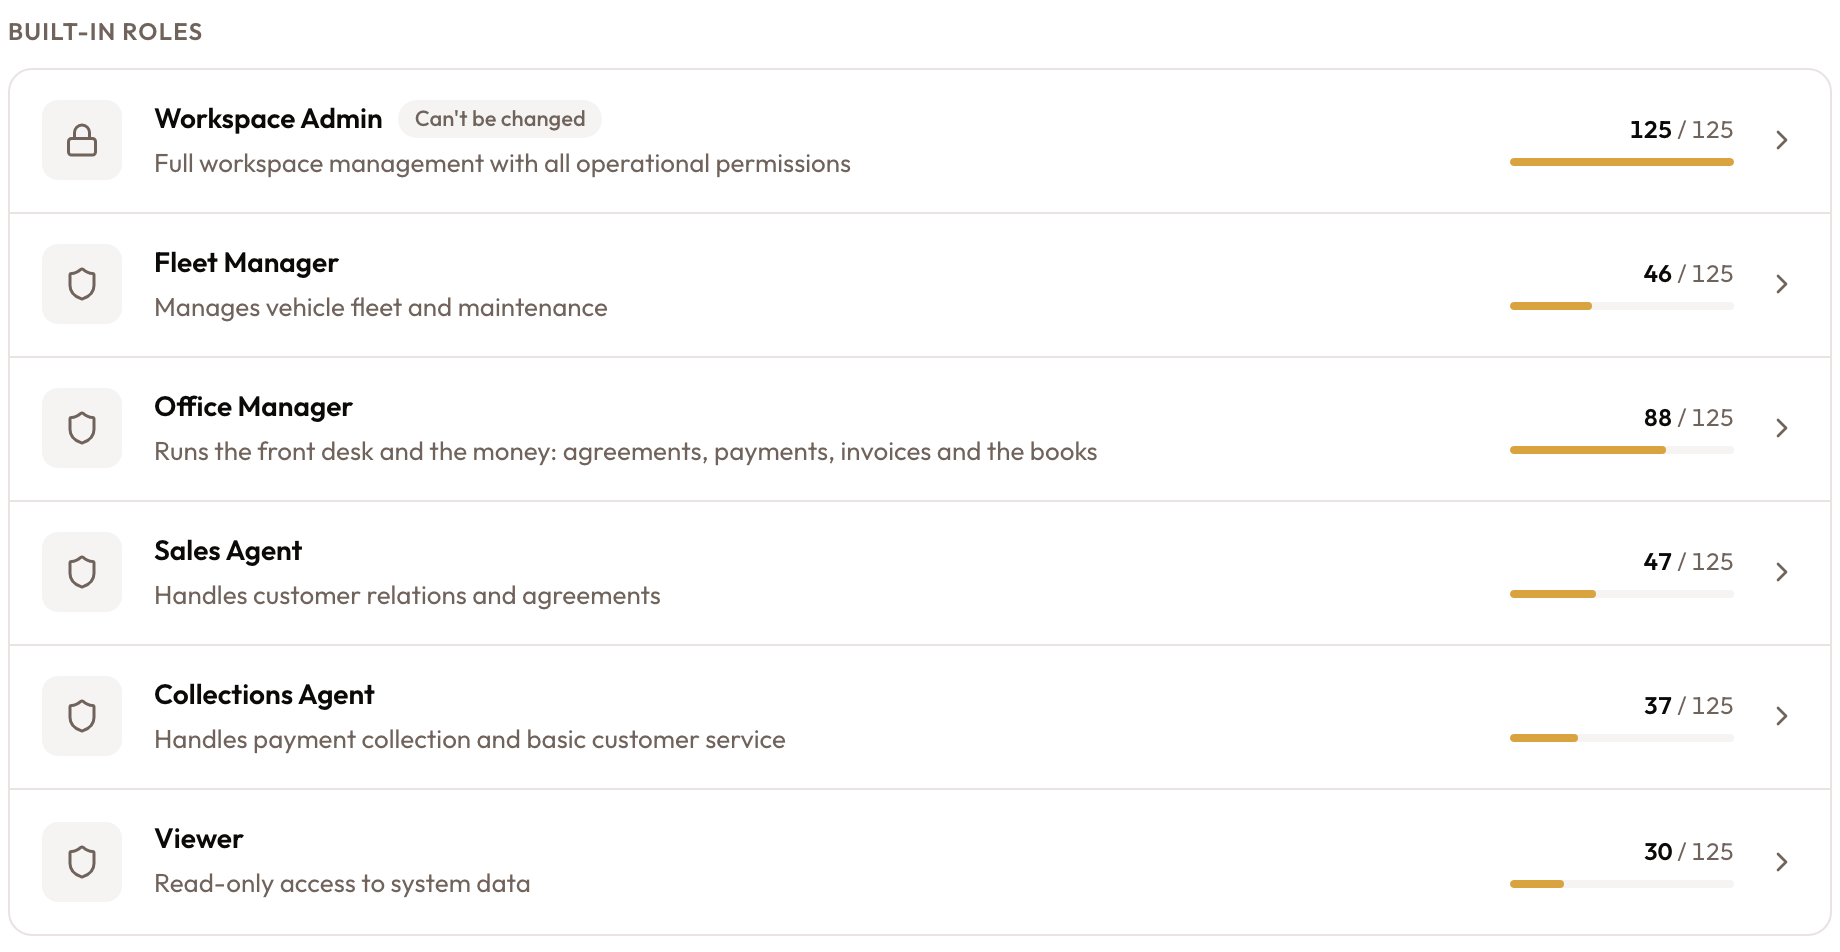
Settings → Roles: the six built-in roles.
What the person you invited sees
The invitation email links to a page headed You're Invited!. An Invitation Details card shows the organization, workspace, role and expiry date. What happens next depends on the person:
- New to SpectroNova Express: they fill in Create Your Account (first name, last name and a password) and click Create Account & Join. Then they sign in.
- Already has an account, not signed in: they click Sign In to Accept.
- Signed in with the invited email: they click Accept & Join Workspace.
- Signed in with a different email: they see Email Mismatch and click Sign Out & Switch Account.
If the link has run out, they see Invitation Expired. Re-invite them from the pending invitations panel.
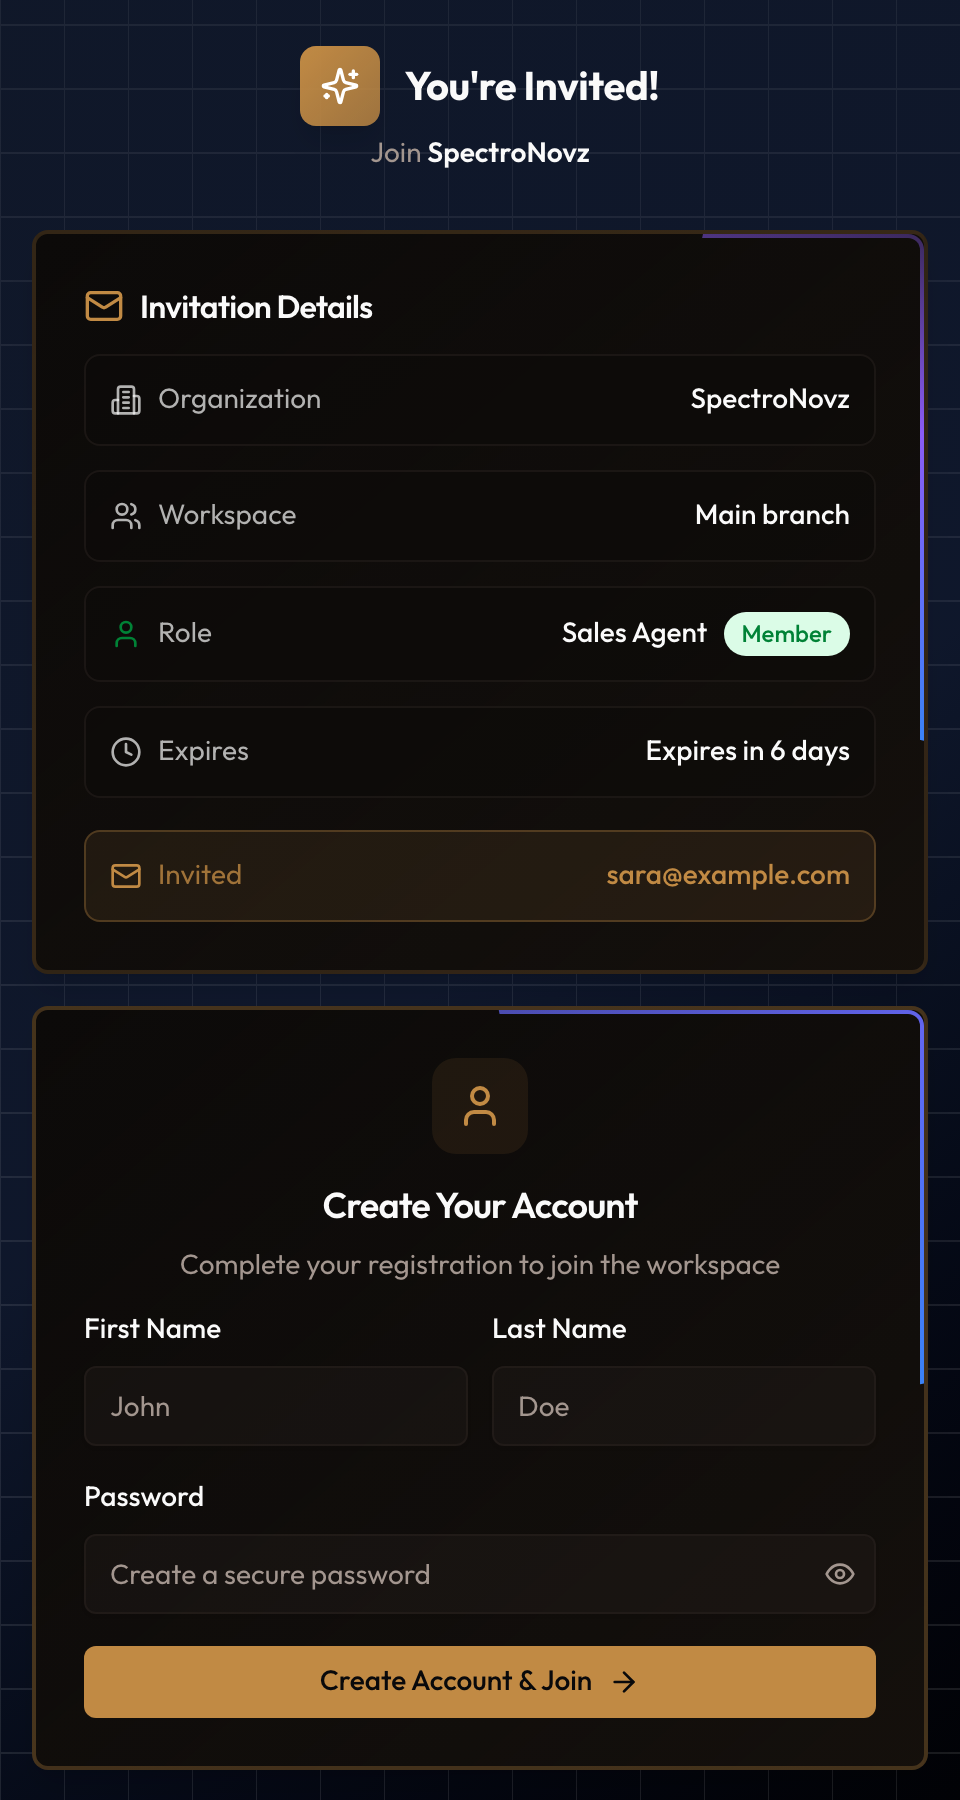
The invitation link: You're Invited!, the Invitation Details, and Create Your Account.
What's next
Now that your team is in, find your way around the workspace: see Understanding the Dashboard.
Creating & Configuring Workspaces
Your first workspace, Main branch, is created at sign-up. Rename it and give it a code in Settings → Workspace, switch workspaces from the top bar, and see how many your plan includes.
Understanding the Dashboard
Your Home page in SpectroNova Express: the top bar (search, notifications, plan, theme), the Get Started card, keyboard shortcuts, and what each dashboard section measures.