

Creating & Configuring Workspaces
Your first workspace, Main branch, is created at sign-up. Rename it and give it a code in Settings → Workspace, switch workspaces from the top bar, and see how many your plan includes.
A workspace is where you run day-to-day work: vehicles, customers, agreements and invoices. You might run one workspace per branch, for example.
Your first workspace is created for you. When you click Start my free trial on Set up your company, SpectroNova Express creates:
- your organization
- a workspace called Main branch
Organization or workspace? Organization settings (name, logos, tax registration) are shared by all your workspaces. See Setting Up Your Organization. Workspace settings belong to the workspace you're in.
Rename your workspace and add a code
Open Workspace Settings
- Click Settings in the main menu.
- In the settings menu, under General, click Workspace.
The Workspace Settings page opens: Configure your workspace preferences and settings.
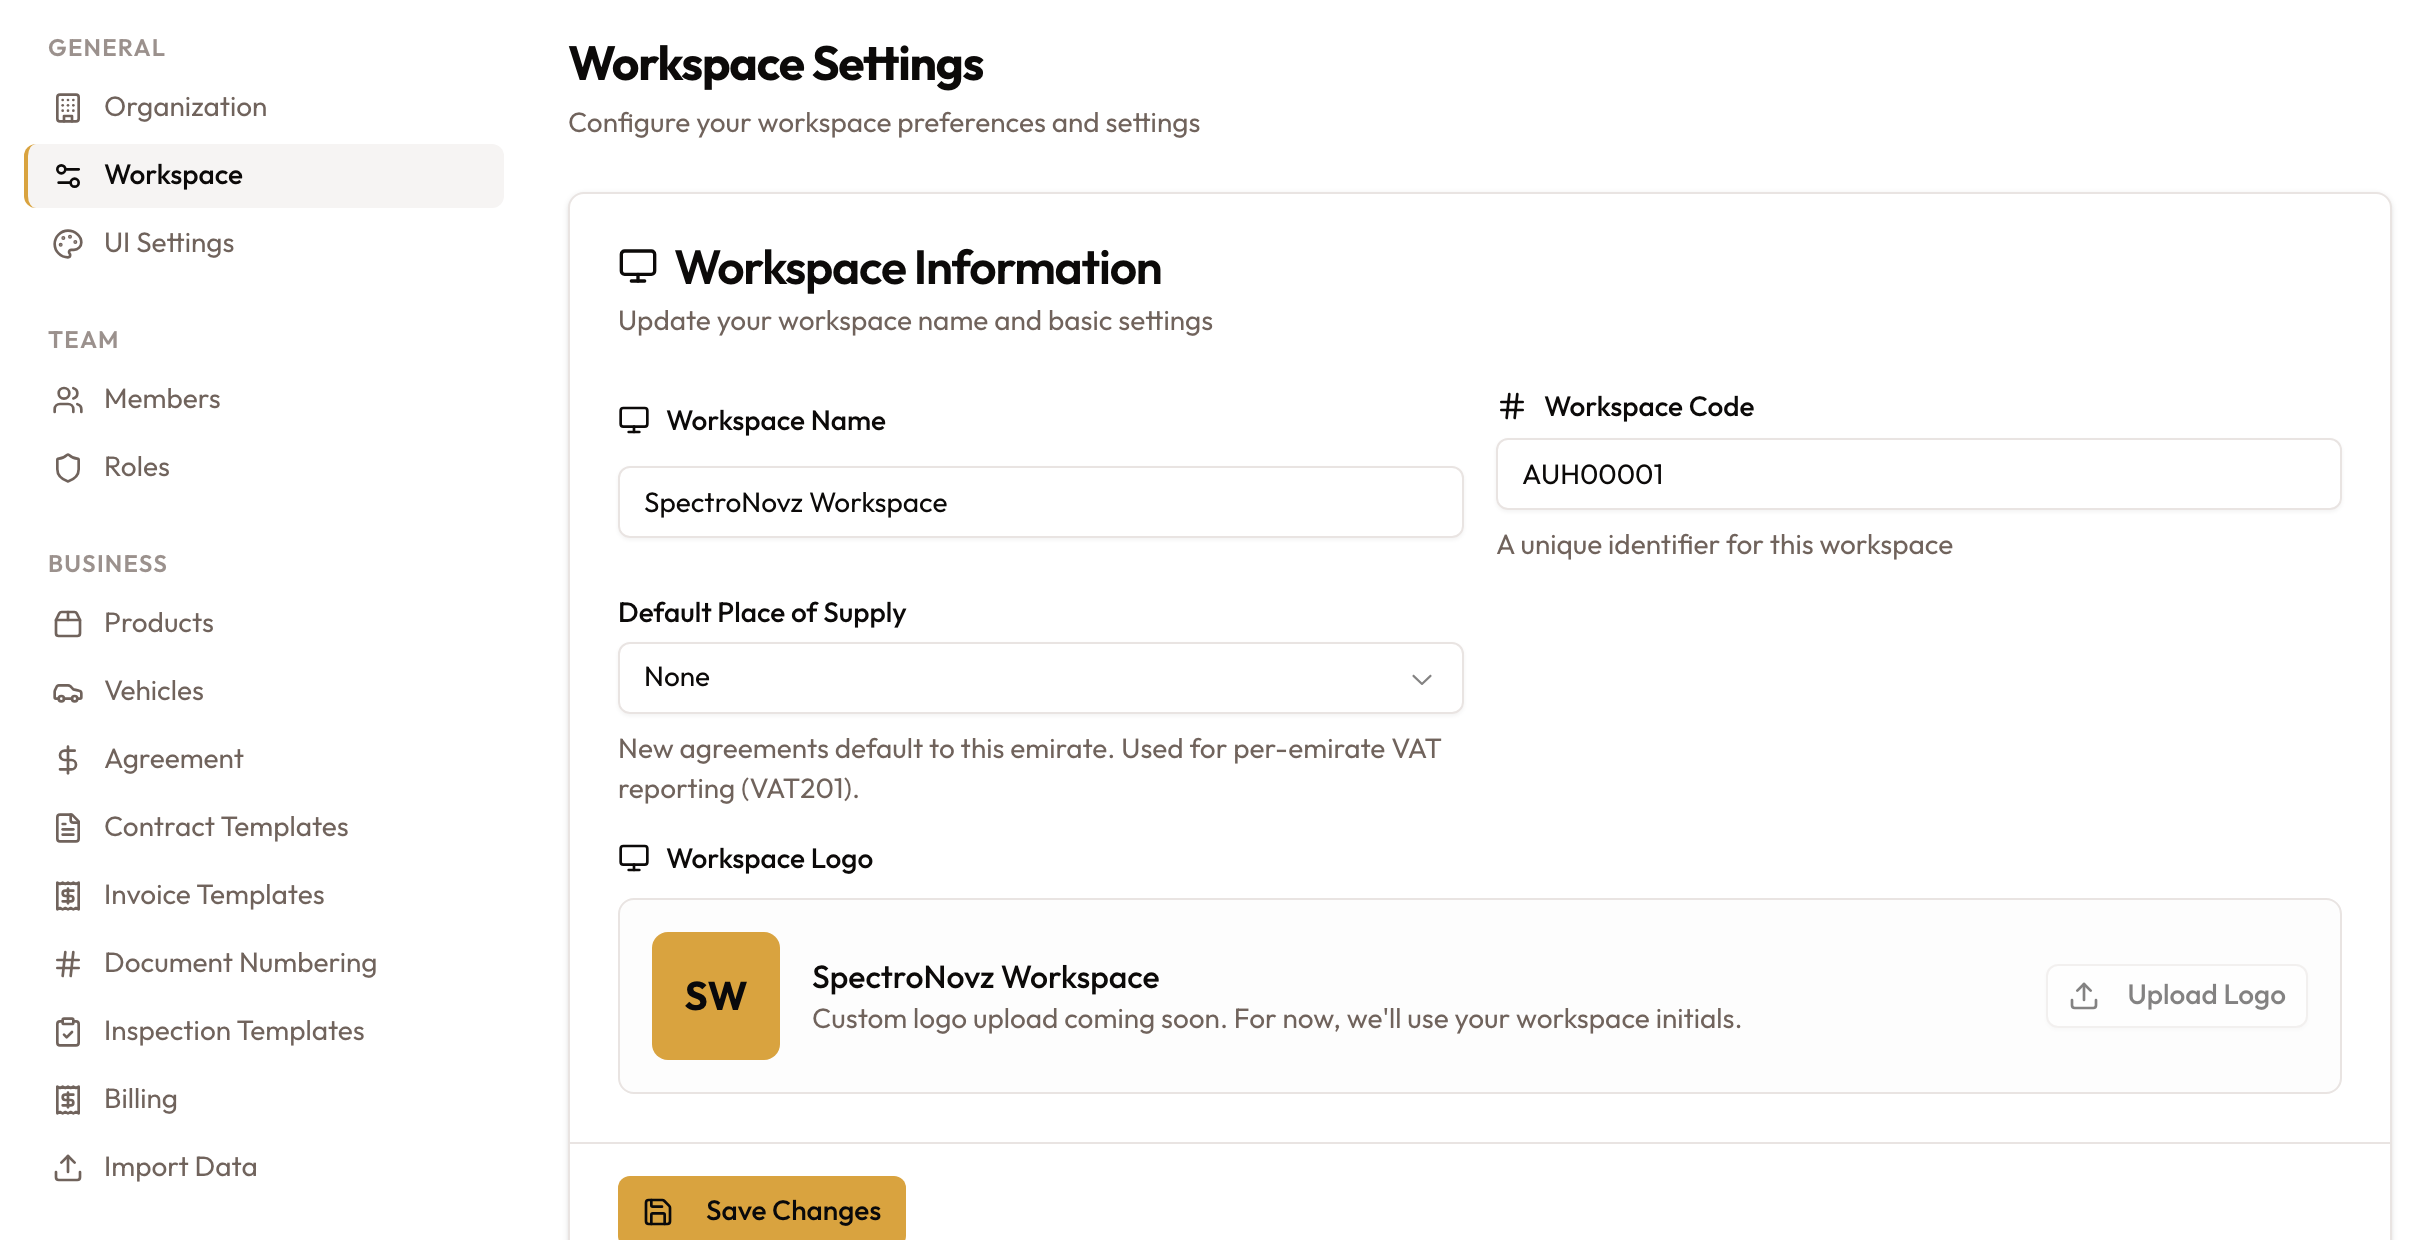
Settings → Workspace: Workspace Settings with the Workspace Information card.
Fill in Workspace Information
In the Workspace Information card:
- Workspace Name: at least 2 characters. Change Main branch to your own name if you like, for example Dubai Marina.
- Workspace Code: required, at least 2 characters. A short unique code for this workspace, for example DXB.
- Default Place of Supply: the emirate new agreements start with. It's used for per-emirate VAT reporting (VAT201). Pick None to leave it unset.
- Workspace Logo: shows your workspace initials.
Main branch starts without a code. The first time you save this card, even just to rename the workspace, fill in Workspace Code too. Without it you'll see Workspace code must be at least 2 characters and nothing is saved.
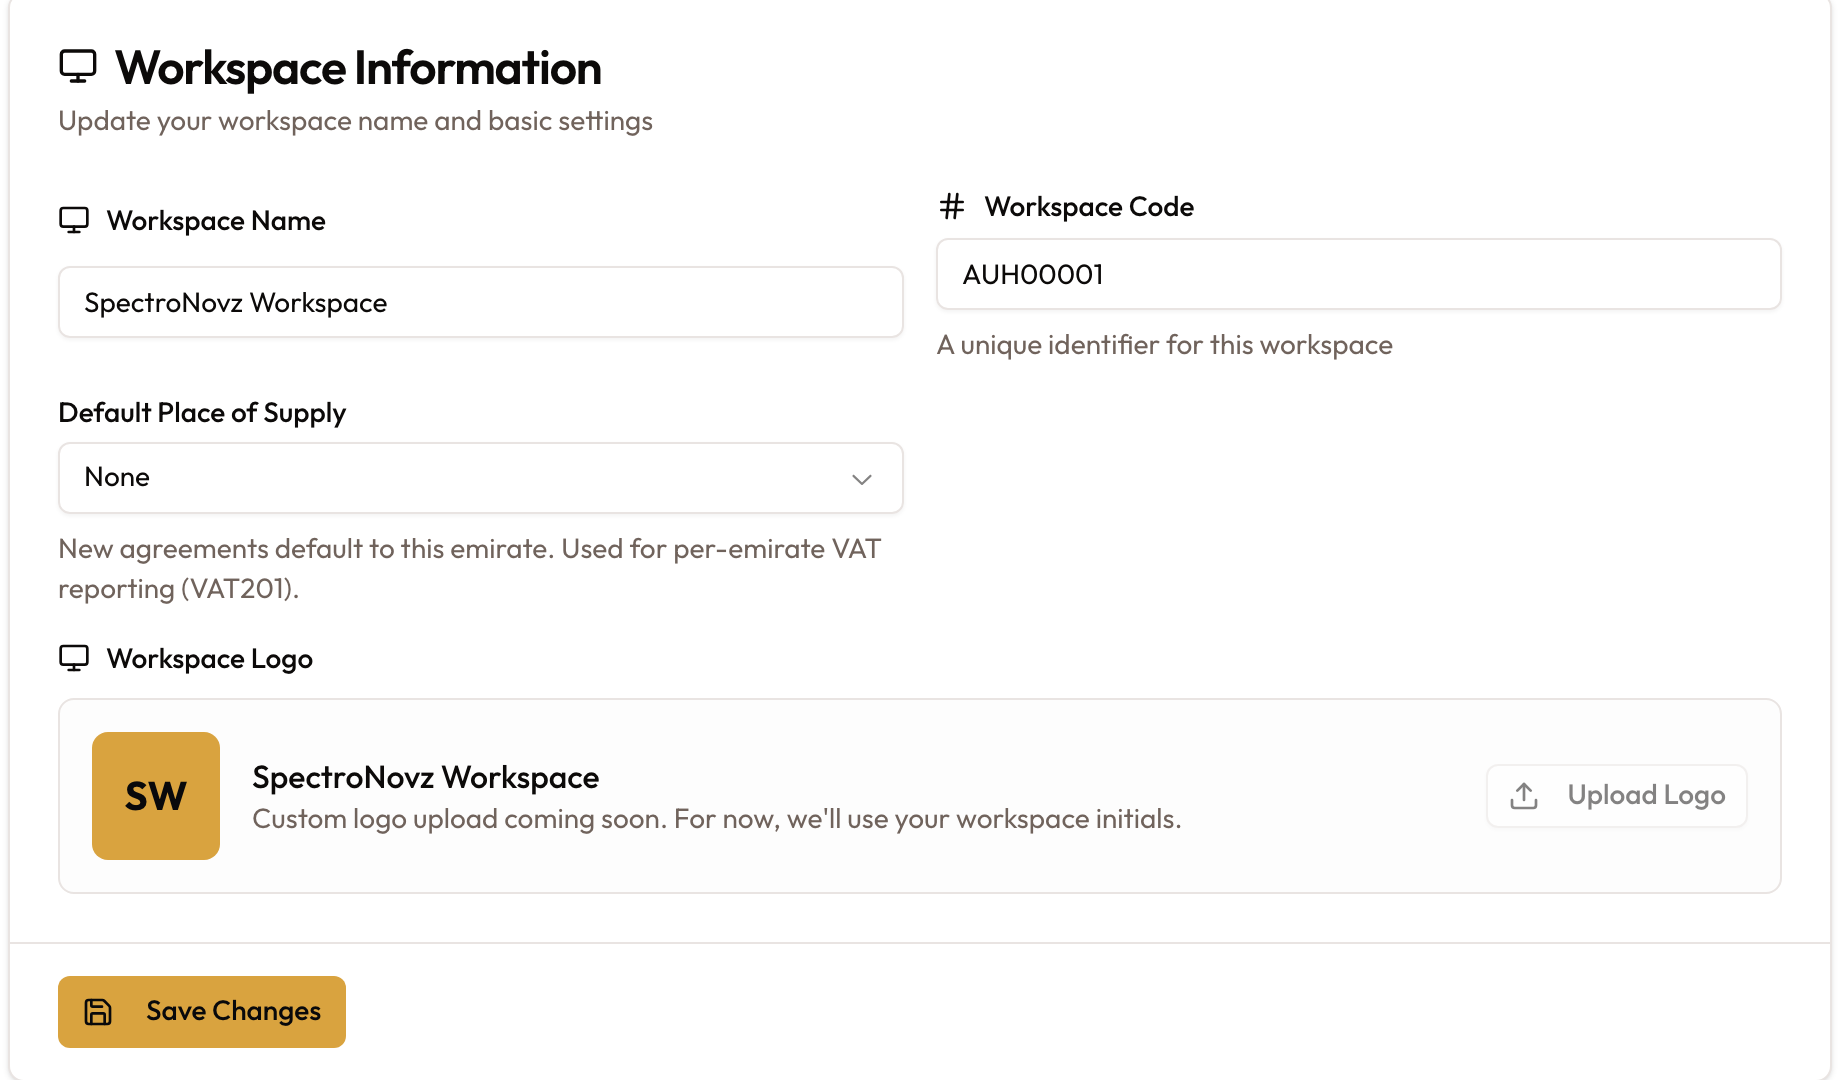
Workspace Information: Workspace Name, Workspace Code, Default Place of Supply and the workspace logo, then Save Changes.
Save your changes
Click Save Changes. A message confirms Workspace updated successfully, and the new name shows in the top bar.
Save Changes appears for roles that can change workspace settings. For any other role, an owner makes the change.
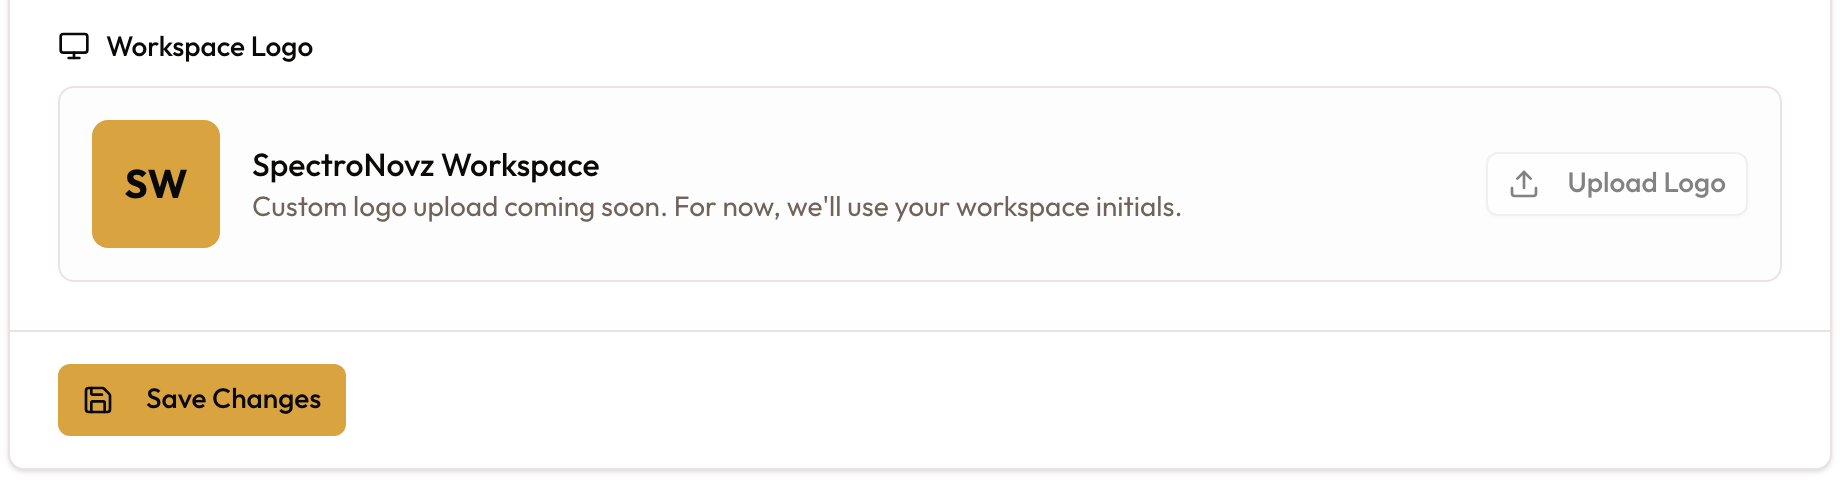
Save Changes under the Workspace Information card.
Workspace Overview shows the workspace code, the date it was created, and its status. Your timezone is set once for the whole organization in Organization settings.
Switch between workspaces
If you belong to more than one workspace, switch from the top bar.
Open the workspace menu
At the top left, click the current workspace name. A list headed Workspaces opens, showing every workspace you're a member of. The one you're in is highlighted.
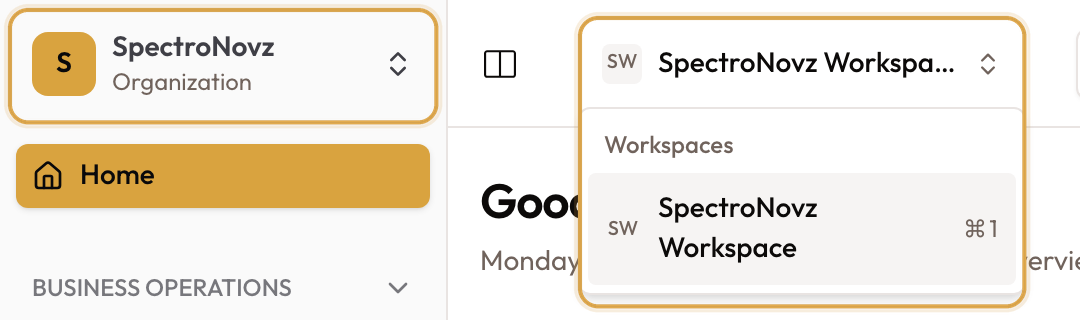
The Workspaces menu, opened from the workspace name in the top bar.
Choose a workspace
Click the workspace you want. You land on its home page, and the top bar shows its name.
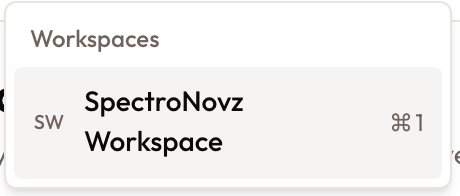
Pick a workspace from the Workspaces list.
Adding more workspaces
To add another workspace, contact SpectroNova Express support.
How many workspaces you can have depends on your plan. To see how many you use and how many your plan includes, open Settings → Plan Usage and look at Workspaces.
Things to know
- A code is needed to save. Main branch is created without one.
- The place of supply is per workspace. Set it on each workspace that runs in a different emirate.
- Members belong to workspaces. You only see the workspaces you've been added to.
What's next
Bring your team in and decide who can do what. See Inviting Team Members & Assigning Roles.
Setting Up Your Organization
Finish your company profile in Settings → Organization: logos, contact details, timezone, tax registration (TRN and VAT status), and what locks once you start invoicing.
Inviting Team Members & Assigning Roles
Invite people to a workspace by email from Settings → Members, choose each person's built-in role, follow up on pending invitations, and change or remove members.